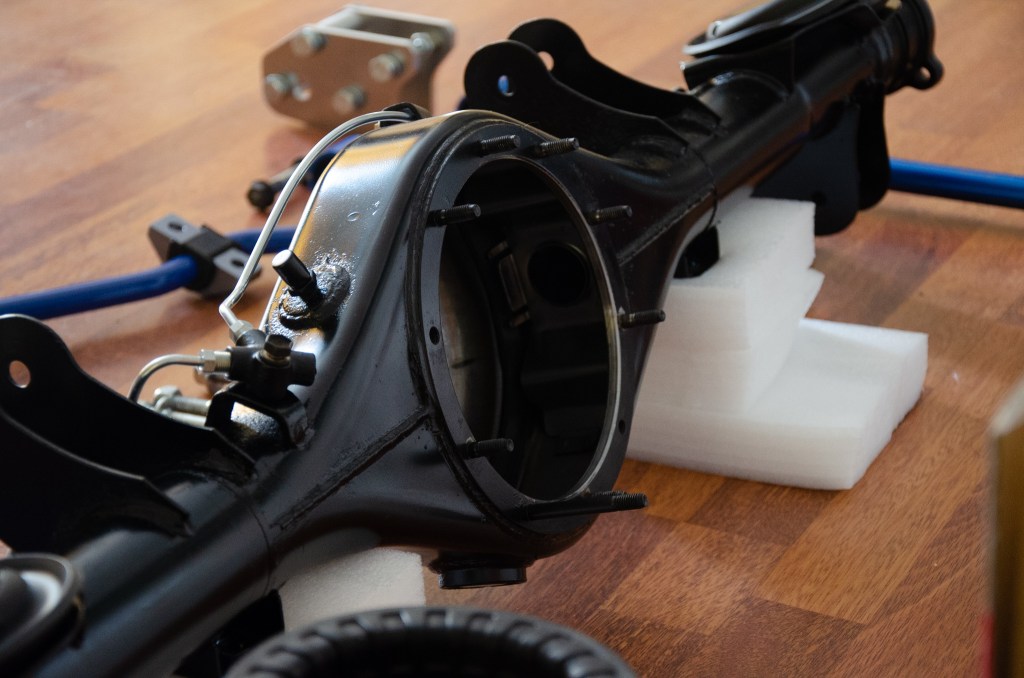
After rebuilding the entire axle assembly, it was time to break the components in. I wanted to do this effectively – so after reviewing some existing knowledge and checking if they still held up against any new material, I documented the details here in case it’s helpful for anyone.


Most, if not all have probably come across these instructions by KAAZ:
This process still holds up and in summary, it focuses on breaking-in all the clutch plates stacked on each side on the unit. Each stack is eased into each other through a series of figure 8s, slowly removing the raw surface and bedding them in. Once complete, all that’s left to do is to remove the debris generated from the process and you should be good to go (an oil change).
Summary of the procedure:
- Prior to each turn, drive at a speed approx 20-25kmph
- The turns themselves should be performed without being in gear (be in neutral while turning)
- Turn in wide and slow before getting narrower and into full lock – allowing the clutch packs to chatter first before fully engaging.
- After 20 or so minutes, use another 10-15 minutes to turn with your clutch pedal slowly engaged. This adds more friction to the plates once they’ve reached operating temperature and have been bedded in a bit. This is the least harshest method to break them in.
- Drain the oil containing all the debris and replace it with fresh, clean oil.
Though optional, you can drive for approx 6-800km and do another drain and refill before any sort of spirited driving.
Reasoning behind it – the general idea
For a street application, you typically don’t use the diff straight after an install and most would like to prolong the quality of its function. Using the method above allows uneven surfaces left behind from manufacturing to be removed. The debris is then taken out of the equation so that it doesn’t cause problems for other components. Once that rough surface is no longer present and smoothed out, any future debris from normal day-to-day operation is significantly reduced.
You achieve the following things when breaking them in:
- Directs the component surfaces into the motions they will be involved in.
- Smooth out rough surfaces which could otherwise generate deterioration prematurely if used immediately after the install.
- After removing all the debris caught by the oil, you minimise the risk of the remains entering other regions of the assembly and potentially cause other issues.
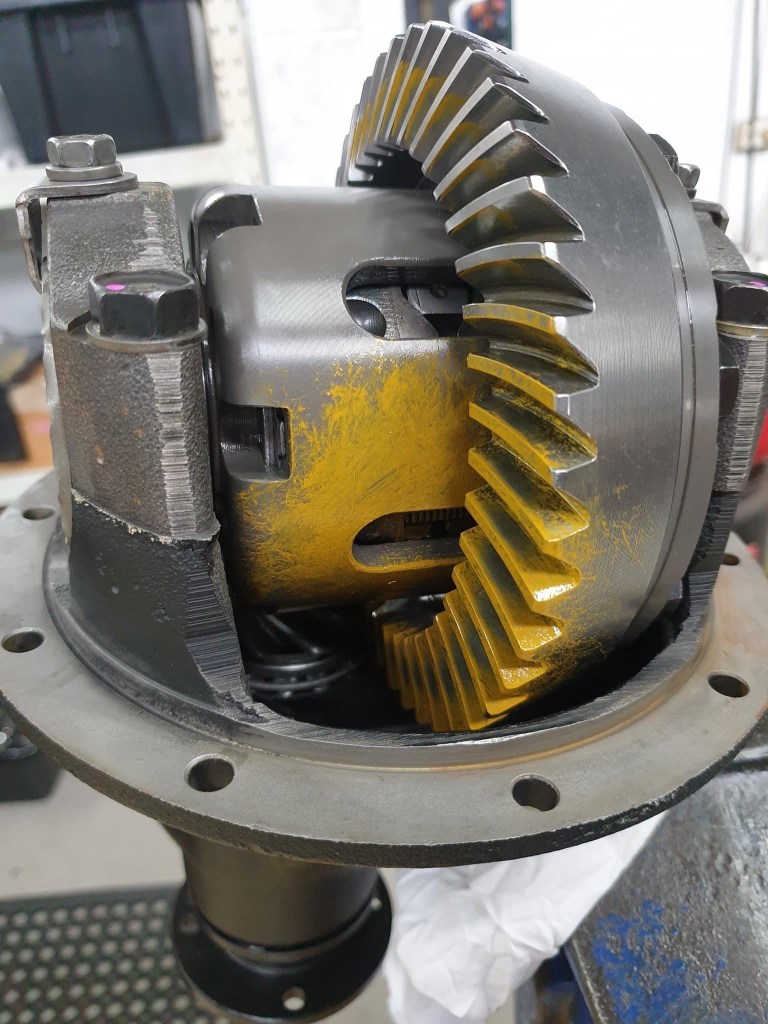
How clutch packs work in a diff
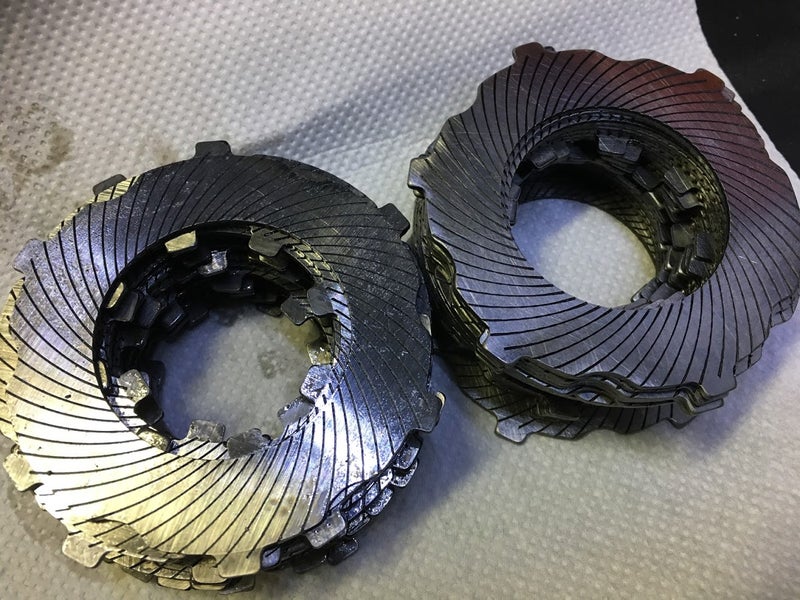
Here’s a dismantled unit I use for observation and learning. You can see a stack of clutch plates on each side of the unit:
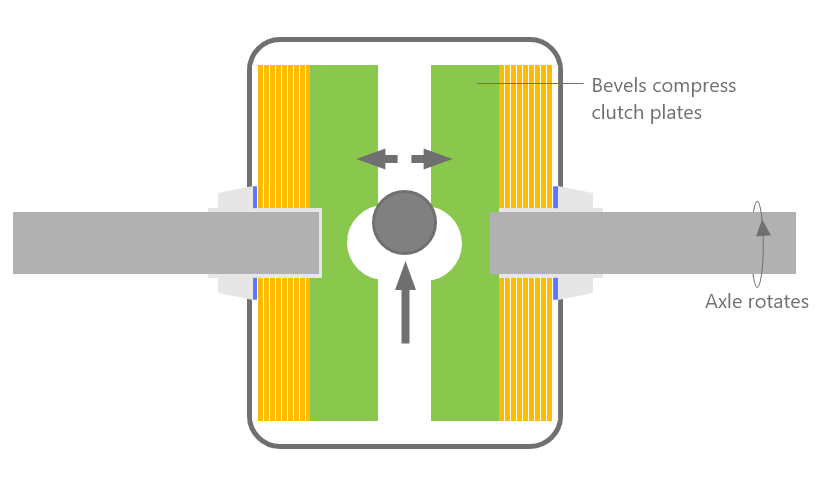
The main focus here is the shaft in the middle (arrowed), when that pivots, it expands the two outer cylinders (bevels). Notice how the plates are cogged (circled) – when the shaft pivots, it expands the assembly and presses the plates outward:

This is how it roughly looks when it’s assembled:

When you accelerate, the entire assembly rotates and forces an internal shaft to move forward, expanding the center region and compressing the clutch packs into each other – coupling the wheels:
Here are some other views of the same thing:
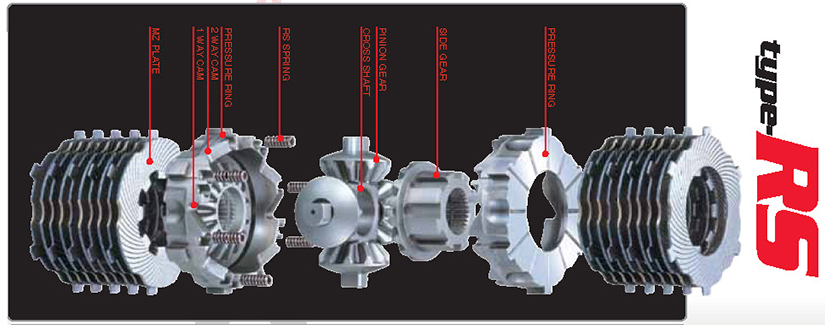
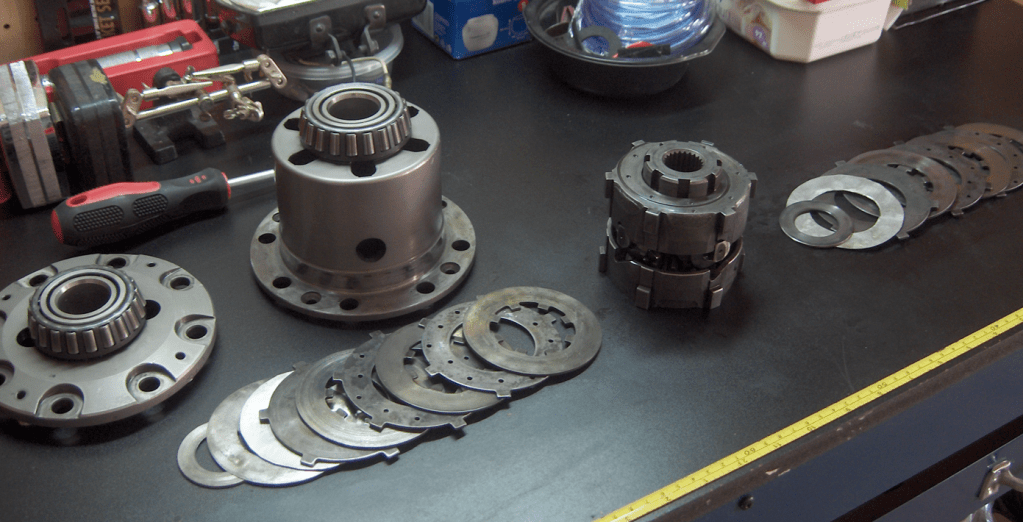
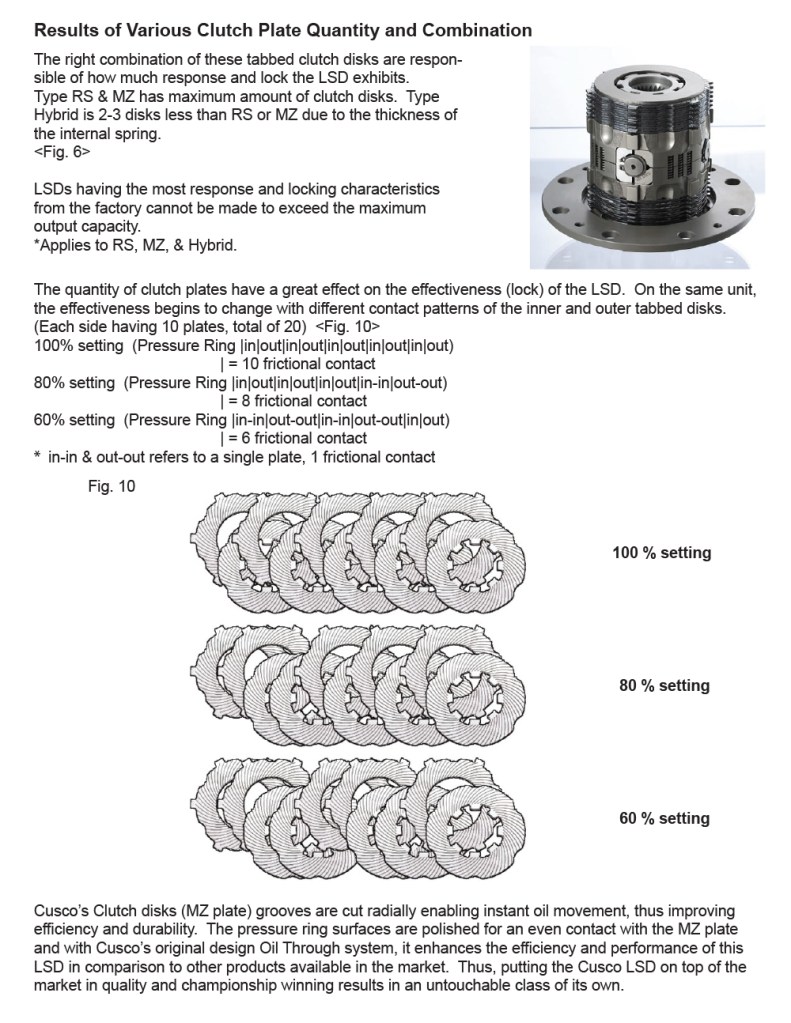
Various stack setups
Though not entirely on topic, I thought I’d leave this here to provide some insight on how some manufacturers allow clutch-packs to be re-sequenced to provide different locking characteristics:
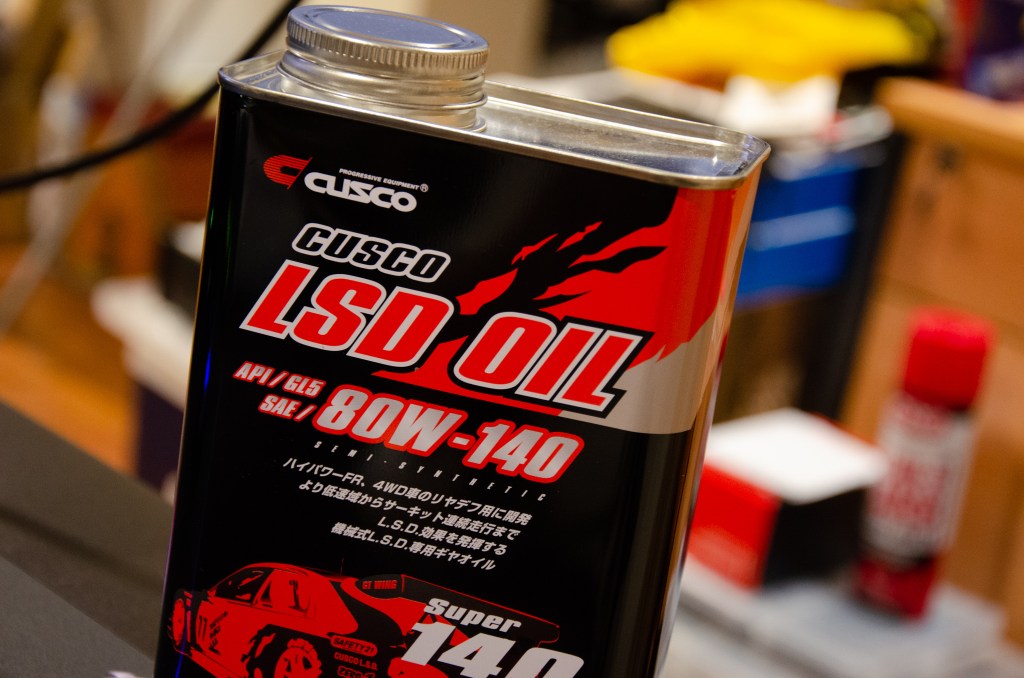
The Correct Oil
When breaking the components in, you want to see if you can get as close to the manufacturer’s recommended oil as much as possible. The reasoning behind it is that you need the correct environment for the unit to operate in – the correct viscosity, additives and grade is something important to consider.
One main intention is to have the correct gap between the plates on contact – achieved using the right lubricant viscosity. Another is an environment that allows the plates to cool down adequately and not overheat. Lastly, the right additives need to be present to ensure any harsh contact is managed, ensuring vibrations are kept to a minimum whilst still leaving things lubricated properly.

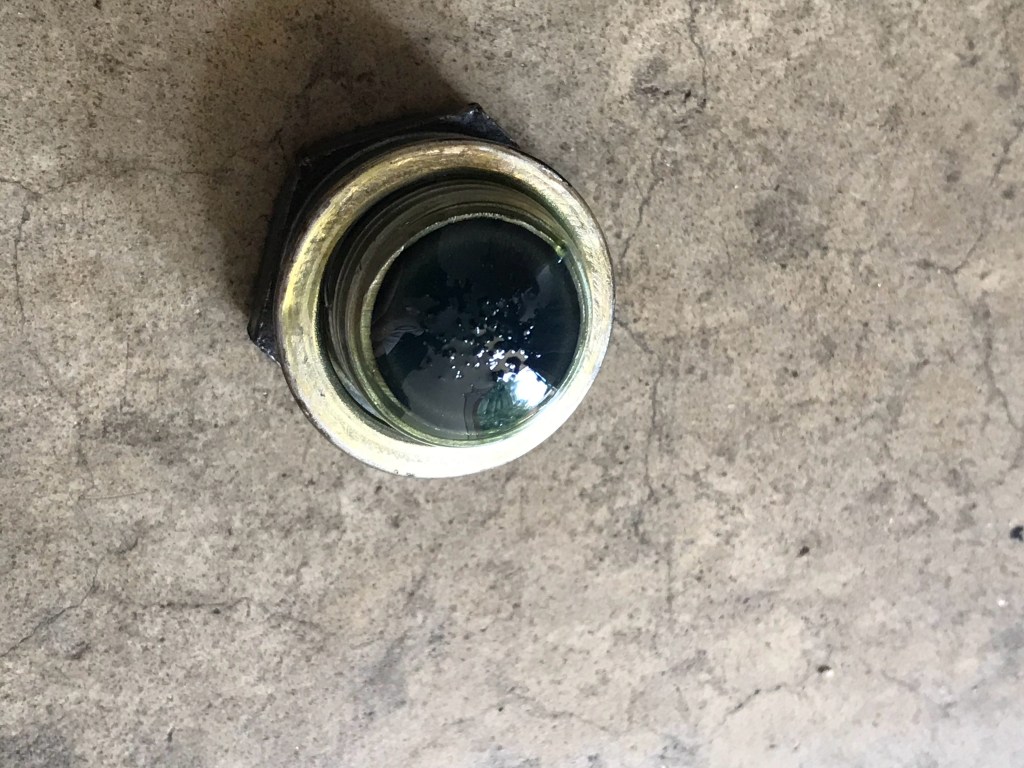
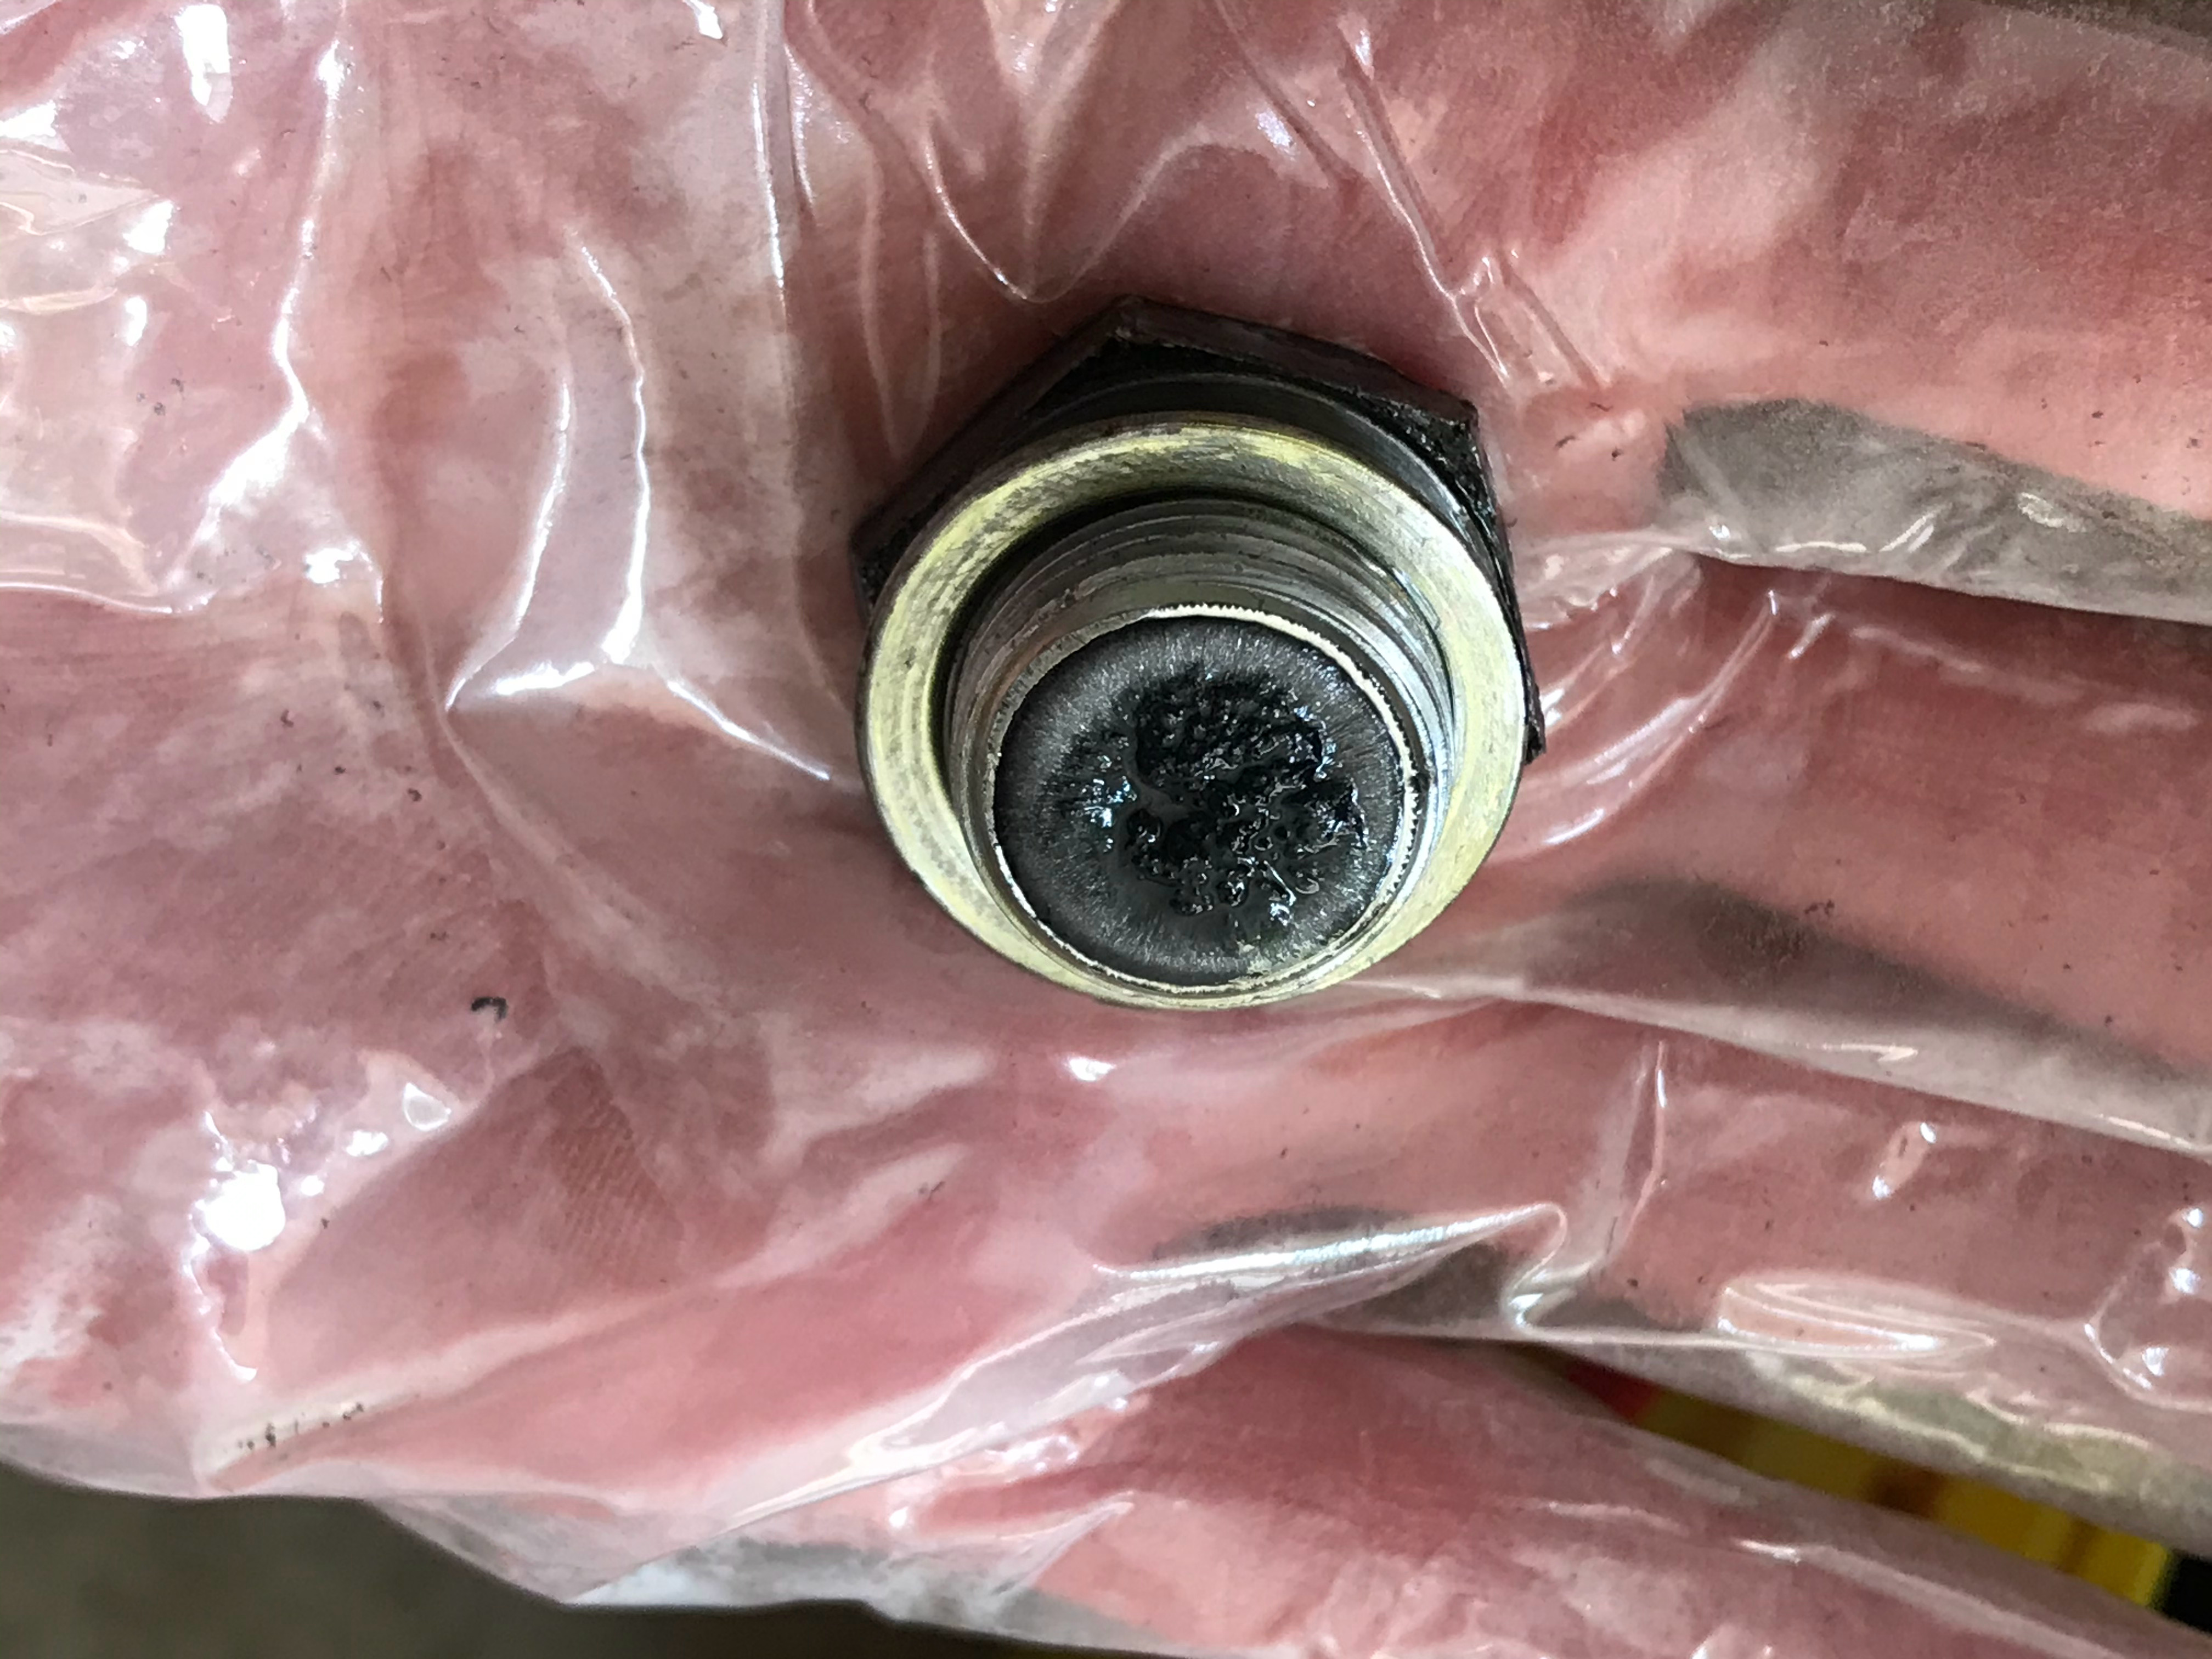
Drain and refill – what to expect
Below shows some of the fluid that remained on the drain plug. The magnet shows all the nice debris it’s picked up as oil passed it, giving you some indication of what it’s been through:


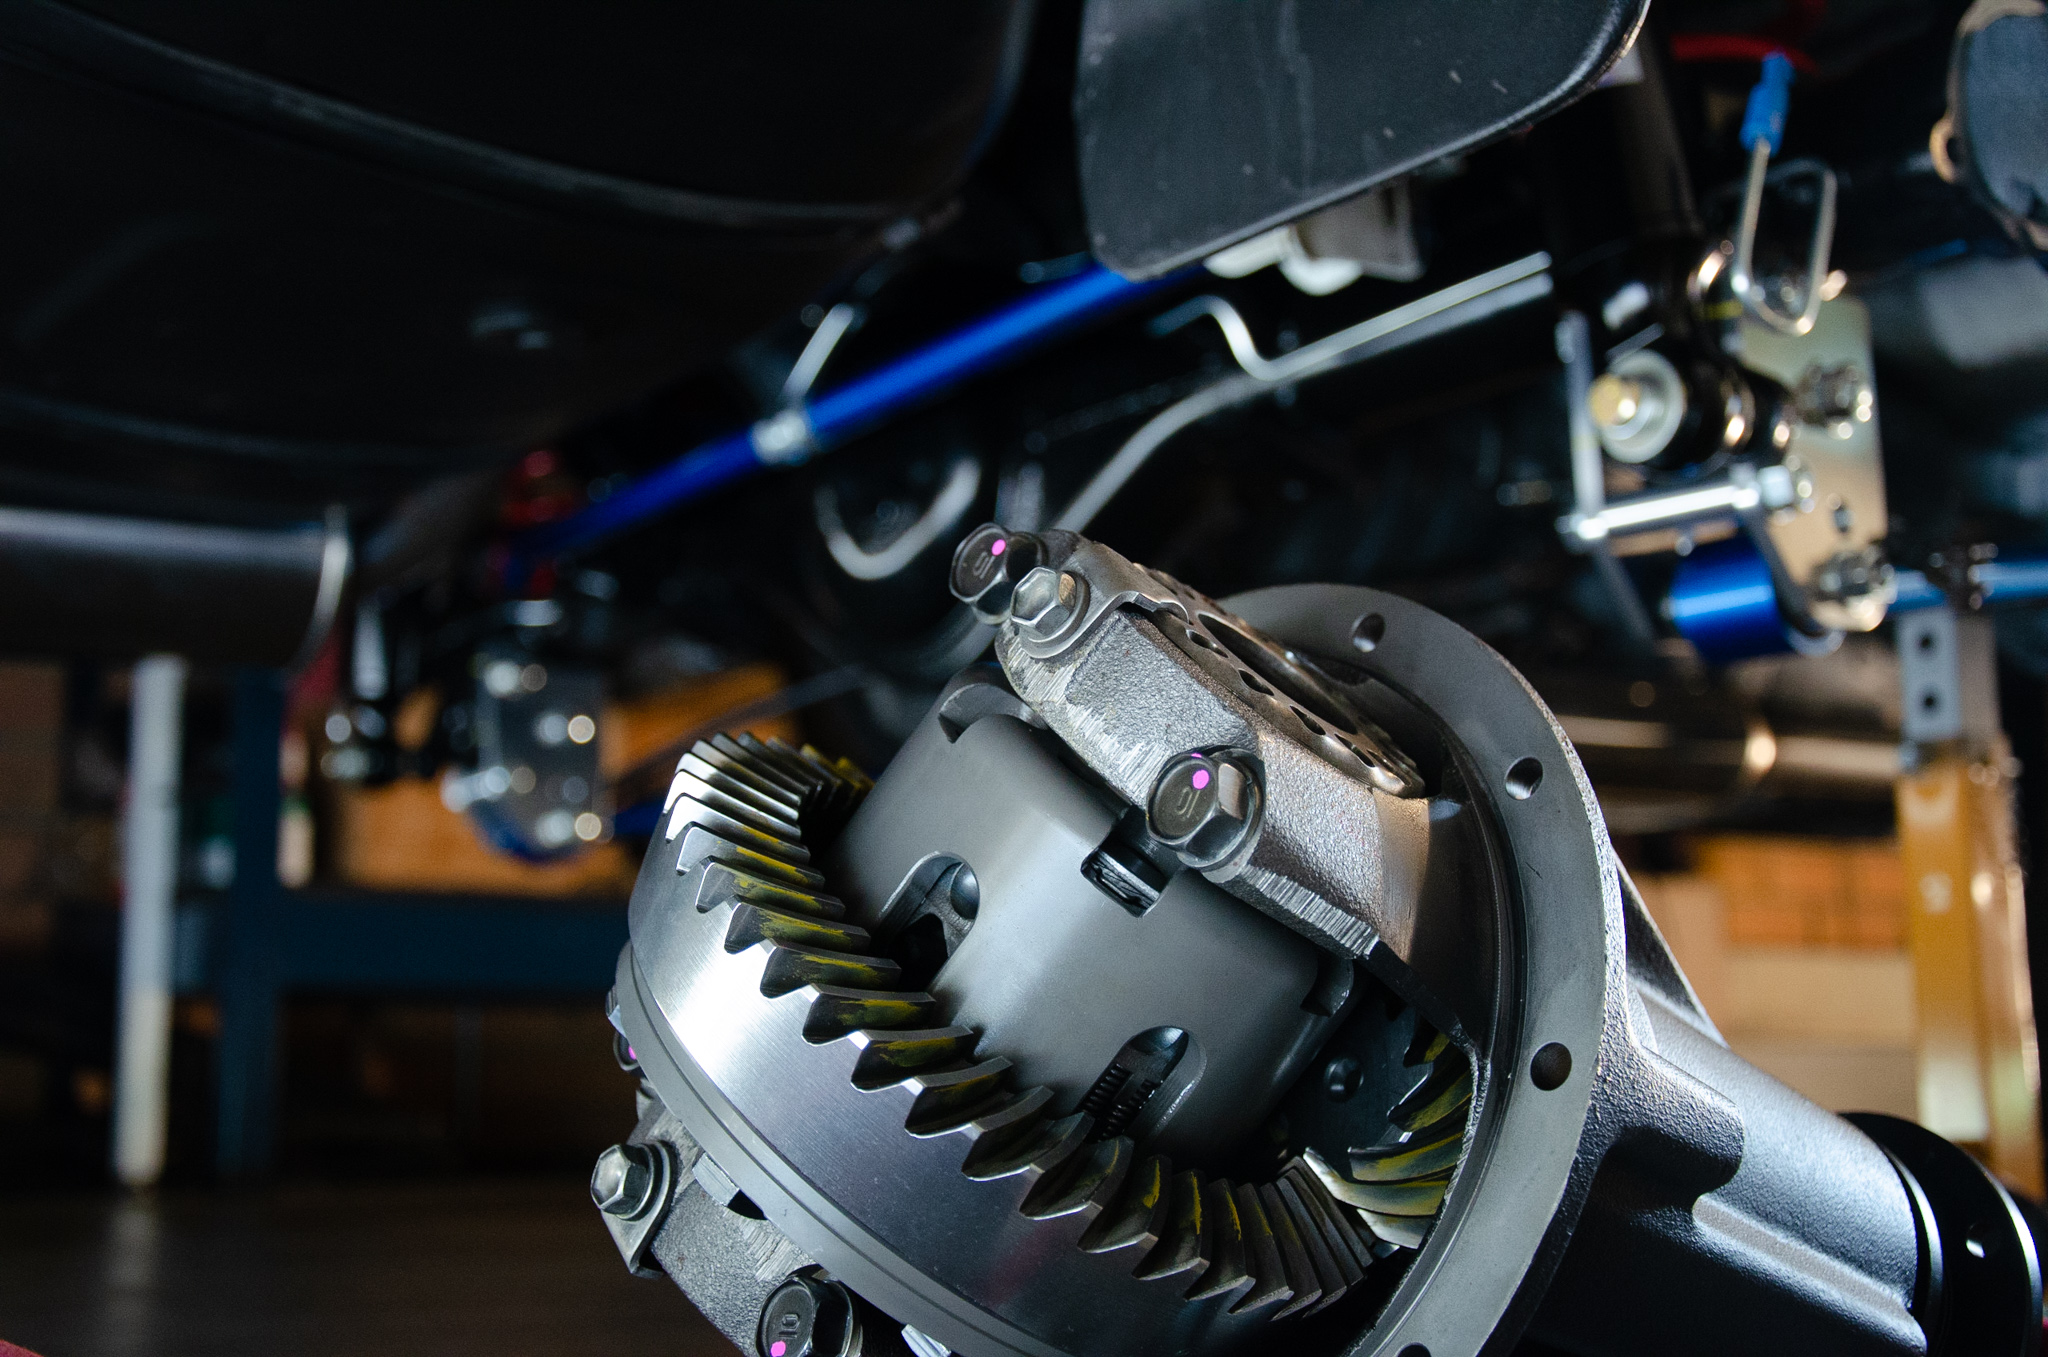
Breaking-in the ring and pinion (R&P/ Final Gear)
If the ring and pinion is new, a few things needs to be considered as well. Assuming it has been dialled in properly by an experienced professional, your only objective as the owner is to ensure the gears mate together gently and bed-in the surfaces adequately before any sort of spirited driving. It’s no different from what was mentioned above – the intention is to ensure the surfaces get the chance to wear-in properly, minimise chances of premature wear and maximise its performance.
The break-in process of the ring and pinion (and any other component in the axle) can be significantly reduced if the components have been professionally treated before hand – specifically, having the surfaces polished.
In my case, I had mine ISF micro-polished – removing surface abnormalities on the surfaces where the gear mates, reducing unnecessary friction. This greatly reduces the break-in time (if not eliminate it almost entirely).
In general, it aims to:
- Remove micro surface abnormalities that could gouge other components or make surfaces more brittle than they should be.
- Remove any minor fractures present on the surface that could potentially grow into bigger problems
- ‘Potentially’ have greater control over hotspots on the surface.

At this point, some even go as far as fusing the components with hardened material – It’s really just about how far you’d like to go when it comes to minimising all the factors down track… At the end of the day it’s up to the use cases, application and individual preferences.
