Geez it’s been a while since the last log post… 🙂
Where I left off:
Front suspension was installed, mostly torqued in:
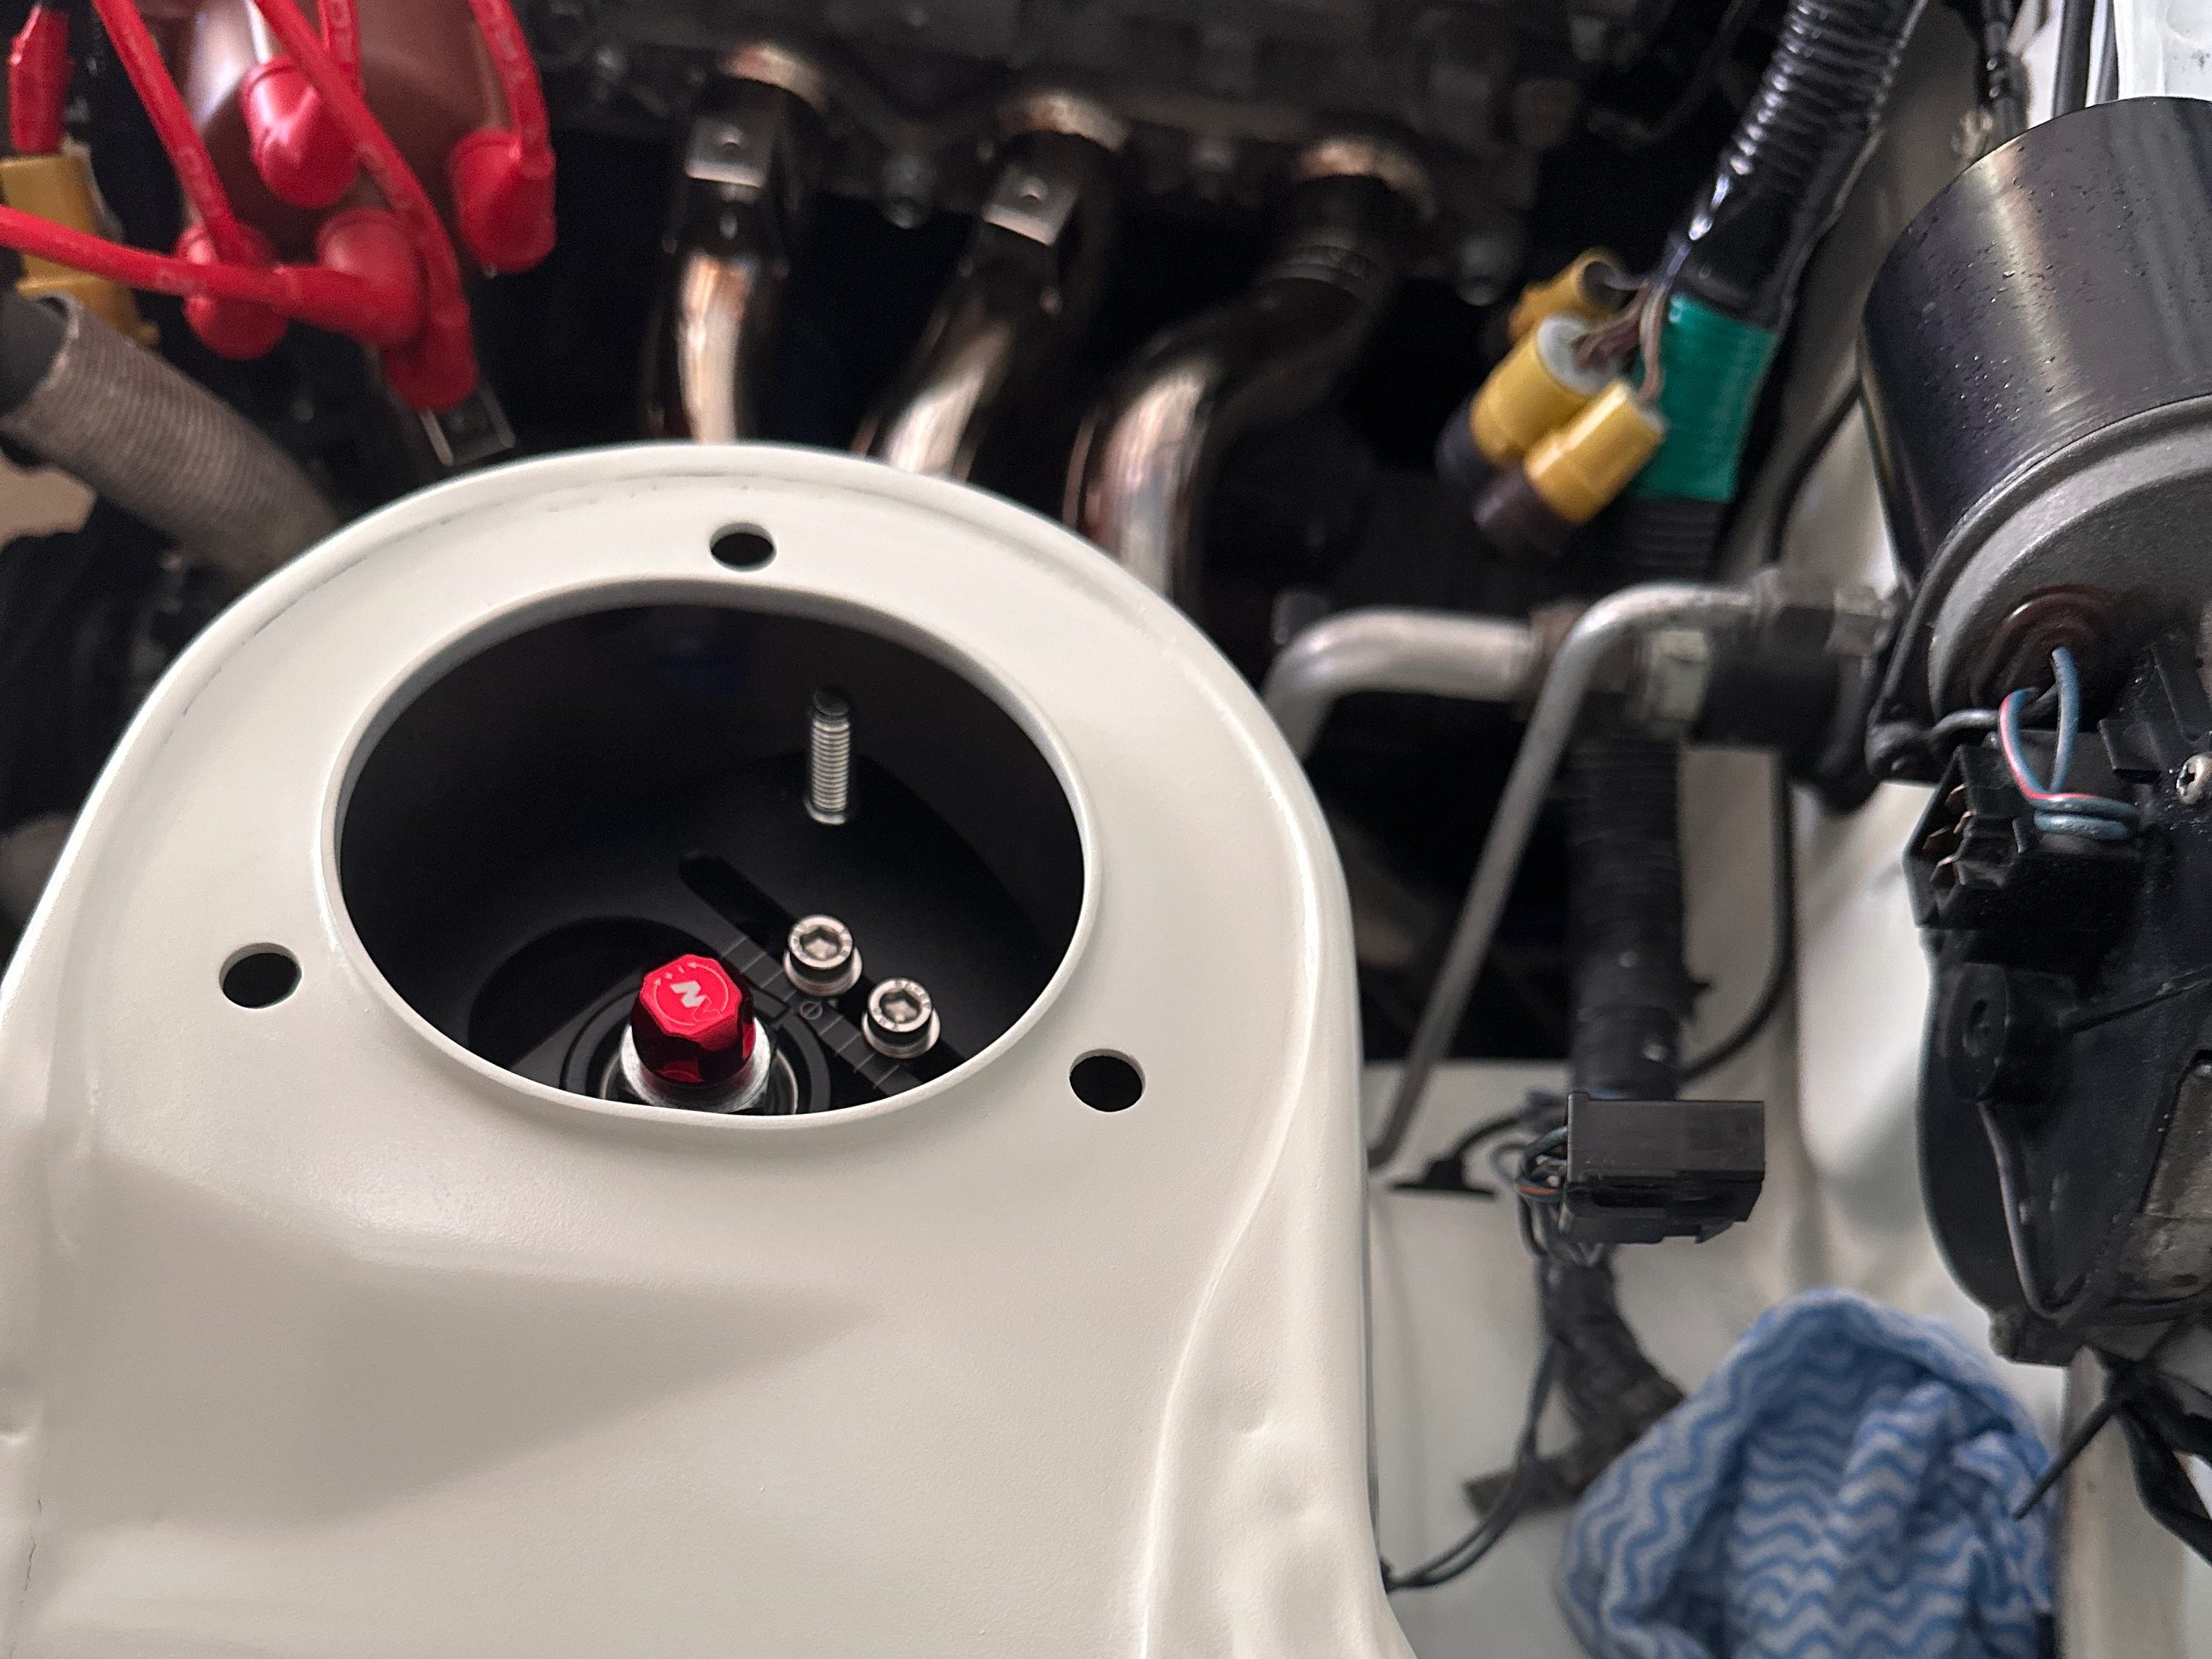
What I accomplished since then:
Addressed new paint issues
When coming back to the assembly, I noticed that the paint quality on the struts didn’t meet expectations. It didn’t cure properly or harden to the standards I’m used to for automotive paint – albeit the conditions were quite cold at the time, a lot of hairline cracks appeared… more than I was comfortable with.
To make matters worse, when I started to gently torque my front strut bar plates back into place, the paint quality showed right through. It was easily compromised – flaked off even at the lightest compression. This is retail-mixed paint, and despite the benefit of doubt, it was clear something was up.
I ended up sanding everything back down to bare metal and used primers and paint from the paint shop I went to during my first rebuild (not off the shelf / retailer mixing stuff). I used to go there often when I was younger and it was actually great to see the old staff were still there – even had a chance to chat to familiar faces about our 10yr + projects!
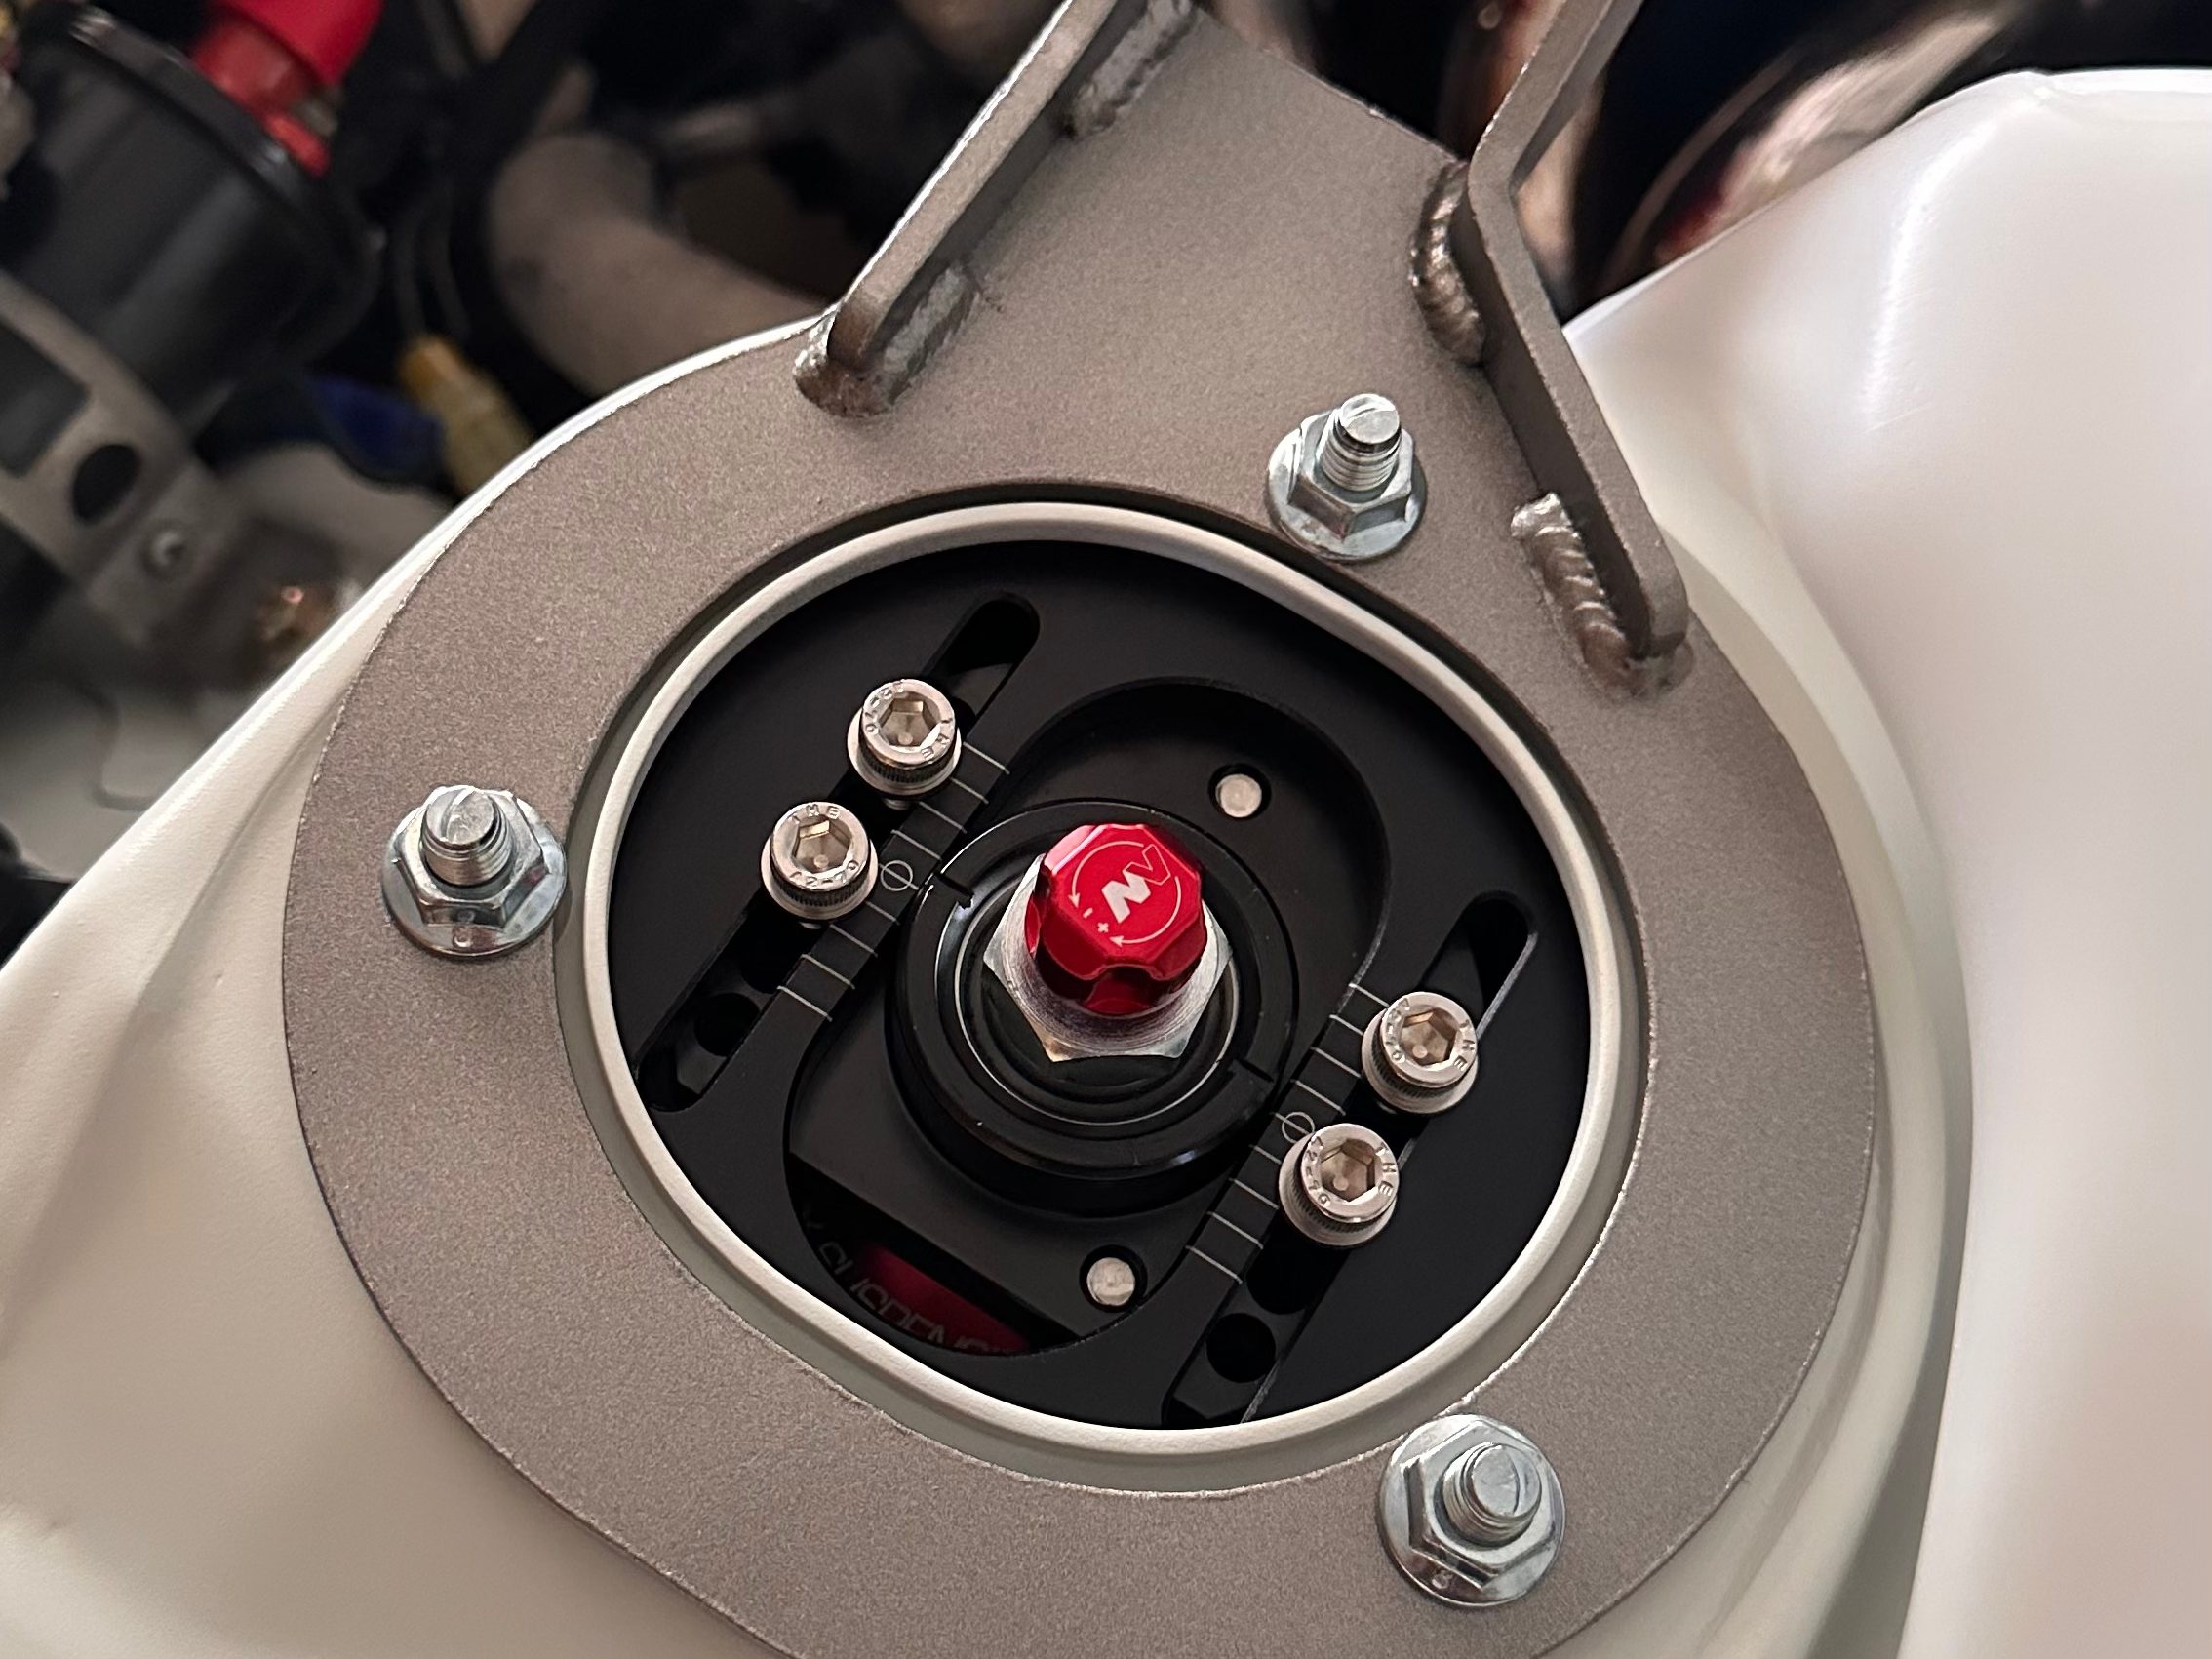
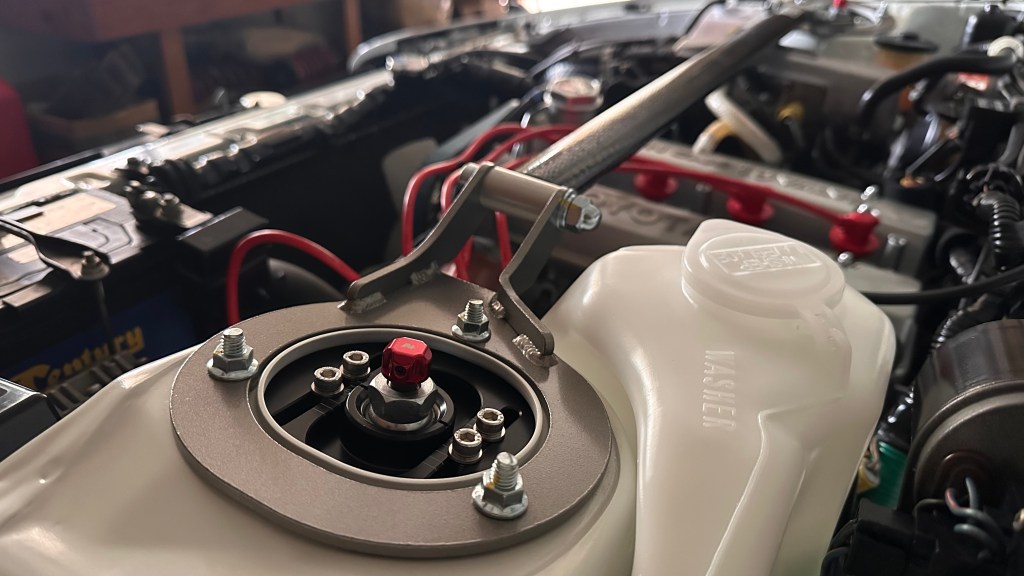
After giving the new paint time to cure and harden properly (in warmer temperatures too this time), I managed to get to this point again – the paint had no issues with compression:
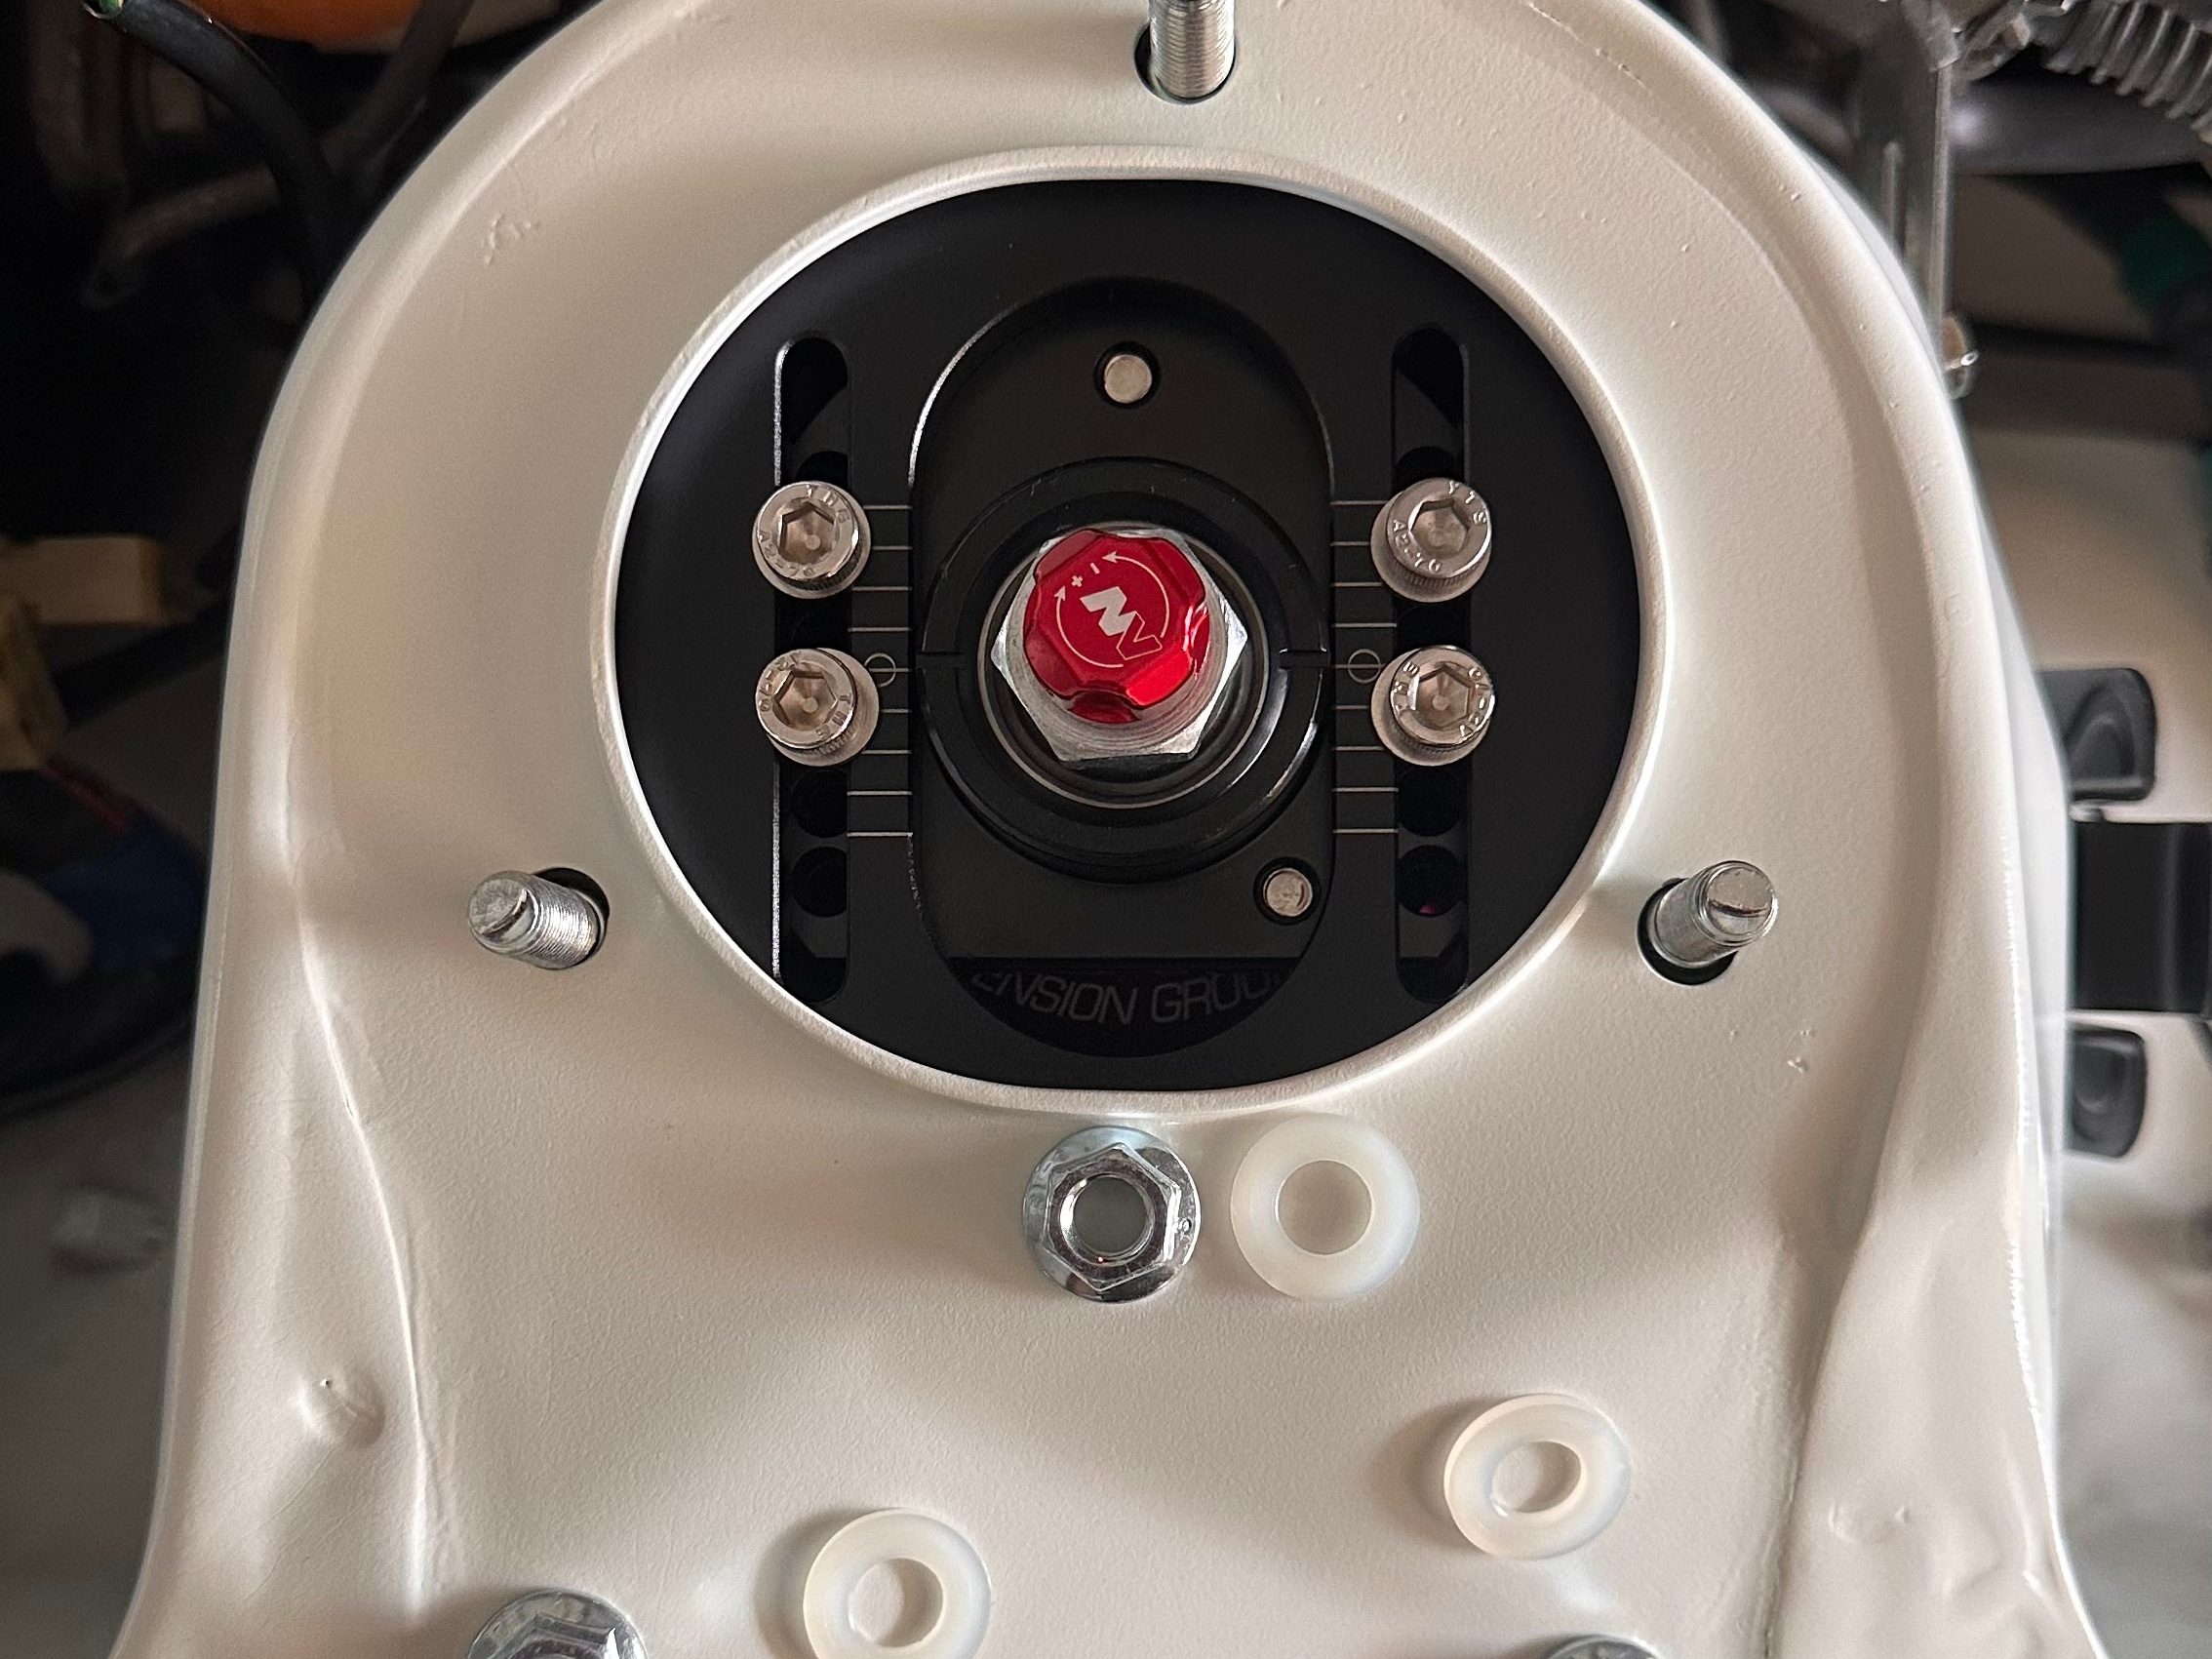
This was not without trauma and anxiety though – I still ended up using Delrin washers beneath the strut bar to avoid any potential problems. The other thing is that with all strut bars for the AE86, they touch and compress the strut tops rather ungracefully.

Rear suspension assembly
The Greddy rear suspension was carefully disassembled and removed:

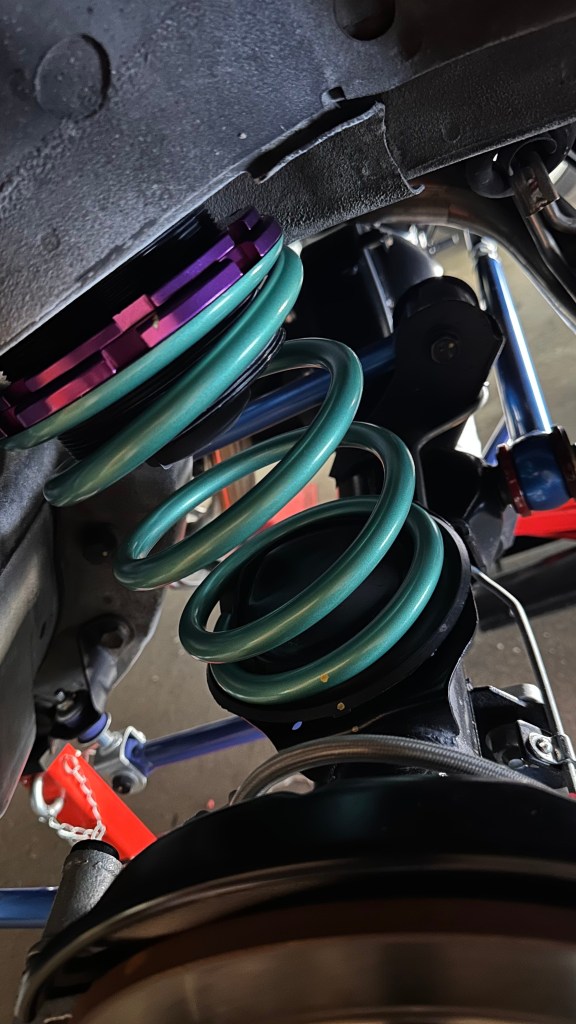
After all that was done, in went the Swift springs (green) – I stuck to the divorced setup as this is what I’m familiar with:
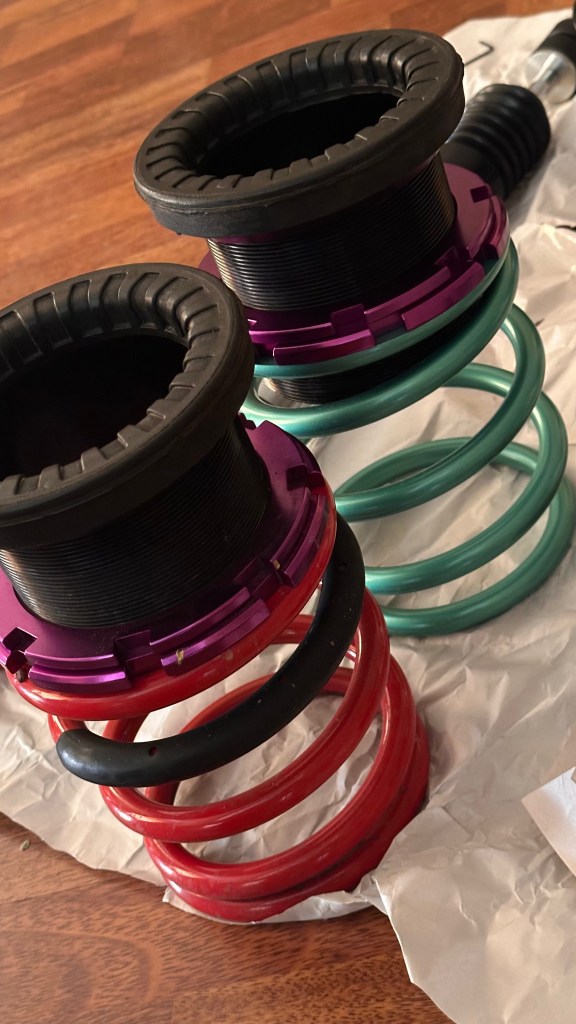
The springs were gently clamped with the right amount of preload to avoid components coming off at full decompression:
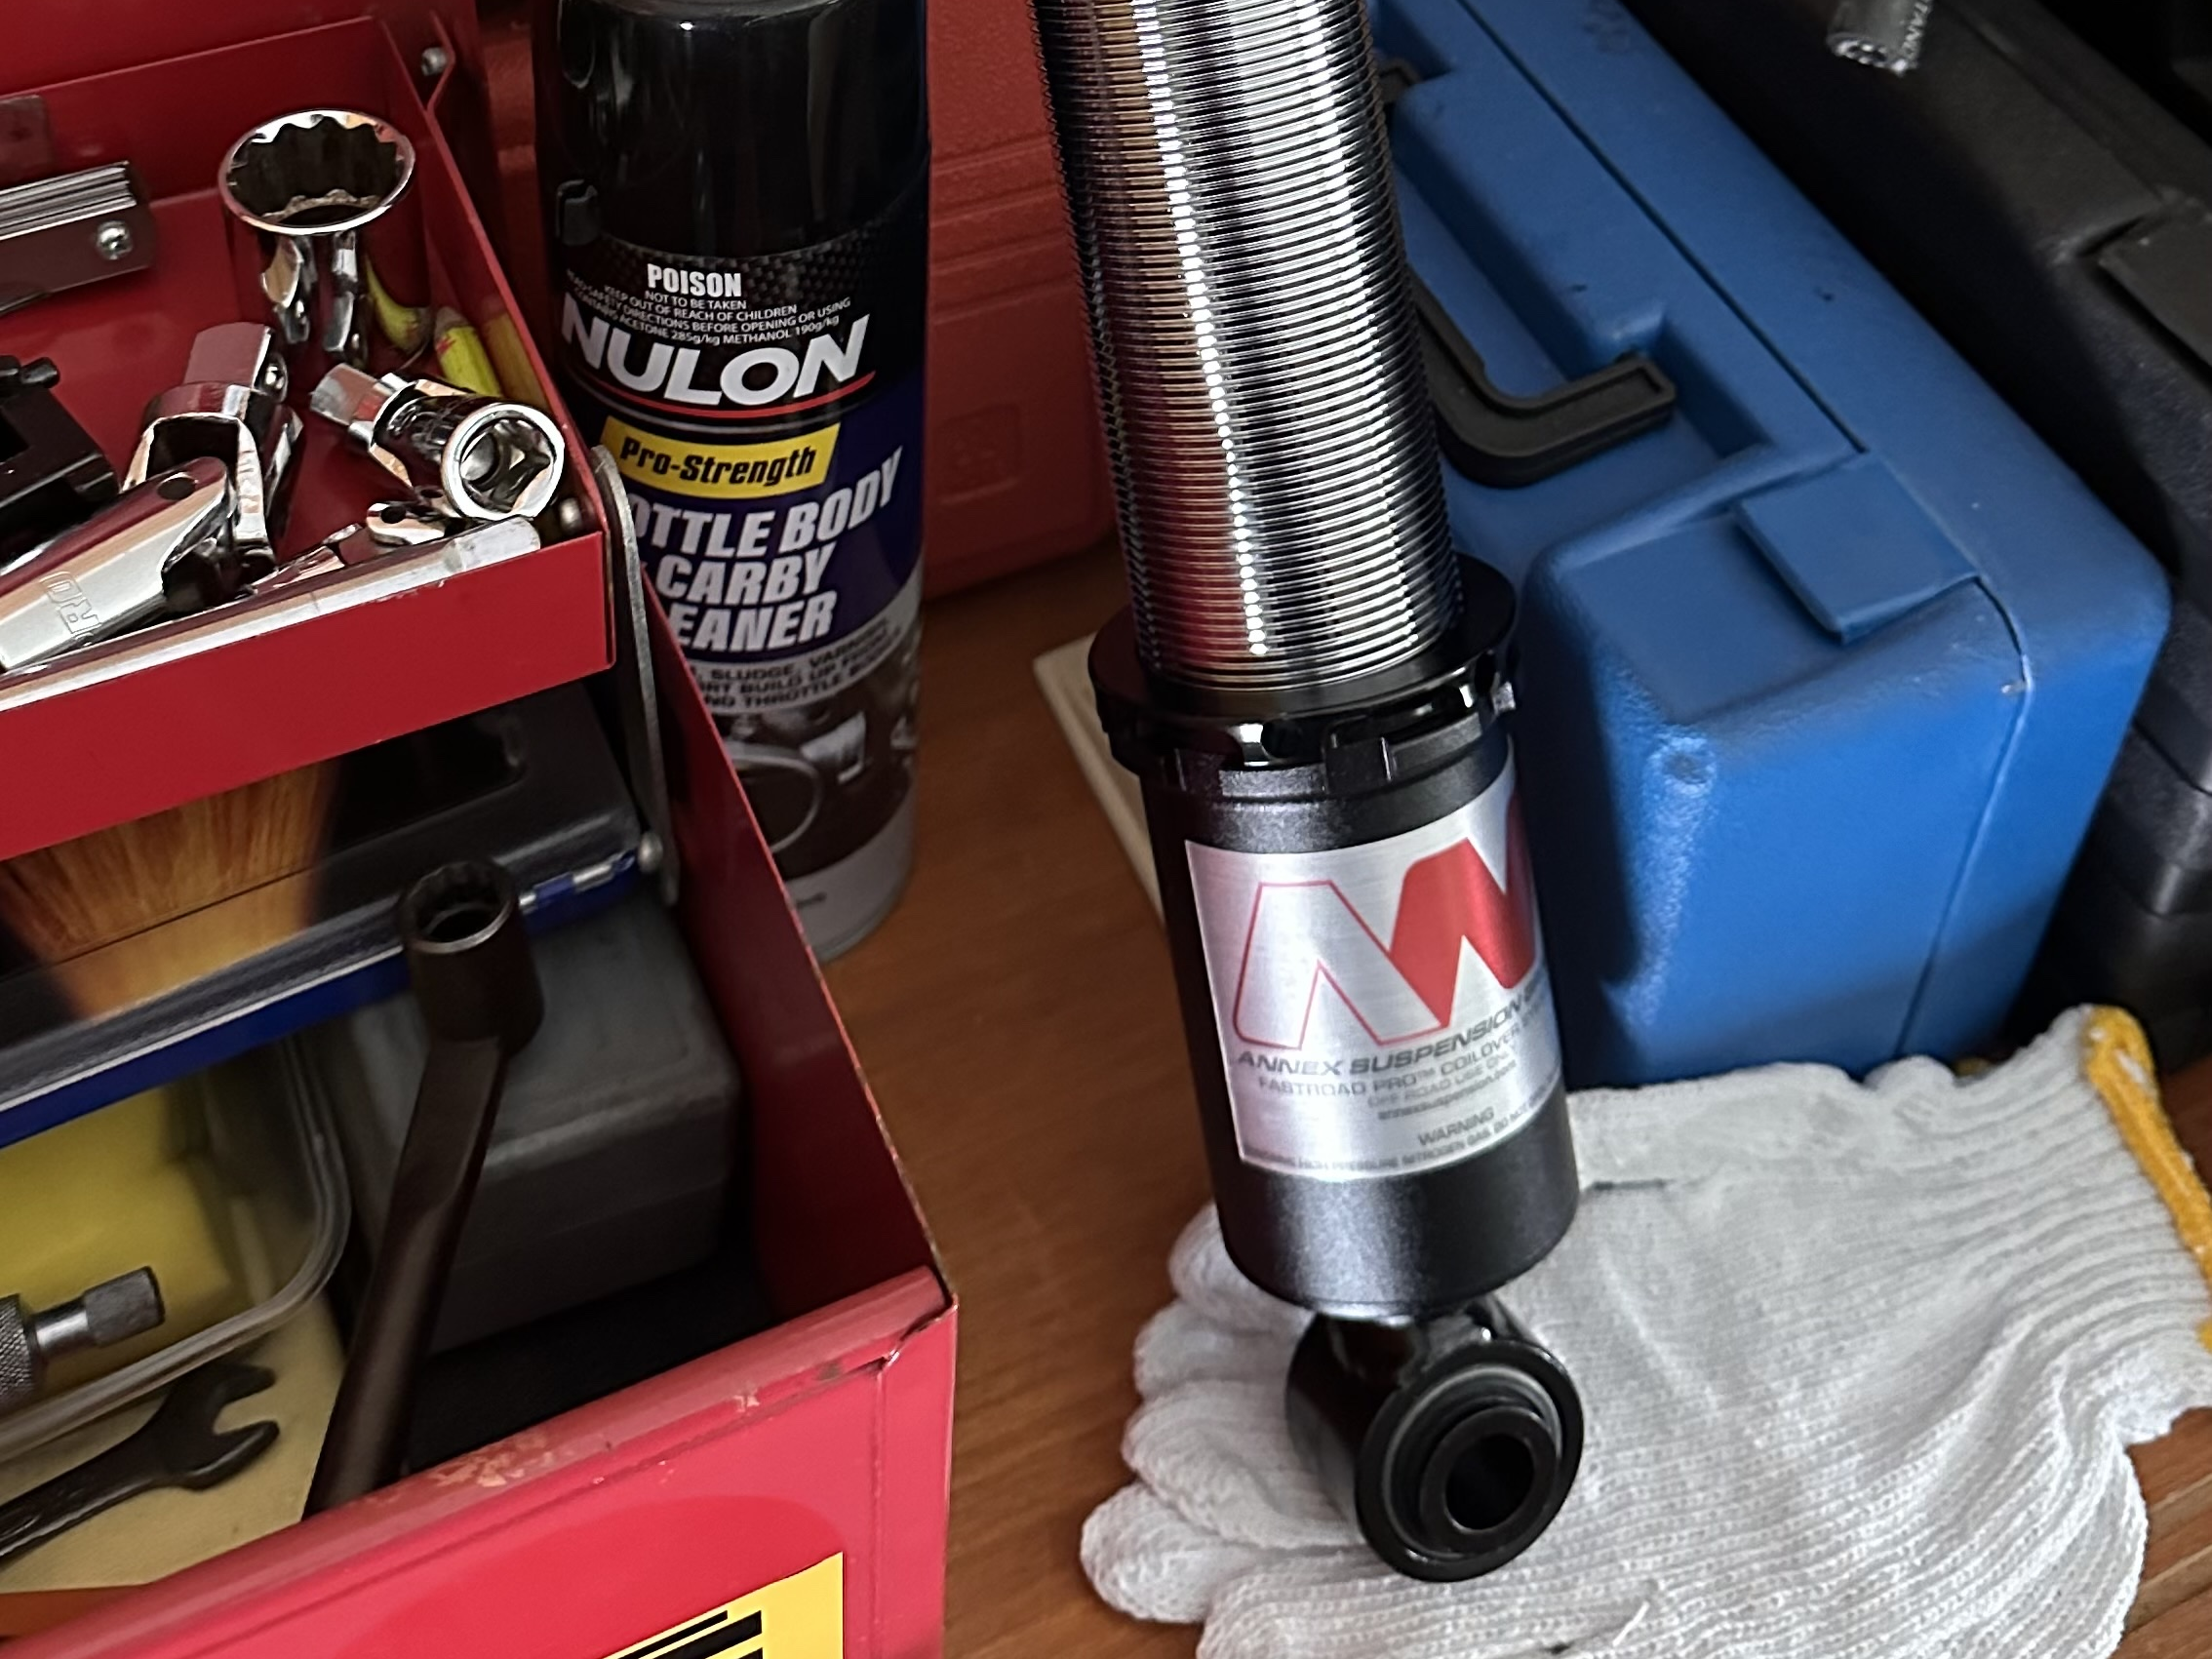
In place of the old dampers were the new BGRS x Annex set. This took a while to get right… to put it simply, if the rear axle wasn’t at the right angle, you won’t get the luxury where the dampers simply slide into the axle mounts properly…

When everything came together, it was time to do all the double, triple-checks before going out for a test drive. If all goes well, a new baseline would need to be dialled in.
Constant checks, dialling things in and finding the baseline
After I was comfortable that the assembly was indeed working properly, I started recalibrating myself to the new setup and monitored for any new behaviours beyond my experience. While finding those new connections, a new baseline was slowly being established.
I’m still testing the new setup, but what I’ve found consistently interesting is the behaviour of the dampers. Not only are they more compliant, they’re also very consistent in behaviour, making them much more predictable. The biggest difference I’ve noticed so far is how well the rebound is regulated in these dampers. As a quick example, my old setup (being standard dampers for many cars) had a pretty strong, short, snappy rebound – couple that with a heavy, linear spring, it would cause the wheels to skip in the air mid corner. With these new dampers, the rebound is stretched out longer and the springs would progressively even out the load. The wheels don’t skip violently anymore, making things much more manageable. This is just one of the many things I’ve noticed so far and I’m looking forward to making more observations.
