After spending hours getting things dialled in, my old Greddy Type S coilovers retired for good… One of the dampers blew, pausing all movement for months…
After saving for a new set, I wanted to find something more modern and compliant. This led me to BGRS and their collaboration with Annex Suspension Group:

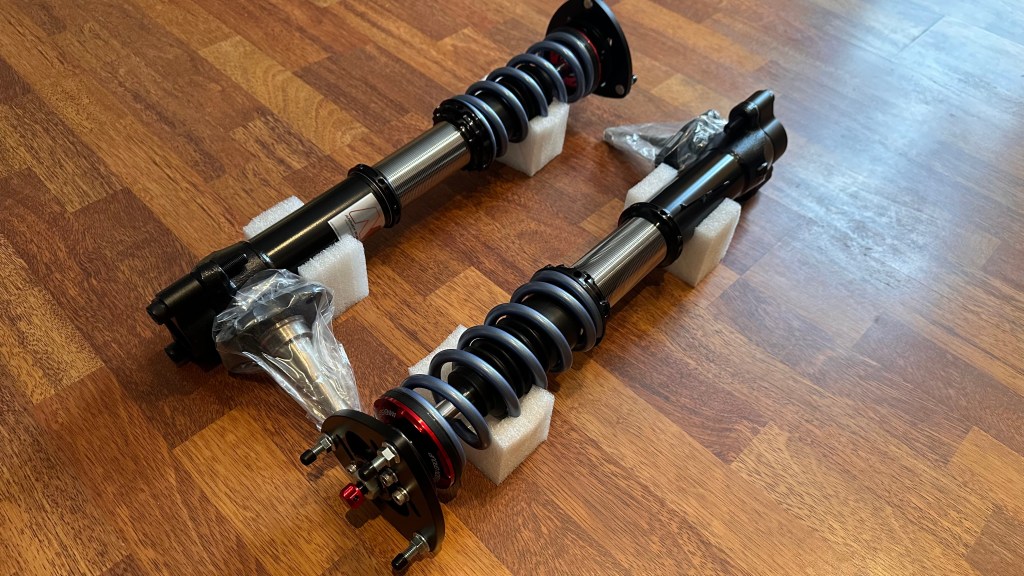
Replacing the rather harsh Greddy Type S coilovers are new, much more compliant and tailored FastRoad Pros. The BGRS customer service was excellent – helping me decide on a configuration that suited my application most. We ended up with swift springs – 6.0 kg at the front and 4.7kg in the rear:
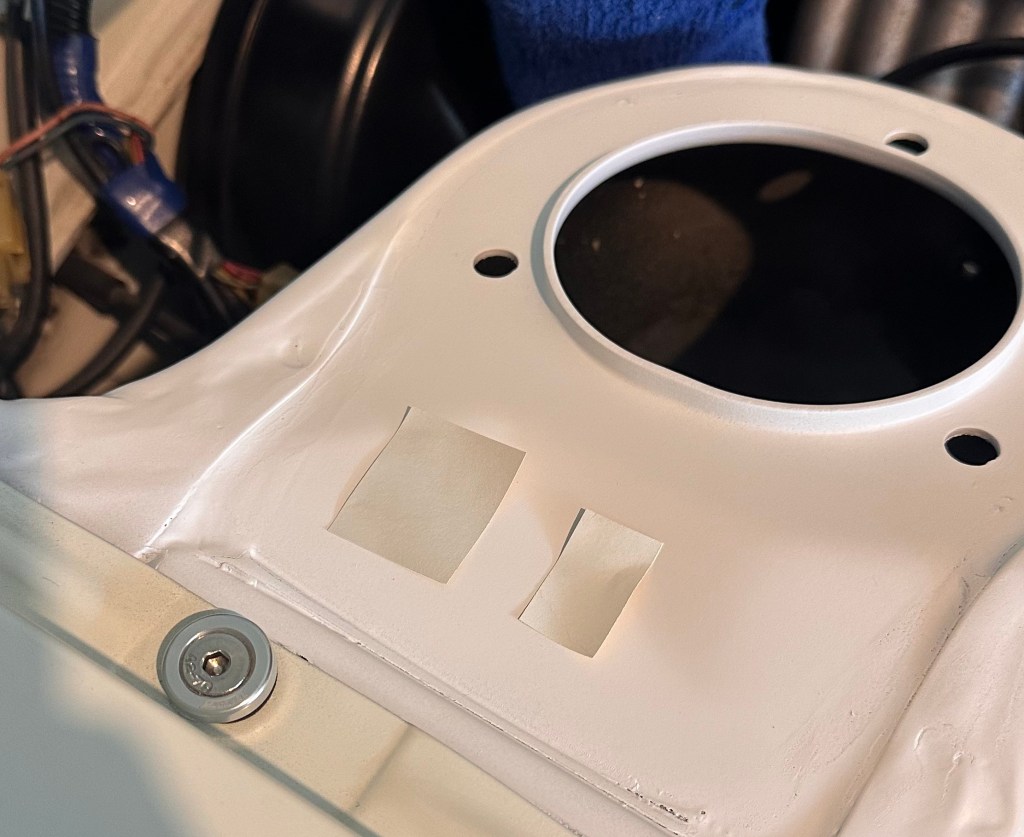
After taking everything out, I took the opportunity to give the mountings points a refresh. It ended up being the right thing to do as I found some minor surface rust developing. The rust was sanded off and the entire region was scuffed over before being prepared for primers:
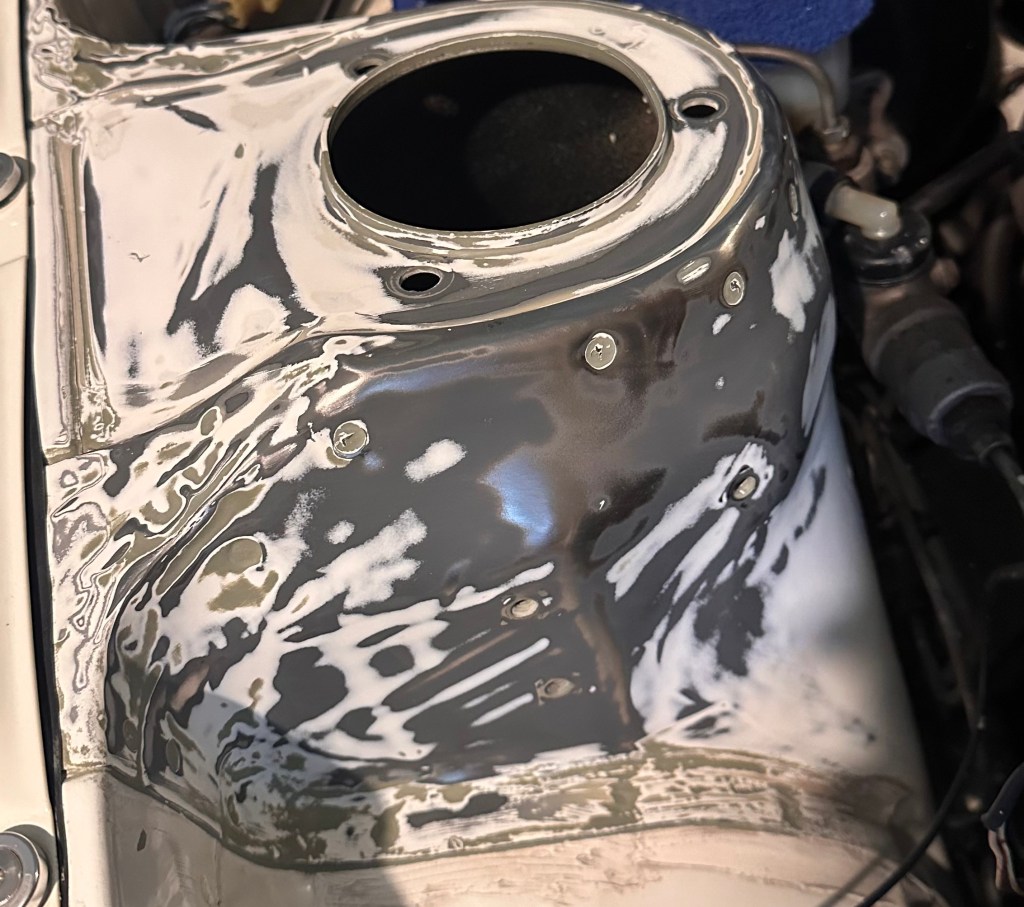
Etch primer on exposed areas (exposed metal) and sealed things up with acrylic primer. The primers I used were from the same system, so they were compatible with each other in the bonding process/window – this saved some time as I didn’t have to wait until things were fully cured and stable first:
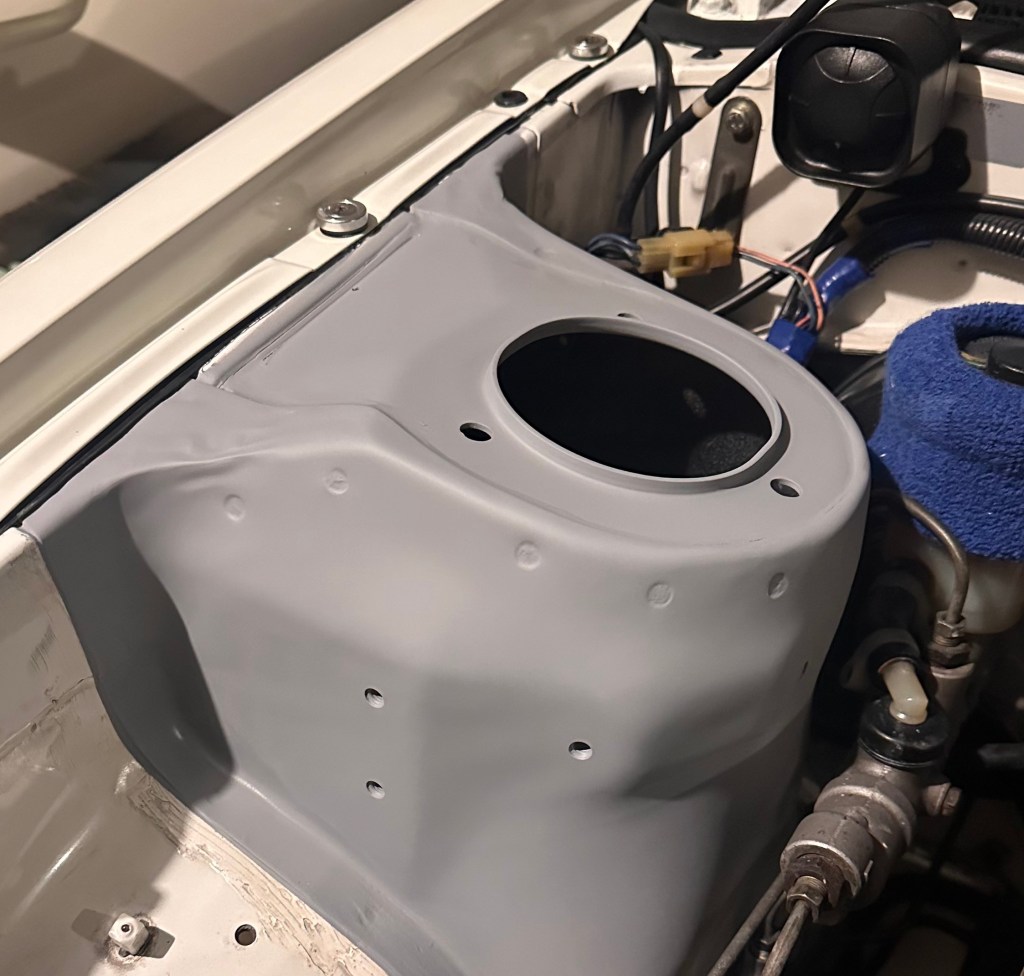
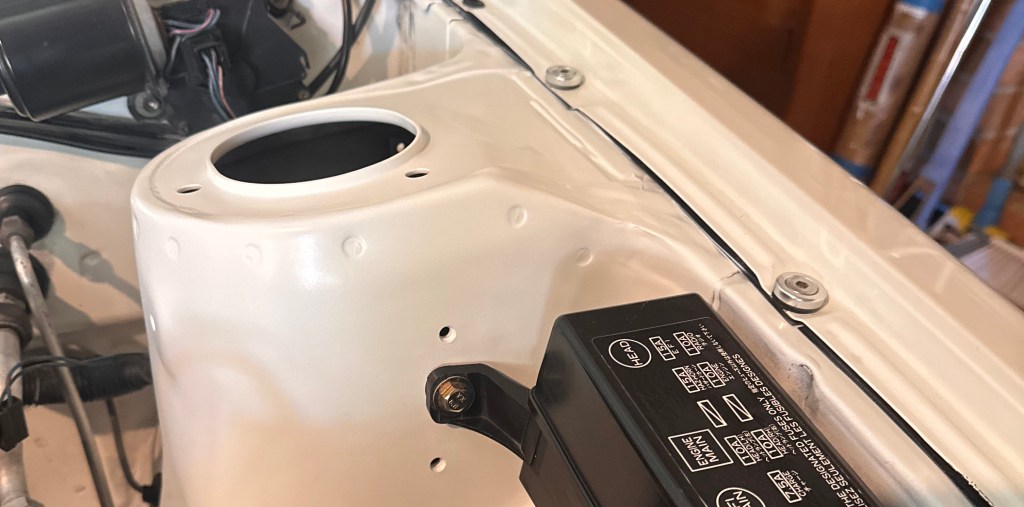
Within the next bonding window, I applied paint. First coat of paint didn’t go so well though. Realised I mixed the wrong colour code (040) and it was quite obvious. Toyota New White 041 (1984) was the correct one and after mixing a new can, the swatches I made confirmed it 🙂
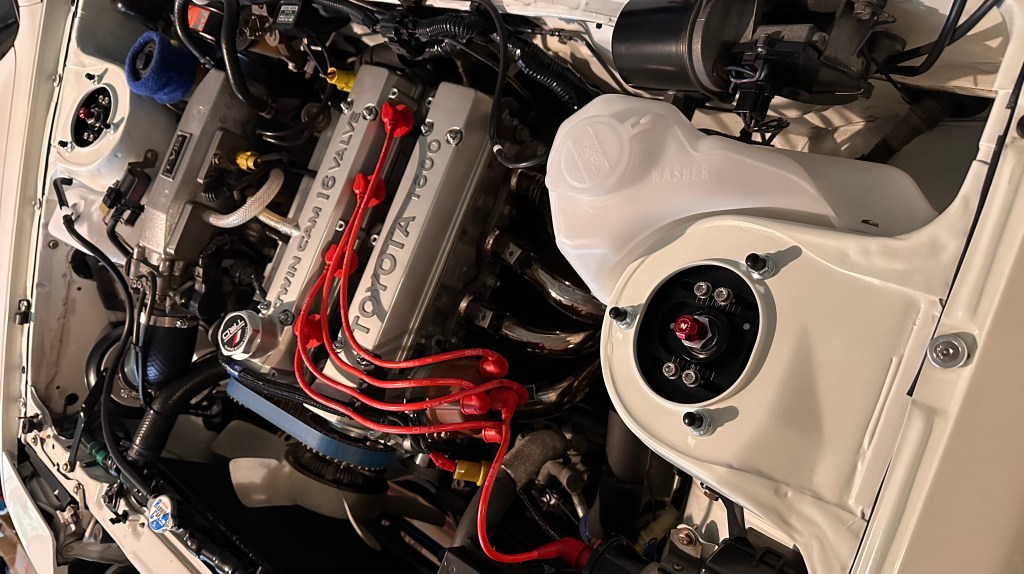
Unless you have access to a well equipped paint shop, it’s hard to get someone to help you get it like-for-like and mix on the fly. As a trade off, I would be content for the engine bay, as long as it was fairly close:
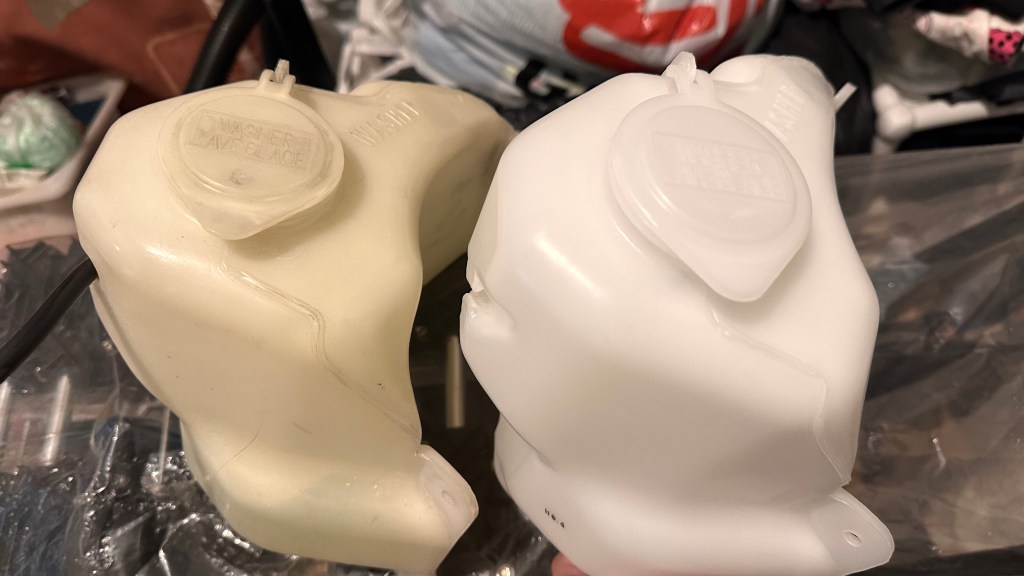
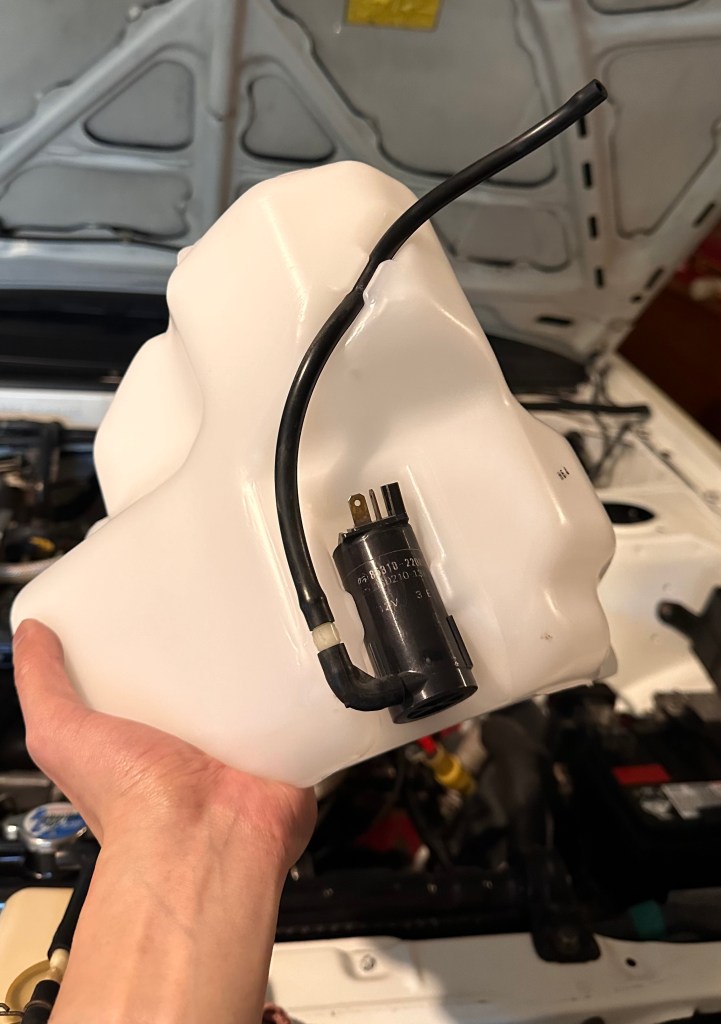
“While you’re there” certainly set in around this time, as proof, I ended up ordering a new washer bottle:

…and an overflow bottle:

Comparisons to my original ones:
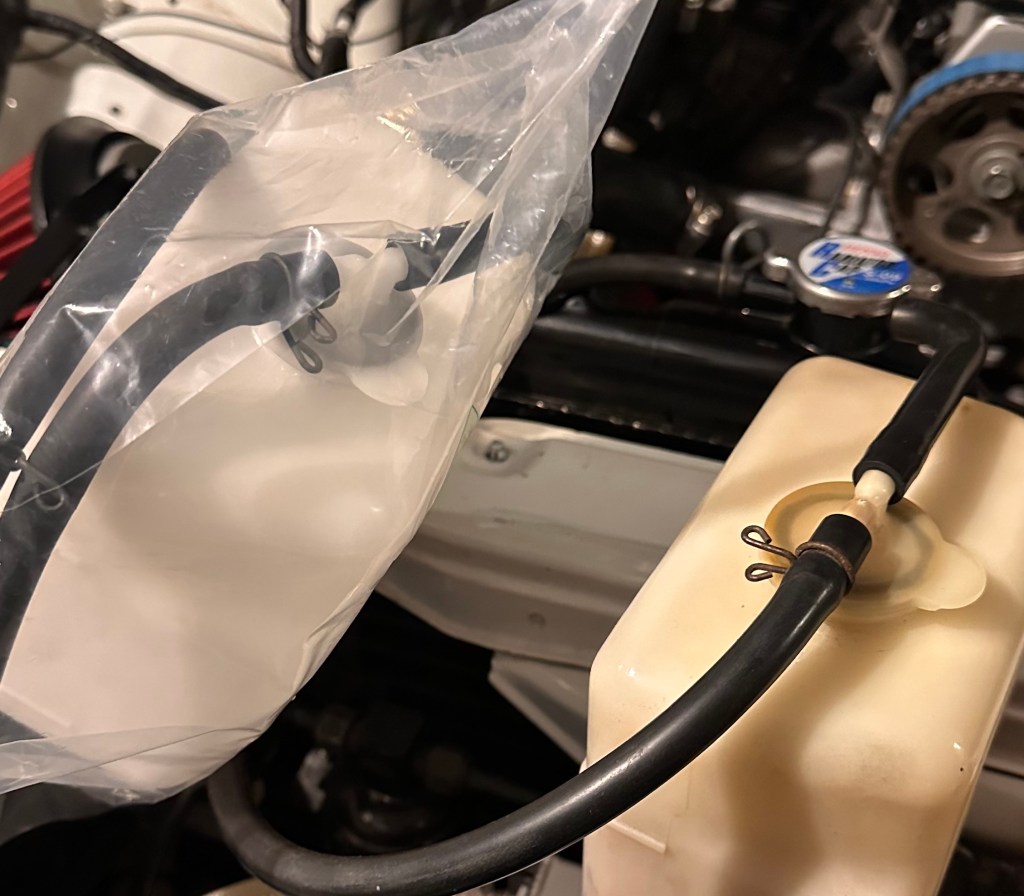
My old washer pump swapped into the new bottle:
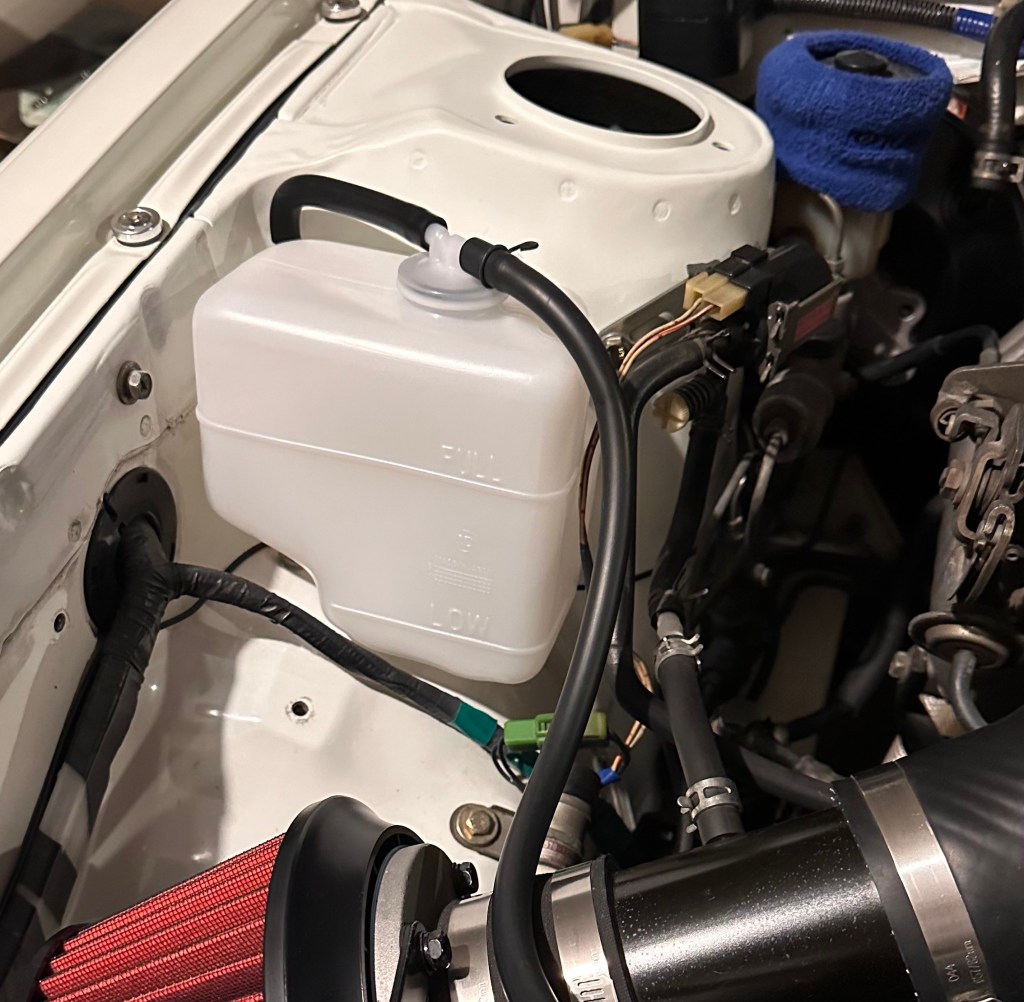
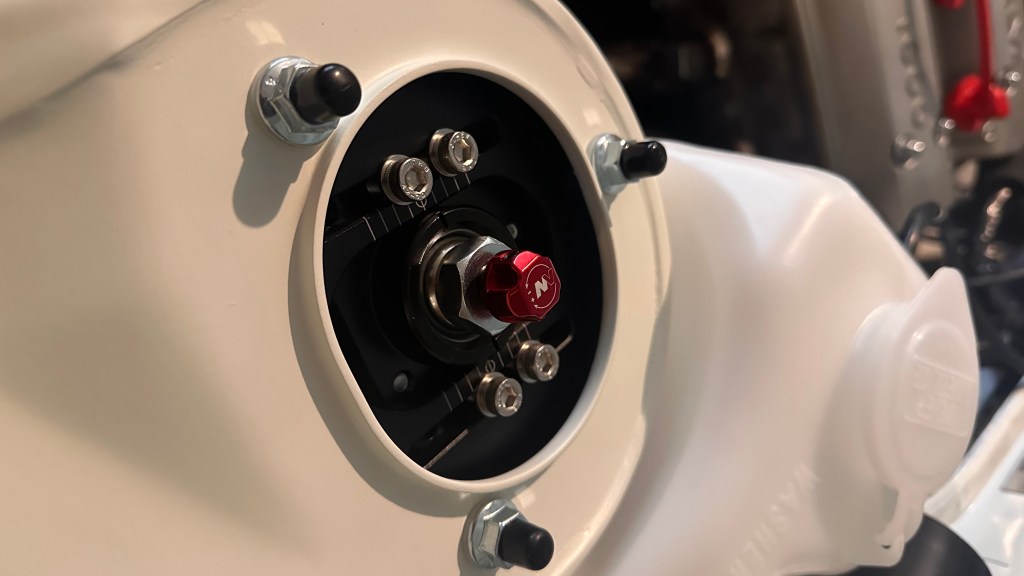
Washer bottle fitted into place:

Overflow bottle fitted into place:
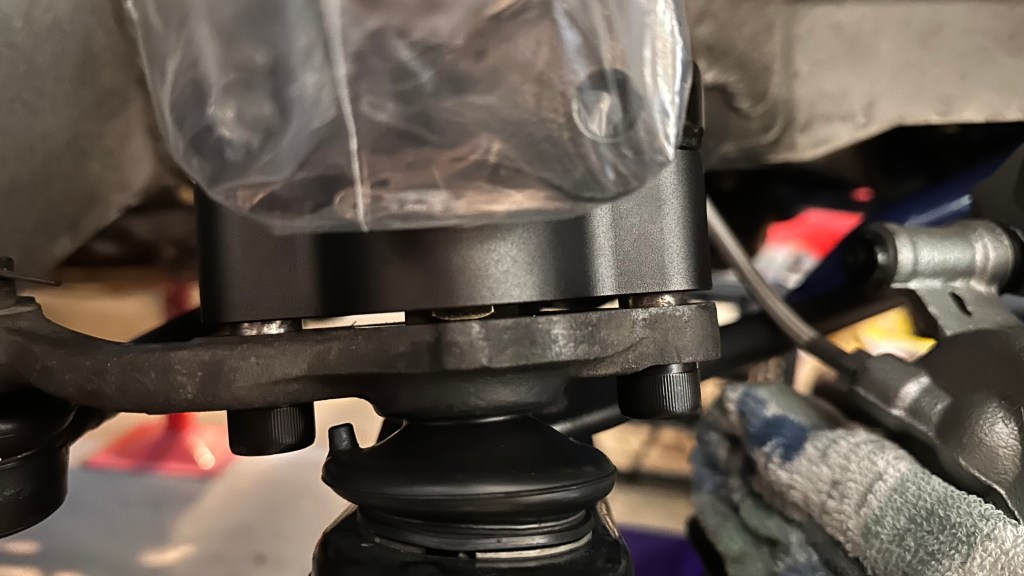
Back to the suspension – in general, you want to fixate everything in sequence, specifically from bottom up. That is, the base of the strut and knuckles first before the strut tops. This allows things to be fixated and aligned properly first, and center the upper hats properly later.
To ensure the bolts slide in without the lower control arm hitting it, you may have to turn the steering wheel slightly:

So that the end of the knuckle points out, allowing you to slide the bolt in (without hitting the control arms):
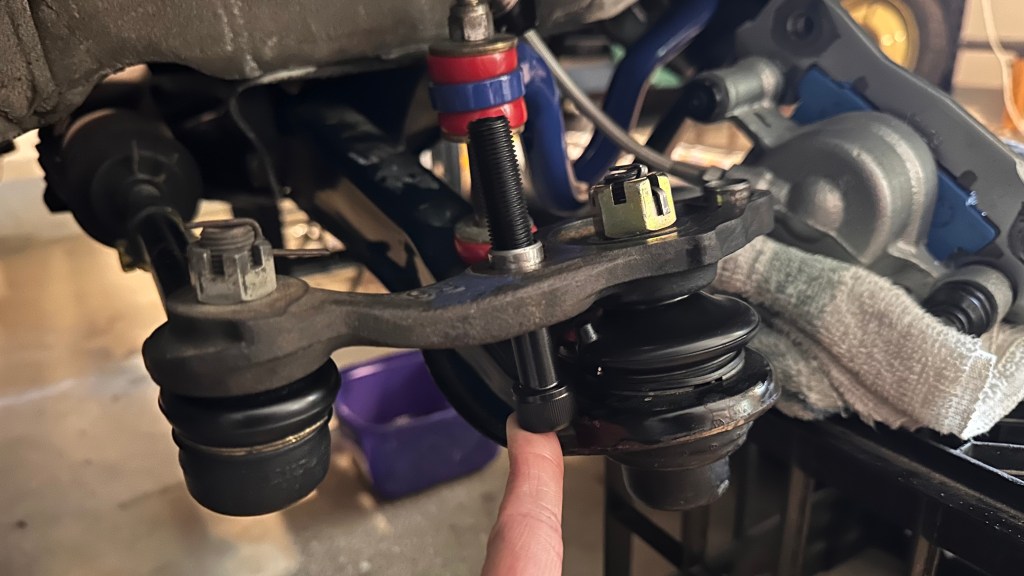
I also recommend putting the RCAs on first (roll center adjusters), once they’re in the knuckle, you should have enough clearance to cup the strut base in. If you try to put it on the knuckle with the RCA already in the strut, the bolt holding the knuckle in may get in the way.
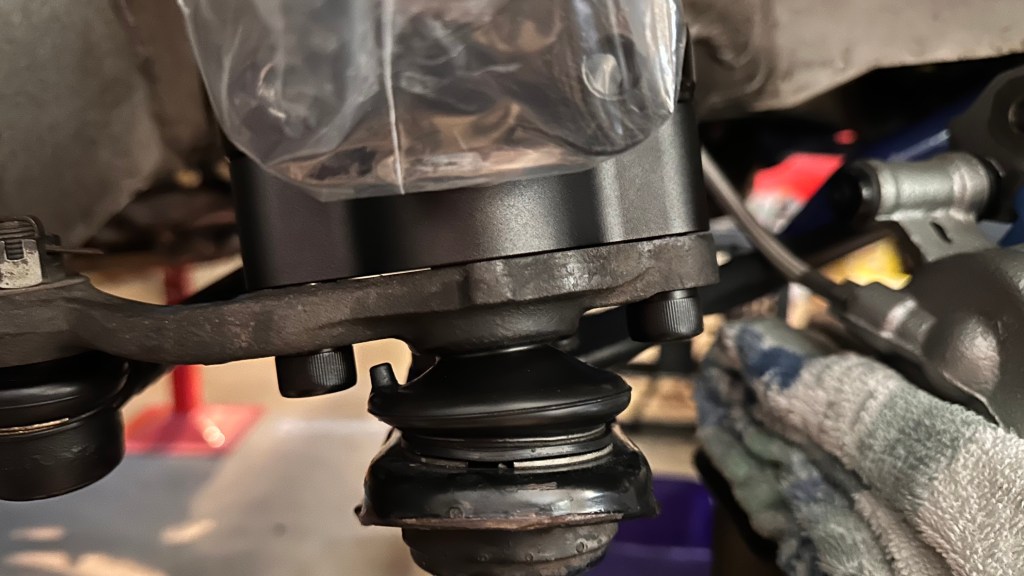
If all else fails, you can always reduce the height of the strut (not the preload!) BGRS have already loosened them for you – which is a nice touch!
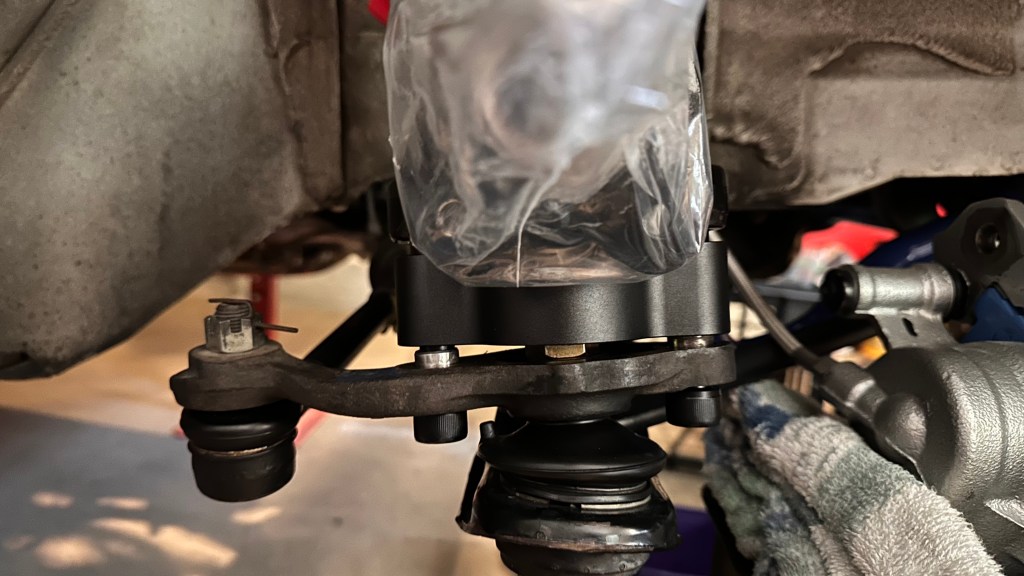
Also worth noting is that the RCAs that come with these coilovers appear to be crushable, the metal ring at the base is softer, ensuring that the fit is snug. You want to make sure things are seated down properly by tightening each side evenly:
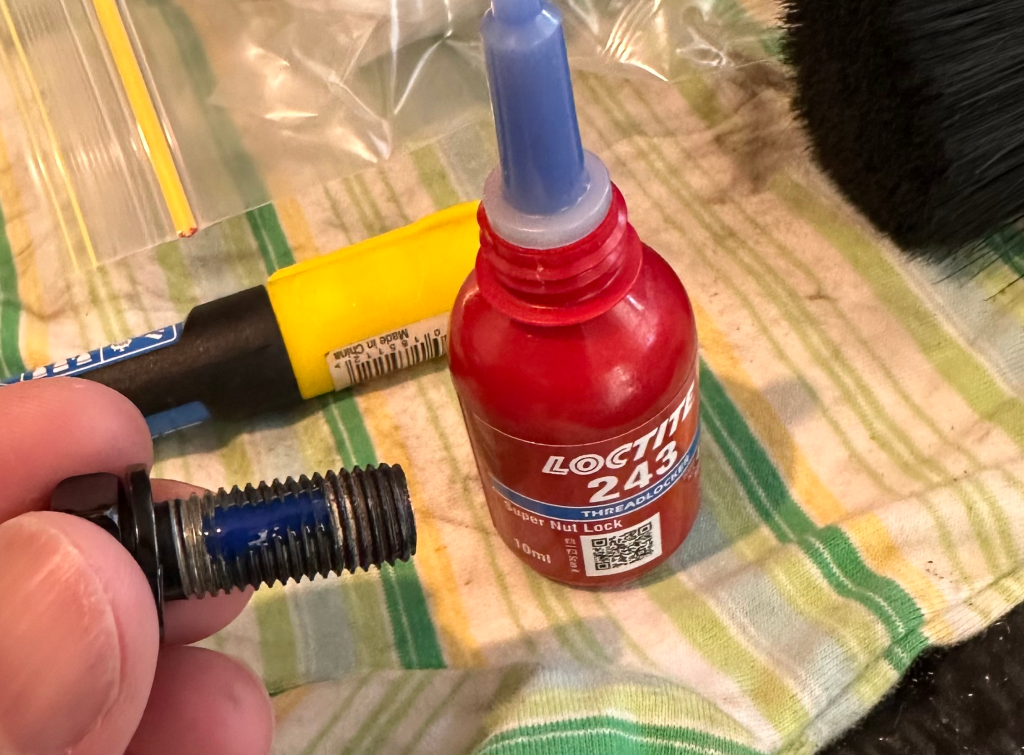
If you want to torque these bolts down, put on some thread adhesive (Loctite blue) – I only did this after checking that everything fit together with no issues:
Everything else was hand-tightened for now… which is why there are hard plastic washers at the base of the bolts, protecting the paint work. Once I resume working on the suspension (hopefully next weekend), I intend to carefully center the upper hats:
Since the weekend is almost over, I’ve left it at this stage for now 🙂