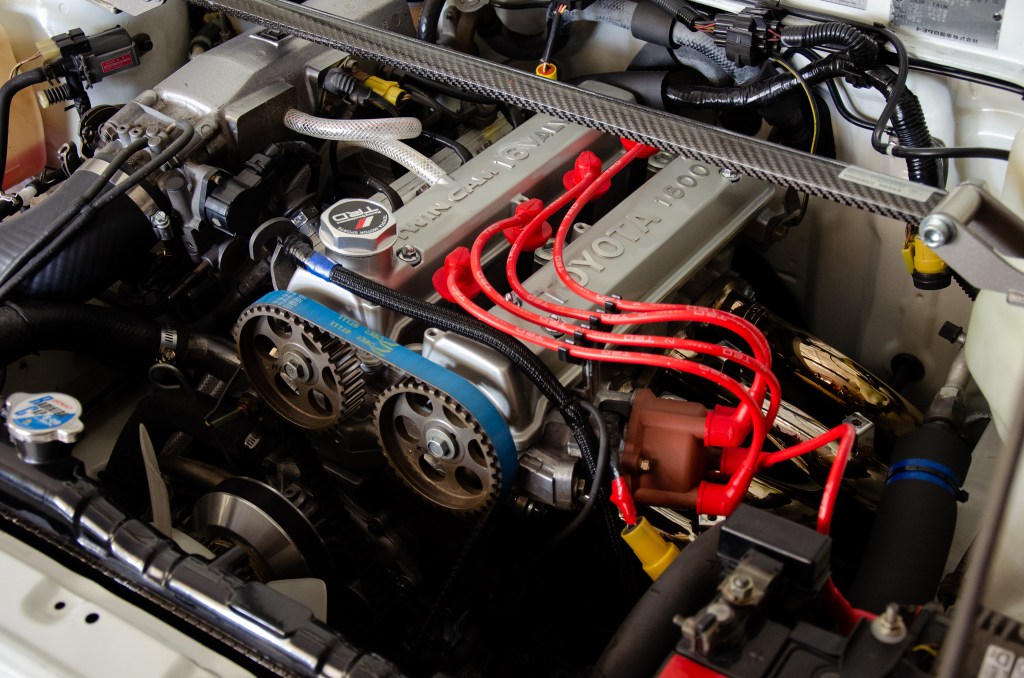
My 4AG engine developed more noise around the rear – towards the end of the exhaust cam. The 4th cylinder was also noticeably hotter… Further investigation revealed the 4th runner was always discolouring first:
Initial thoughts were a bent camshaft and/or worn connector rod bearings (4th cylinder). Seeing that the bearings were overdue for an inspection anyway, I decided to give the sump region the attention it needed… and boy, was it in poor shape…
The Old Sump
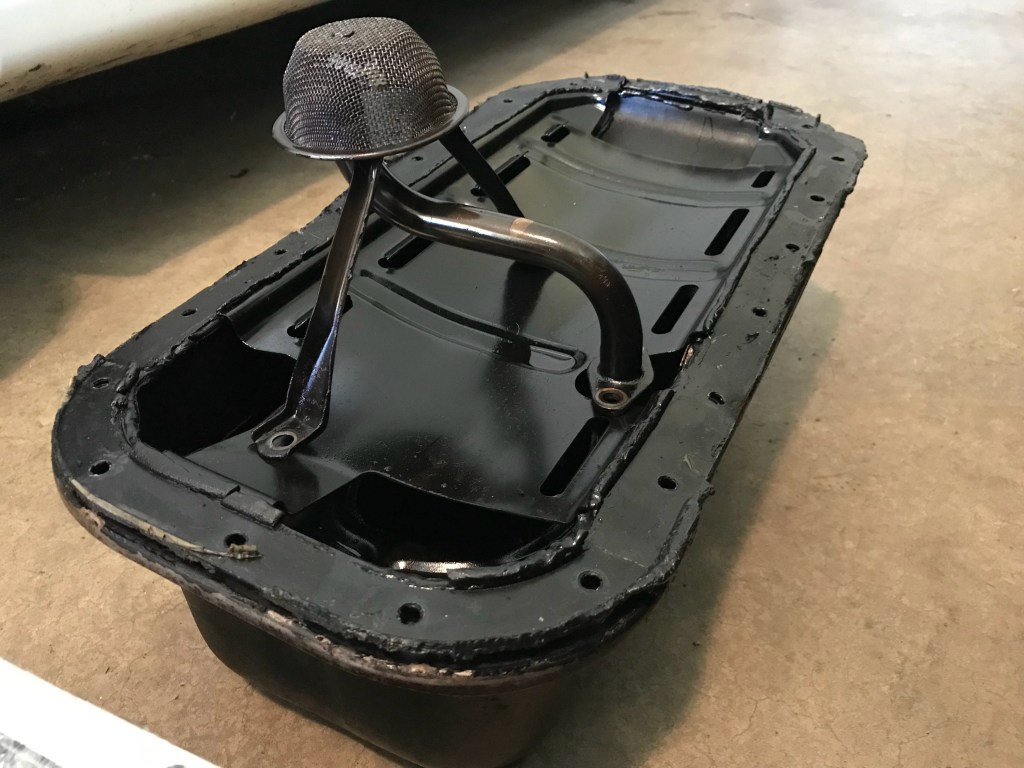
The sump appeared to have leaked at some point and excessive amounts of sealant was used to patch it up. I was determined to clean up the accumulated mess and make future maintenance easier.
Unfortunately, the sealant hardened so much that I couldn’t cut through it, making prying almost impossible (as you can’t create an opening in the seal). The more I tried to make an opening, the more risk in damaging the block surface. Eventually the sump was sacrificed and used as leverage on itself – evil, I know… After bending it back slowly, the terrible sealing job ‘finally’ gave way. The bearings were now accessible:

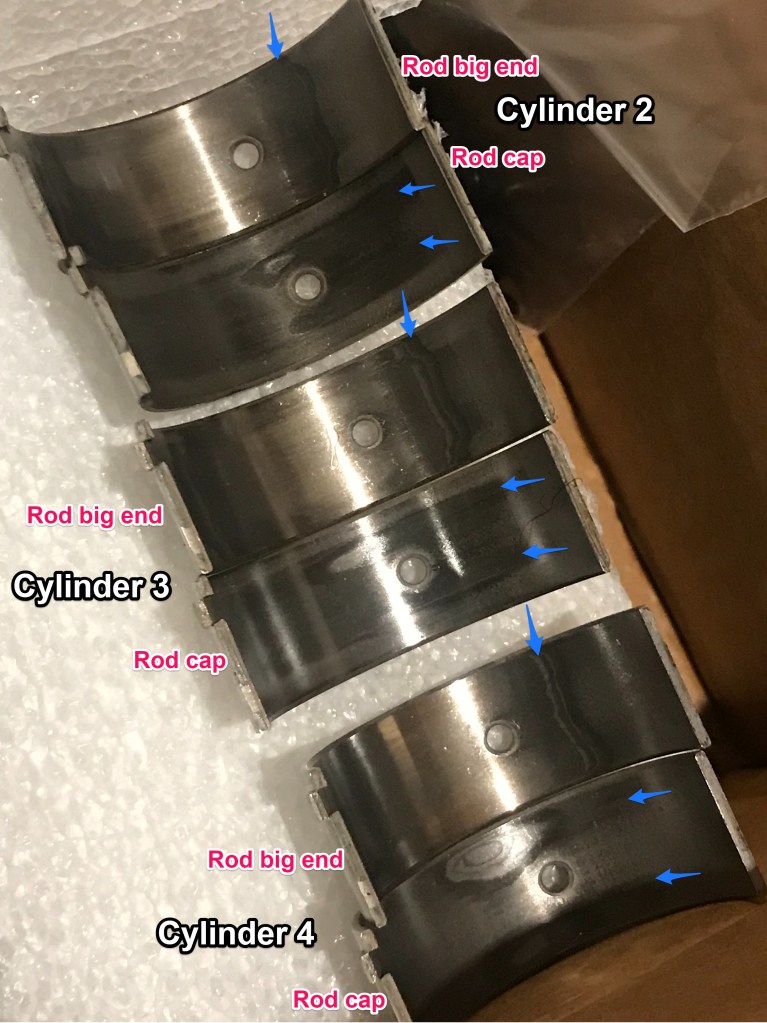
Connecting Rod Bearings Inspection
The bearings had the usual signs of normal wear. It’s not until I inspect the new bearings over time before I can gauge where things are at.
Cylinder 1 felt the tightest (compression wise) and had the least amount of bearing wear:

The 4th cylinder bearings had signs of wear. Most of the noise came from there too. At this point I was pretty sure why it was heating up faster than the rest of the cylinders. It also felt the least tightest, so I’m keeping the piston rings in mind too:
I used a socket wrench to rotate the crank slowly to reveal the bearing cap bolts. After removing the bolts evenly and release the cap, you can carefully push the rod up and over the crank journal. and the sequence I used allowed me to access the bearings easier – I didn’t want to forget it, so I created a diagram lol:

New Bearings
When installing new bearings, make sure they are clean and free from debris and contaminants prior to lubricating them and installing them.
My early bigport 4AGE uses 40mm bearings. Installing the bearing caps in place require a bit of attention – ensure they are evenly bolted back on to 36ft-lb.
New MRP Sump Setup
Time for a new sump and windage tray 🙂
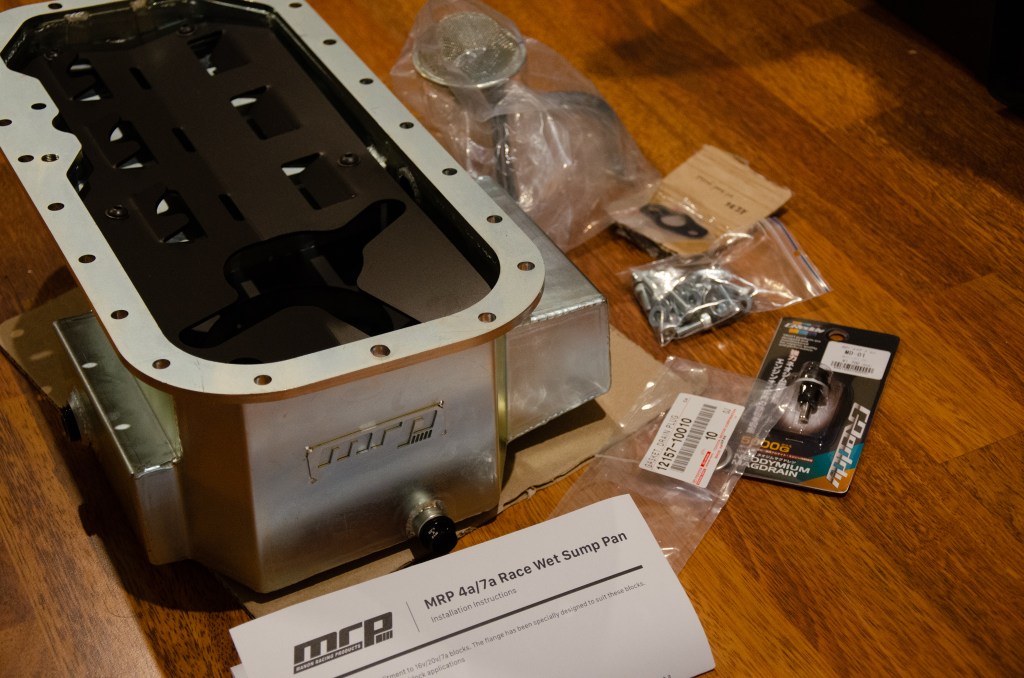
The MRP sump is baffled, larger in capacity and comes with an assortment of holes to suit different configurations. A windage tray is also built into the sump:
New Sump Installation
Clearance is tight, so installation is very very challenging if you decide to do this with the engine still in the car. It’s even worse if you’re doing it from the ground (this is what I did) – but it is possible…

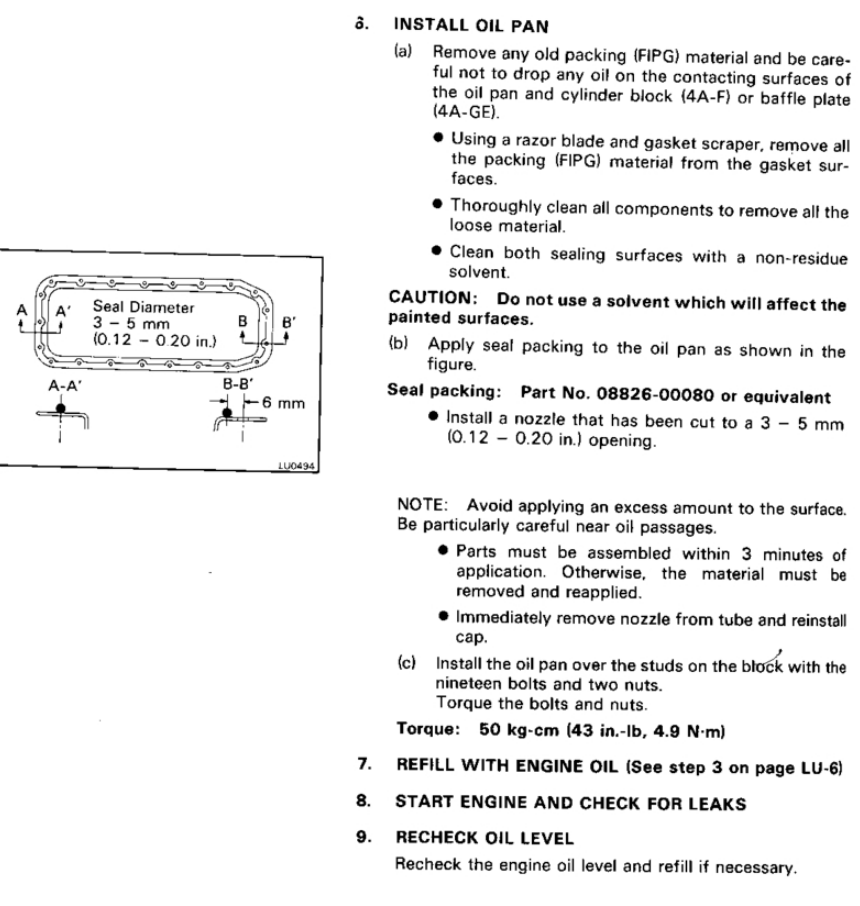
As directed by MRP, a gasket is not recommended (use good liquid sealant). I can also confirm this – even if your block is straight and true, the aftermarket sump is extremely rigid and a flat. A uniform gasket doesn’t provide a good enough seal when the assemblies move around in road conditions.
Because of its consistent shape by design, just a little pressure build up alone is enough for the gasket to lift between two very rigid assemblies. The slightest warp or movement on either assembly would make an opening.

A high quality, well applied malleable sealant is what’s needed to ensure two rigid assemblies are joined and can still move independently while keeping everything sealed.

It’s only when you use the OEM configuration where the gasket method works well. The OEM windage tray alone is installed first using a malleable sealant – this alone is sufficient enough to seal the block from any oil/pressure leaks. The OEM tray then mates with the windage tray using a gasket. Thus the windage tray becomes responsible for sealing the block and the OEM sump only needs to seal with the tray (and not the block). The individual pieces are much less rigid and a gasket is sufficient enough to keep these pieces sealed together.
TLDR: It’s whatever mates with the block that requires a malleable sealant.

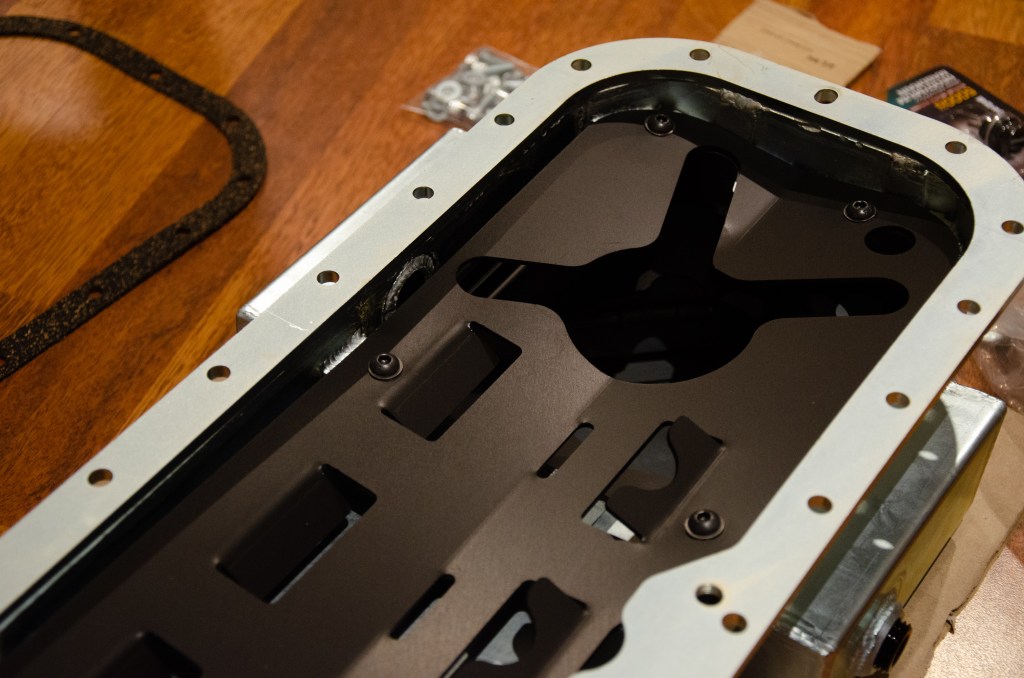
The OEM sump setup
The OEM sump is still a great option if you’re happy to forgo the extra capacity and mechanisms to minimise starvation (minimising the chance of the oil pickup sucking air). From a maintenance perspective, it provides the best clearance and ease of removal/installation – making future inspections much more straightforward.
(In the end, I actually decided to install the an original replacement over the MRP sump. I plan to use it on a 20v that I’m building on the side).

Oil pickup clearance issues
All that mumbo-jumbo aside, it’s extremely challenging to install an aftermarket sump with the engine on… with such little clearance on with the oil pickup in place, you have to semi-install things while guiding it all in. I had to put the oil pickup into the sump (not onto the block) and install the sump halfway through before carefully installing the pick up with what little room I had:

