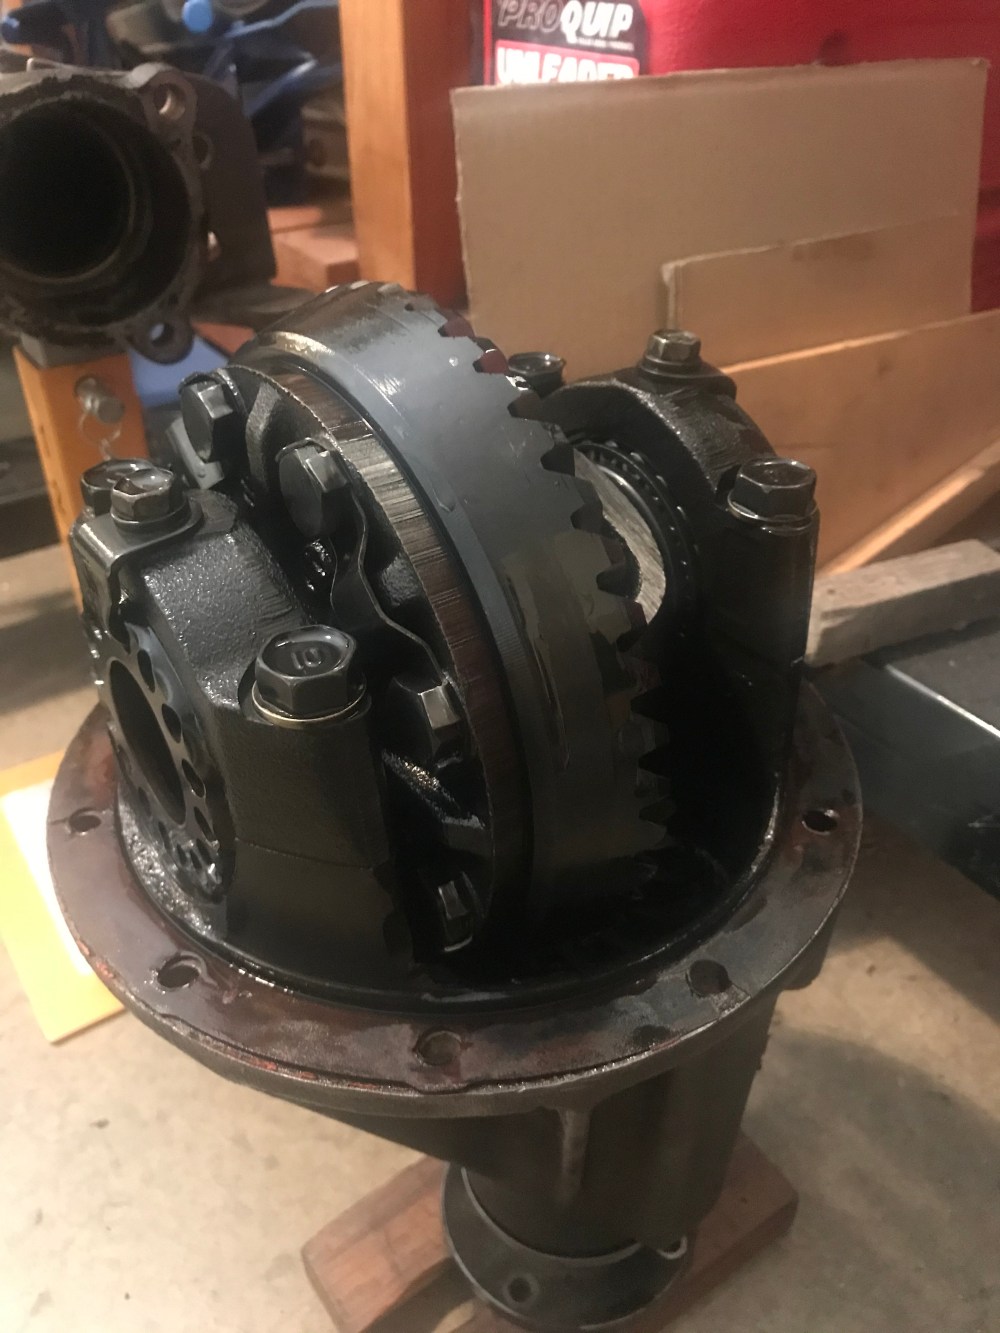
Yep… this time round, my zenki differential gets the treatment it deserves…
Using a slide-hammer, my axles started to come out slowly:

Here’s a picture of it gaining some distance away from the housing, you can see the bearing surface peering through:

Eventually it gave way and came out… the bearings were surprisingly in good condition:
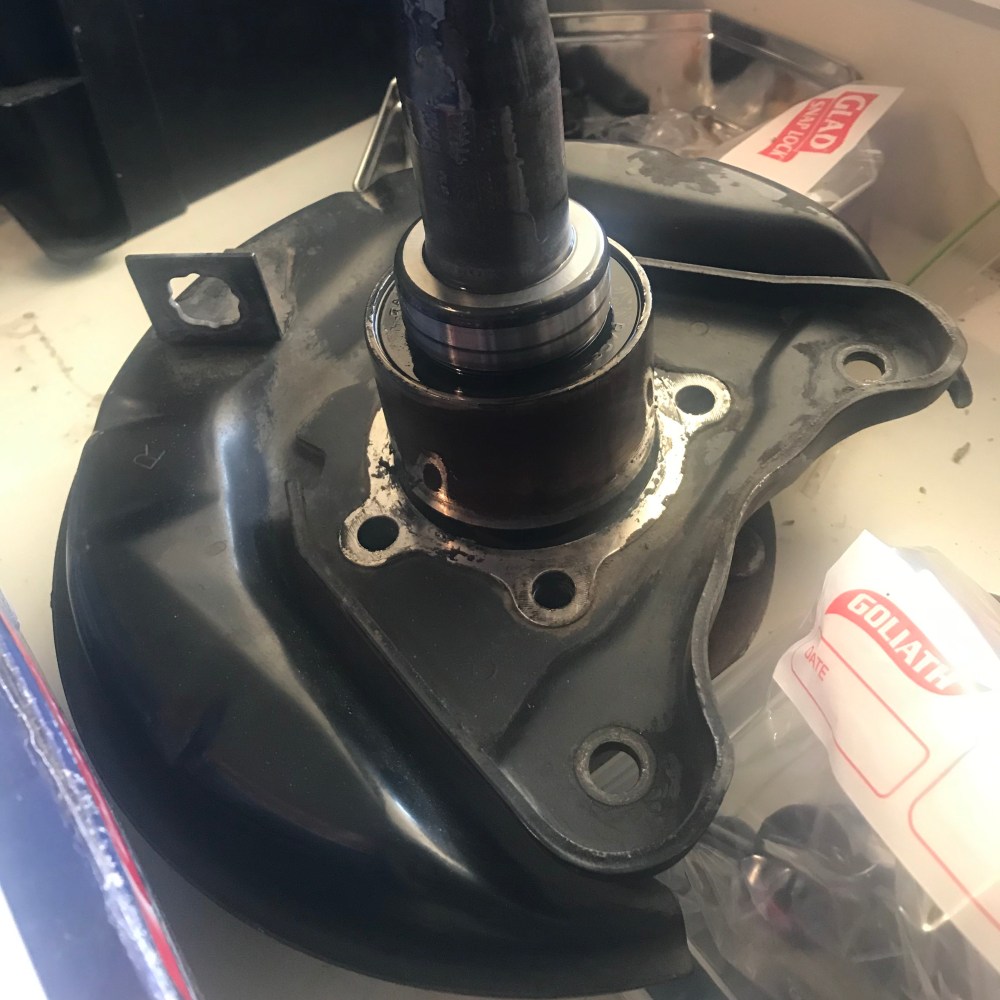
You can see the surface rust that developed around them – this is the common reason why they seize up, making them challenging to remove:

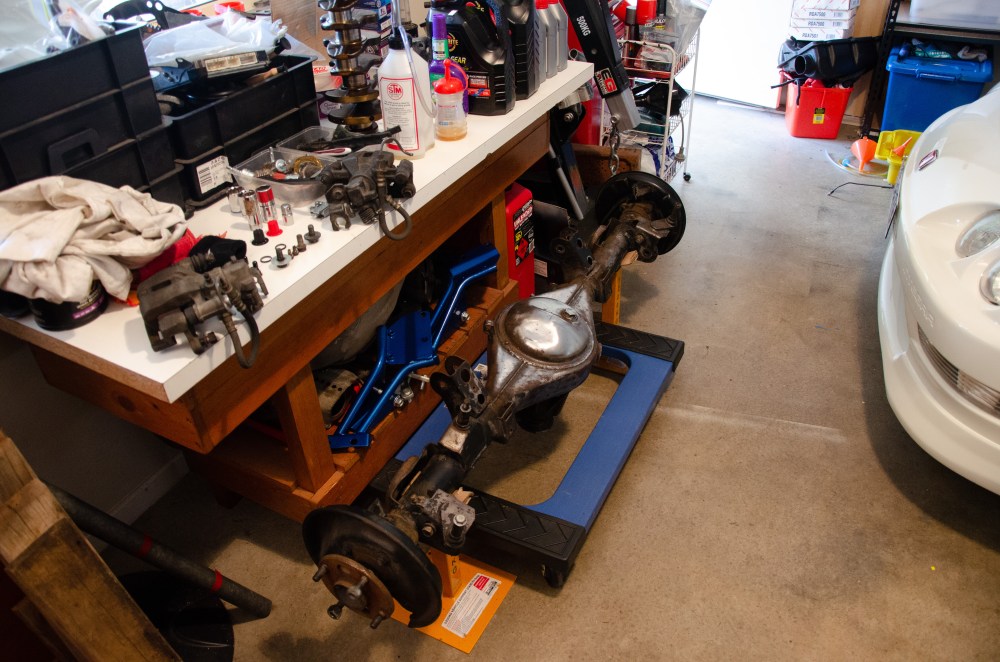
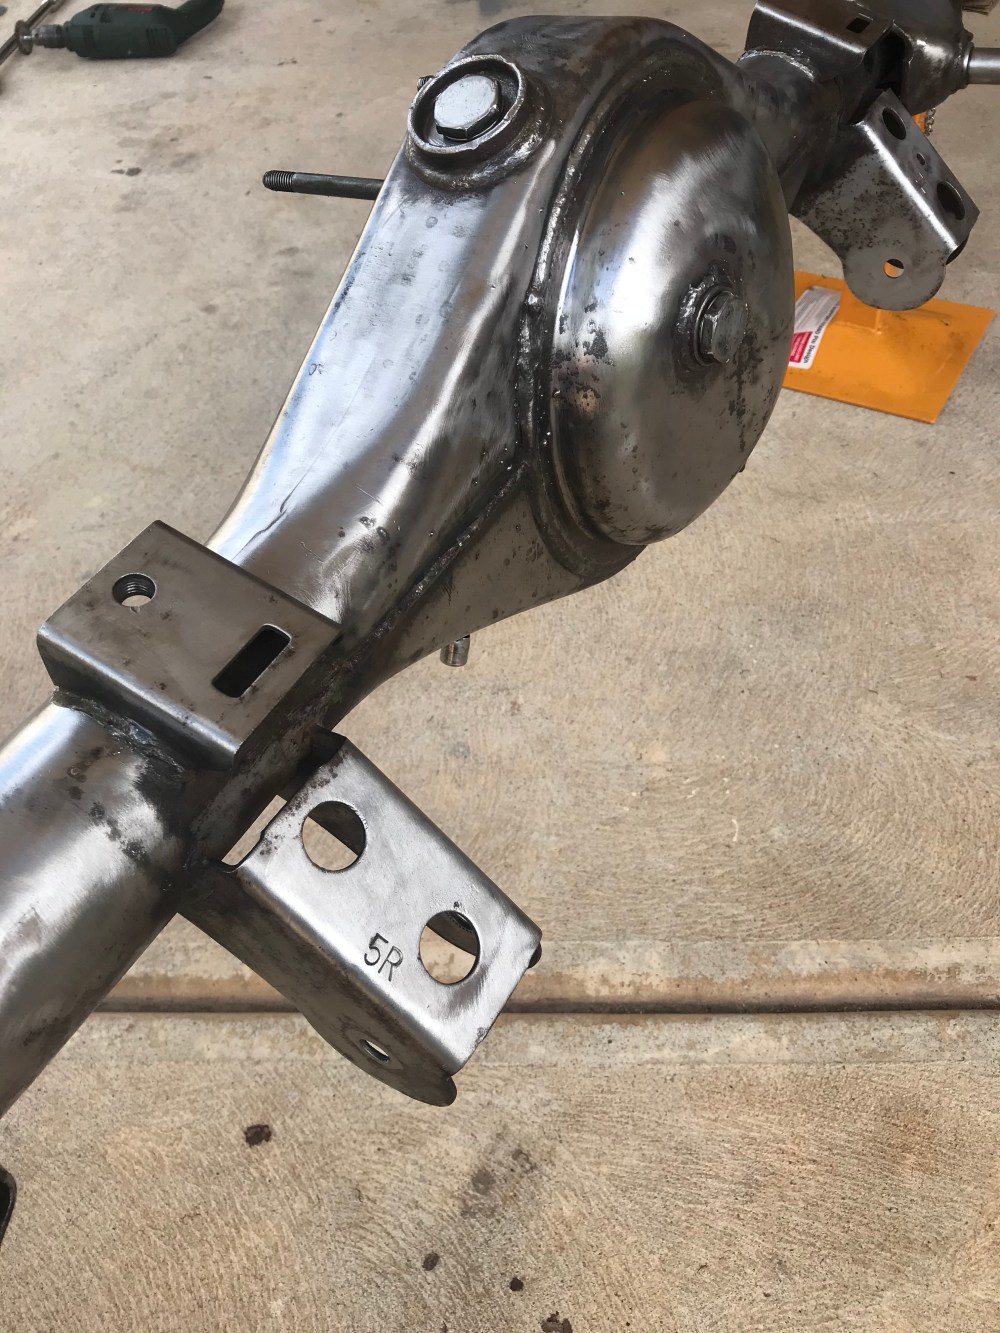
With the axles free, the differential was accessible too. With all the parts (and weight) removed, the housing was much easier to manoeuvre.
Wire-wheeled things down to bare-metal before finishing up with sandpaper for harder-to-reach areas. Again… with the axles and differential removed, the task was much easier to do.


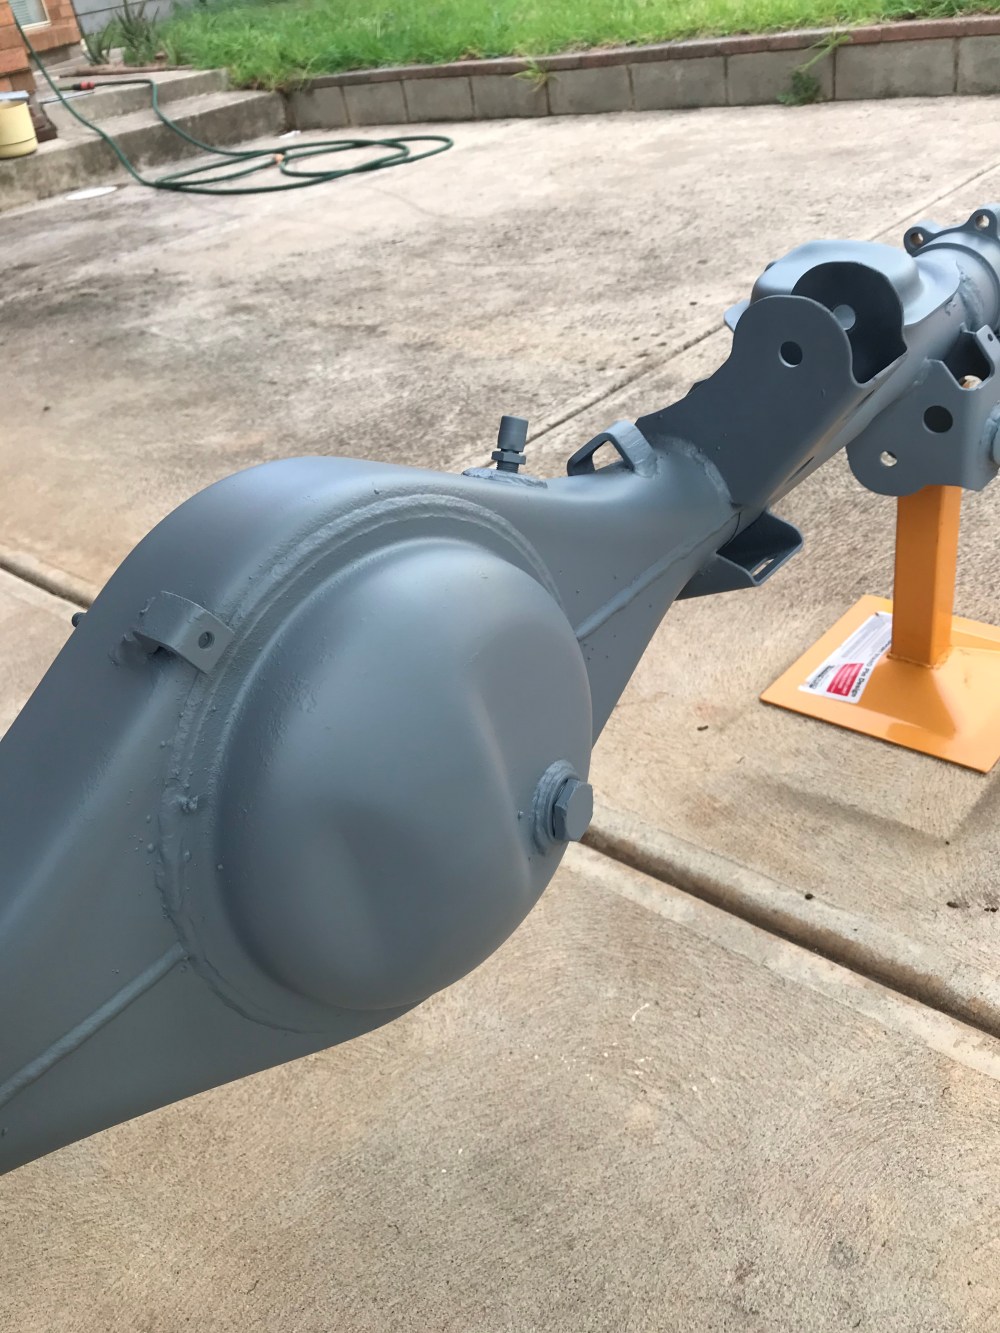
Added a light coat of rust treatment over the top:
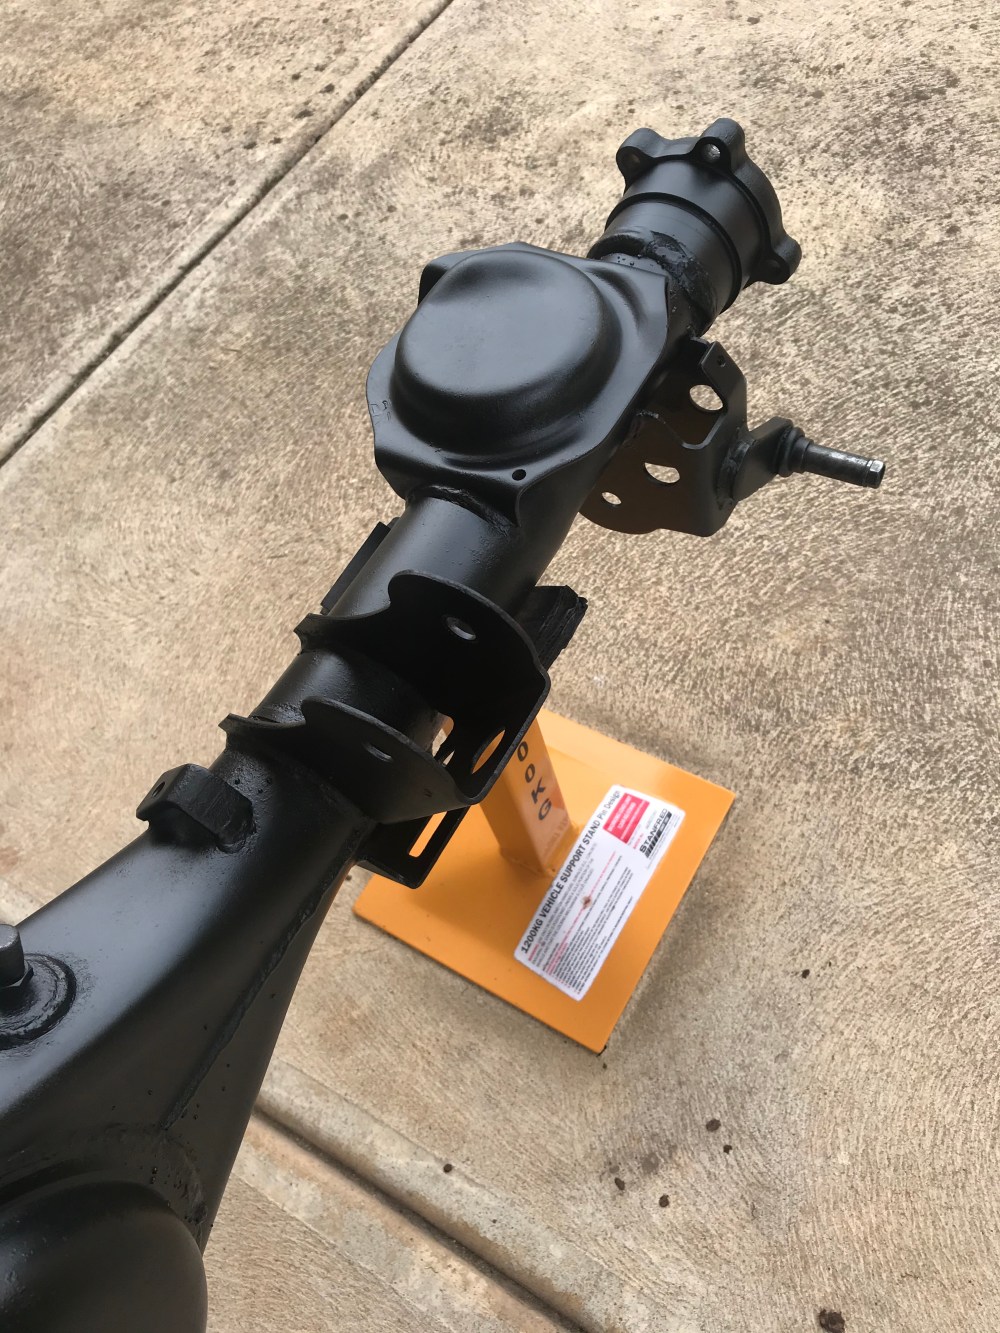
Followed by epoxy primer:

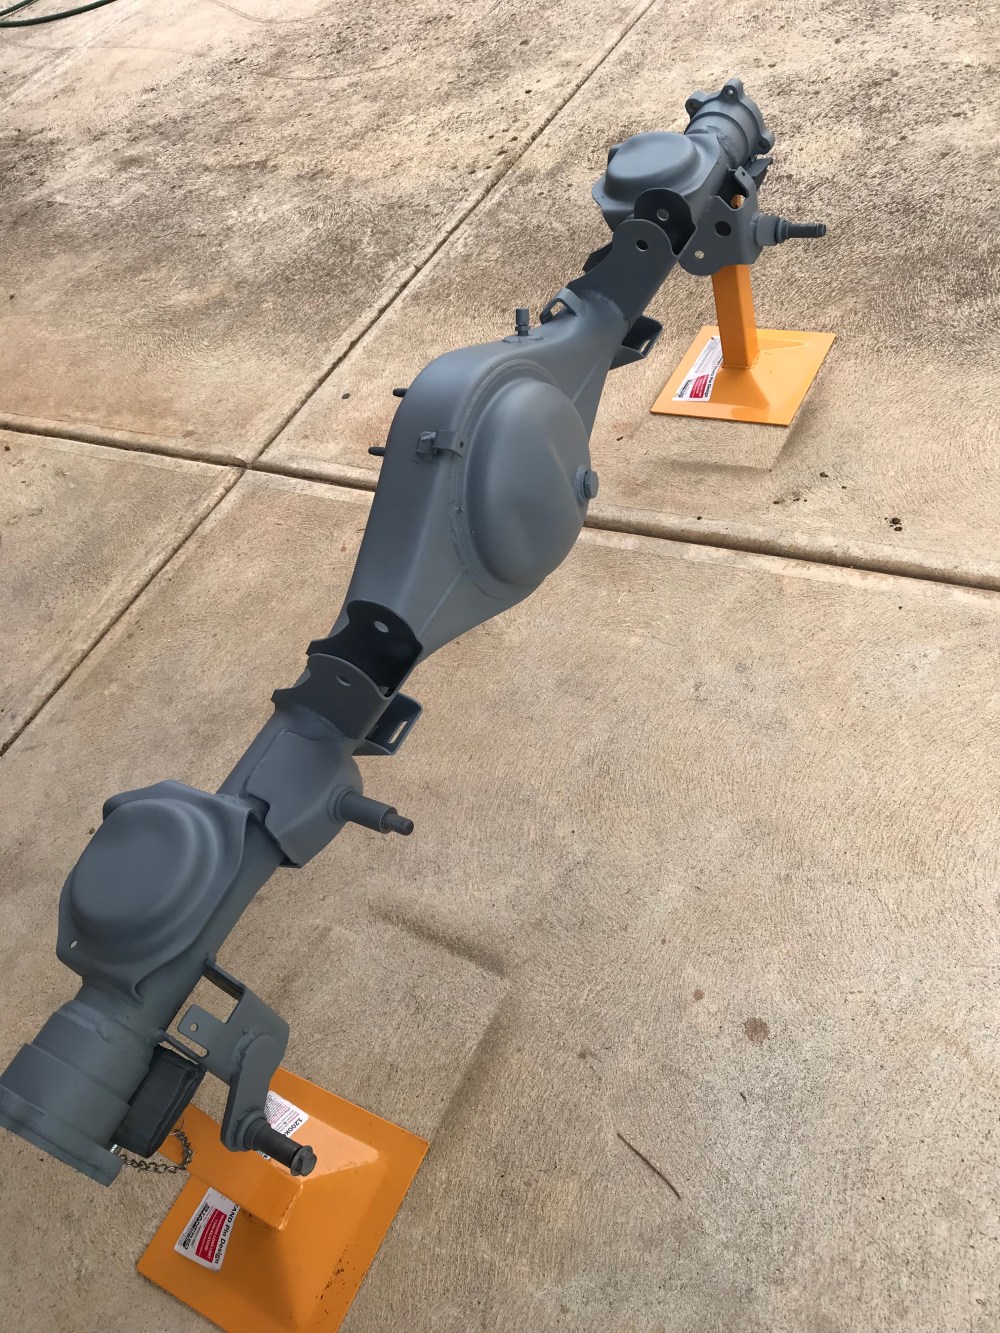
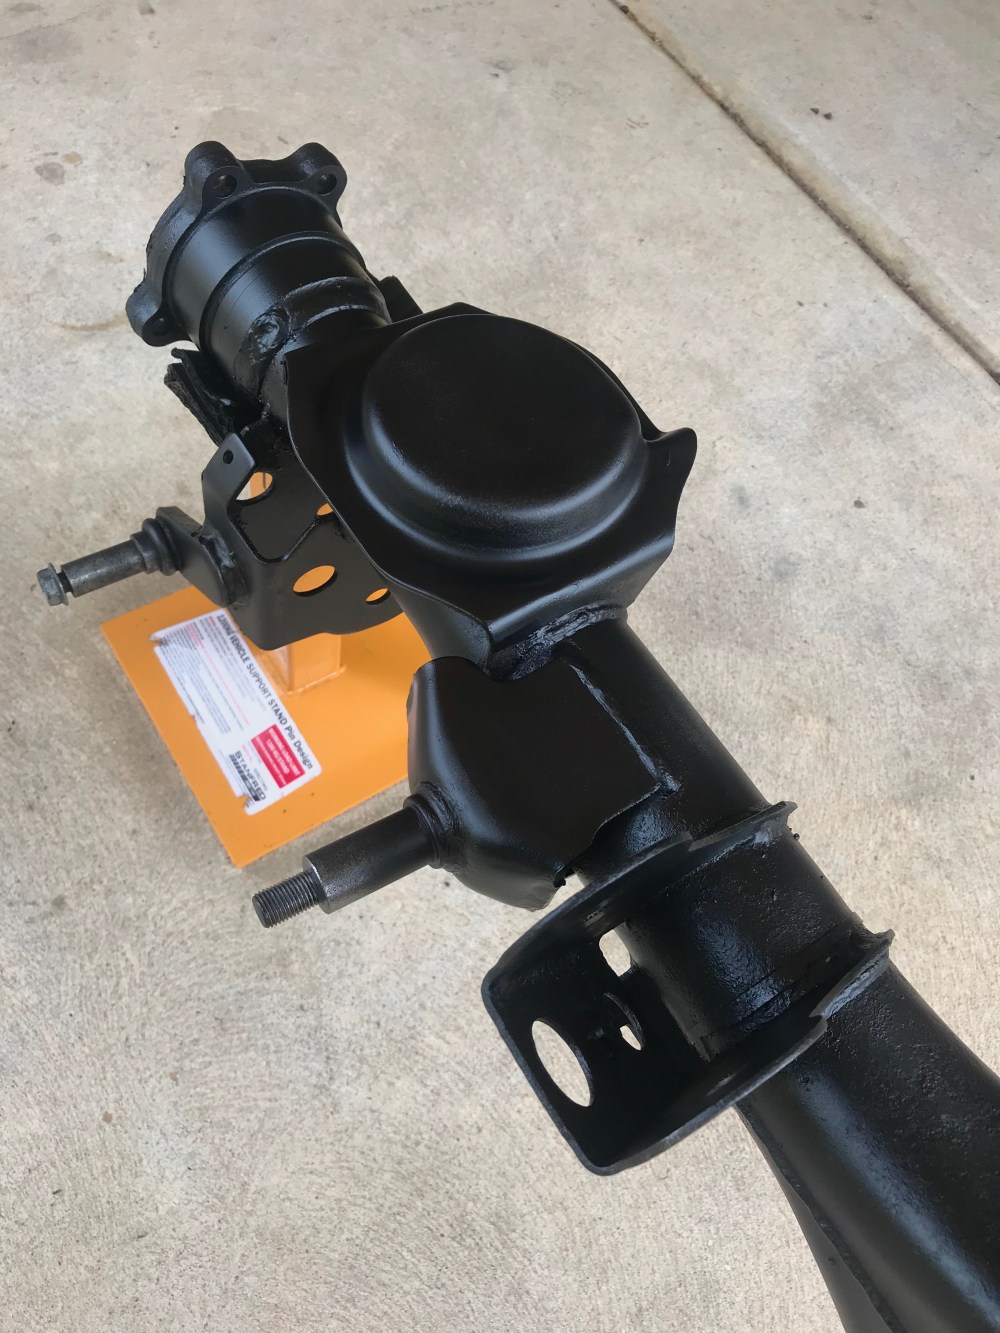
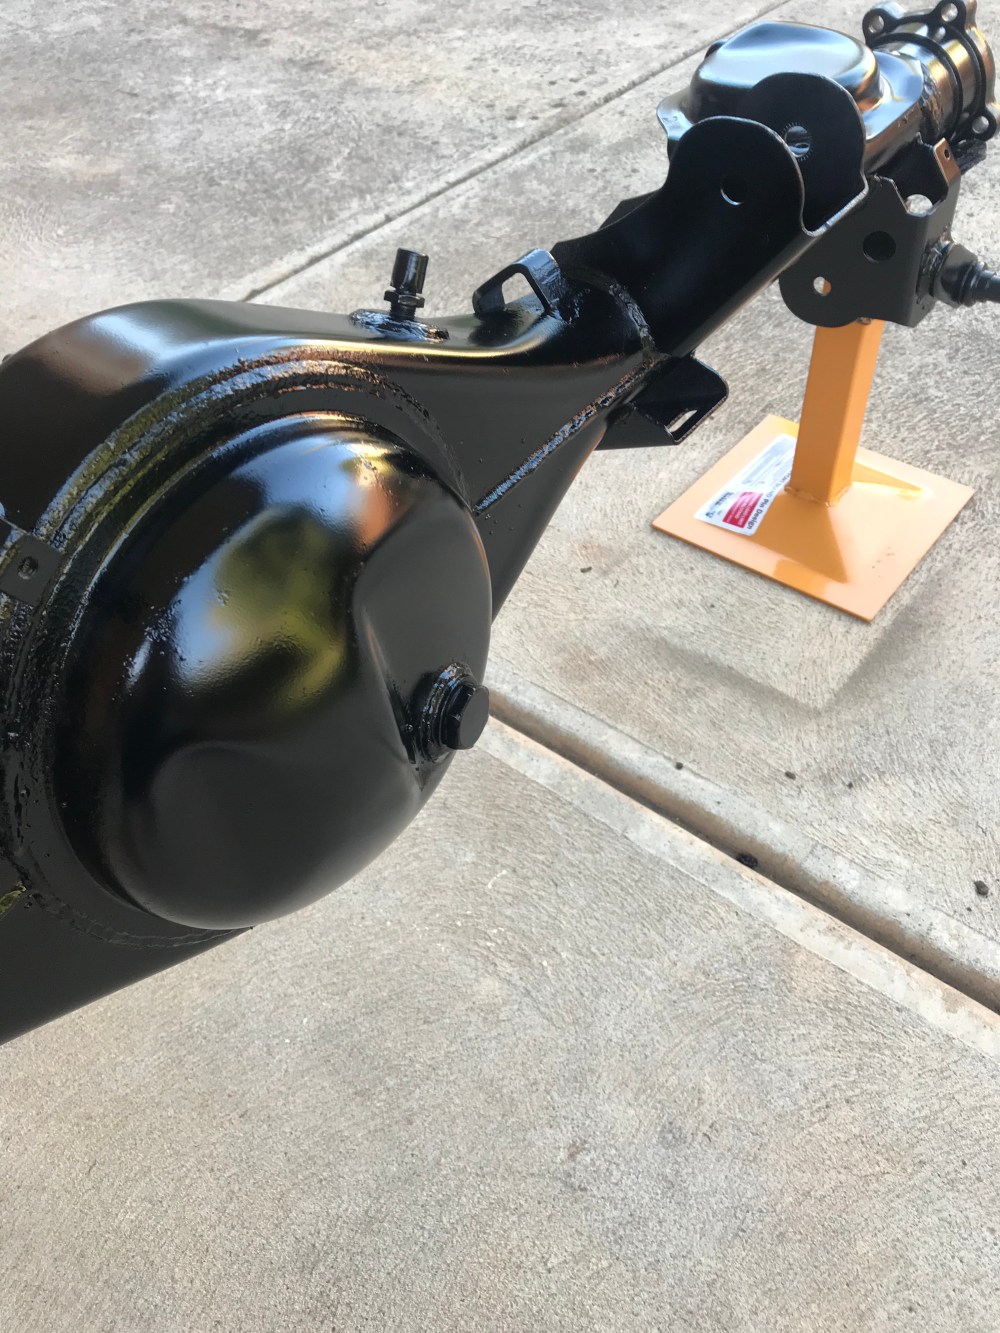
And finally, a durable top coat:


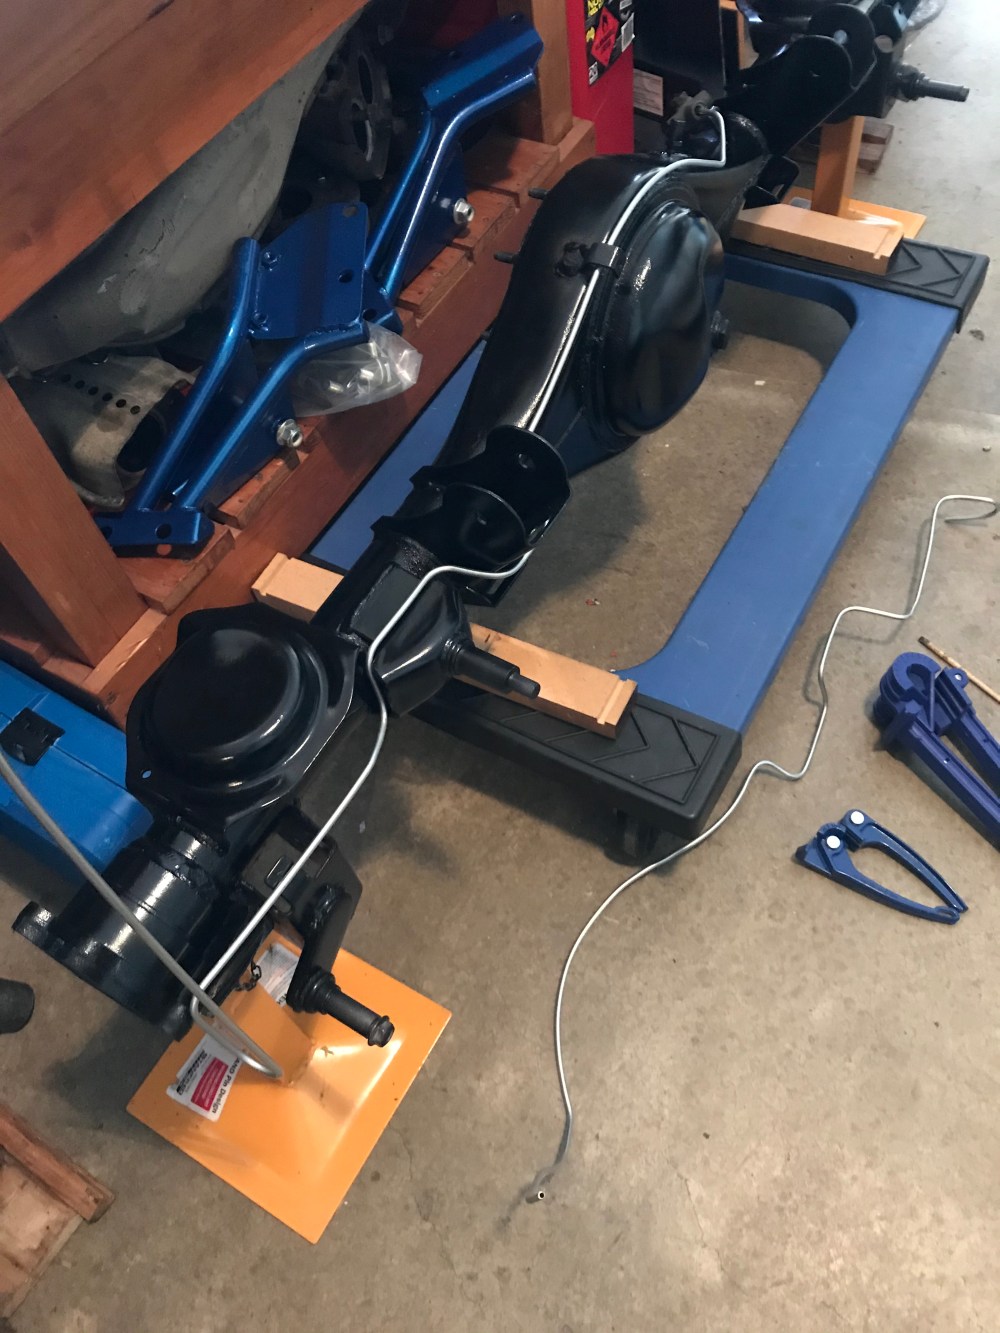
With this all accomplished, I started making some new hard lines. Given past experience with the other axle, prototyping these were a little easier and I managed to make some shorter lines with tighter; more efficient bends:
A test to see if a fitting would tighten down. This bend was very close and required a lot of attention to get right. I did one flare to see if things aligned and whether my work was acceptable:

The next task now is to install the remaining fittings and put some shielding on the lines – on areas things may rub after being tightened down to the housing.
