Xmas holidays are fast approaching and finding time for garage work has been challenging. While DC2 was being engineered for inspection, I marched on with suspension work with Panda.
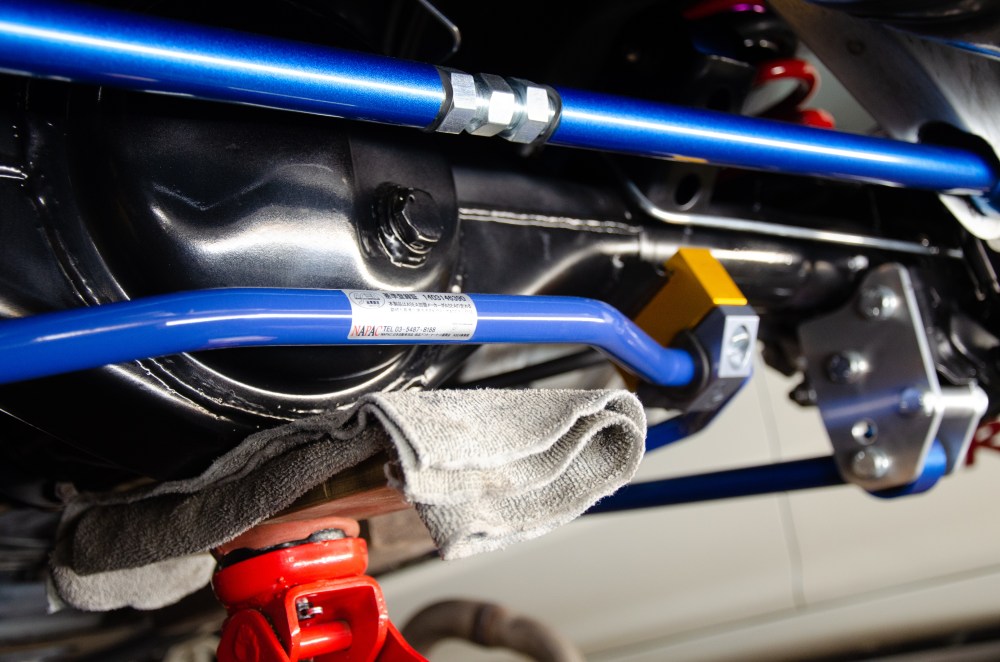
First up was to finalise the rear end. The sway bar was not having any of it unless I removed its bushings first, aligned the rear axle and then bolt up the end linkages.
Doing it this way prevented the bushings from gripping the sway bar and forcing you slide it side-to-side when the suspension is being stabilised (or when the axle is being aligned).
It also prevented the end links from being forcefully installed should the axle be out of place.

Everything was then hand-tightened and stabilised. Vehicle was grounded and the suspension was worked enough to ensure everything settled in place. The body was then raised again so that everything could be torqued down properly.
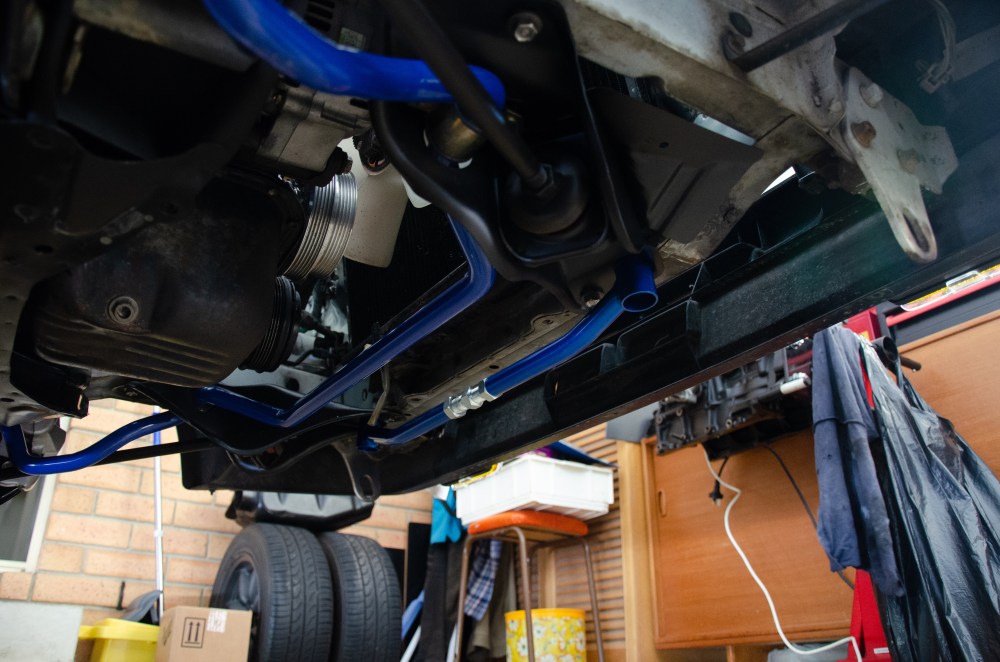
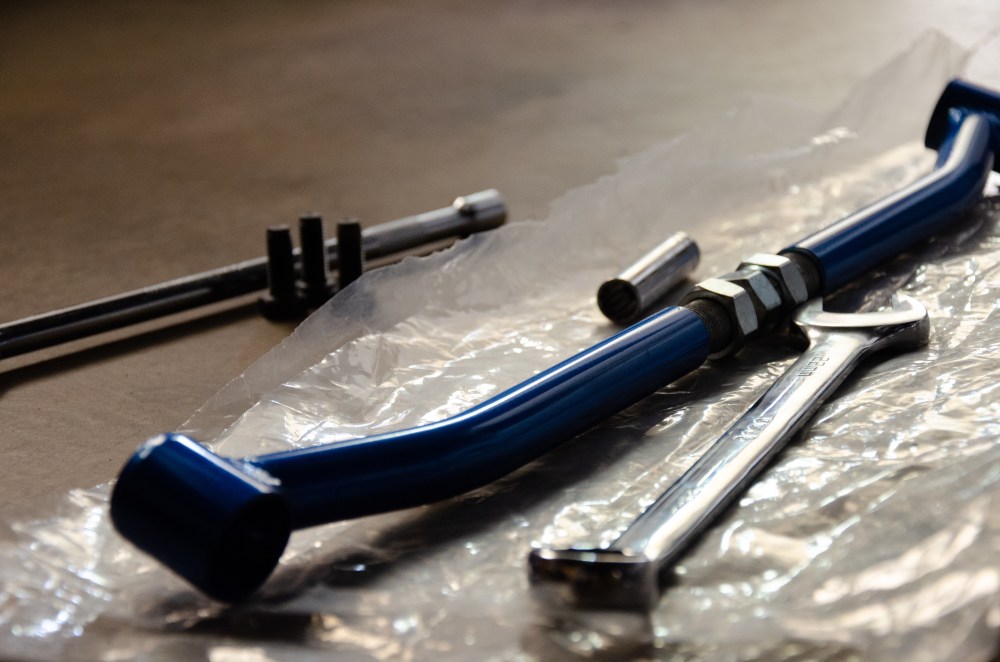
Then it was off to the front-end of things. The front tension brackets, rods and sway bar end links were all refreshed before being bolted back into the body with new items.


Torquing things down at the front was a bit easier in comparison to the rear – things were relatively closer to alignment ![]()
I got started with the sway bar and the bushings first.
Thing to remember is that OEM specs aren’t always correct for your situation. If these bushings (polyurethane) were torqued down to the specs in the manual, they would have been over-tightened and squished to the point where they won’t function properly. Bushings like these only need to be tightened to the point where they start to swell, not to the point where they are compressed so much that they are bulging.

The tension rods were then torqued back on and adjusted as necessary. Thankfully this time round, things were relatively straight-forward and parts bolted up in place naturally.
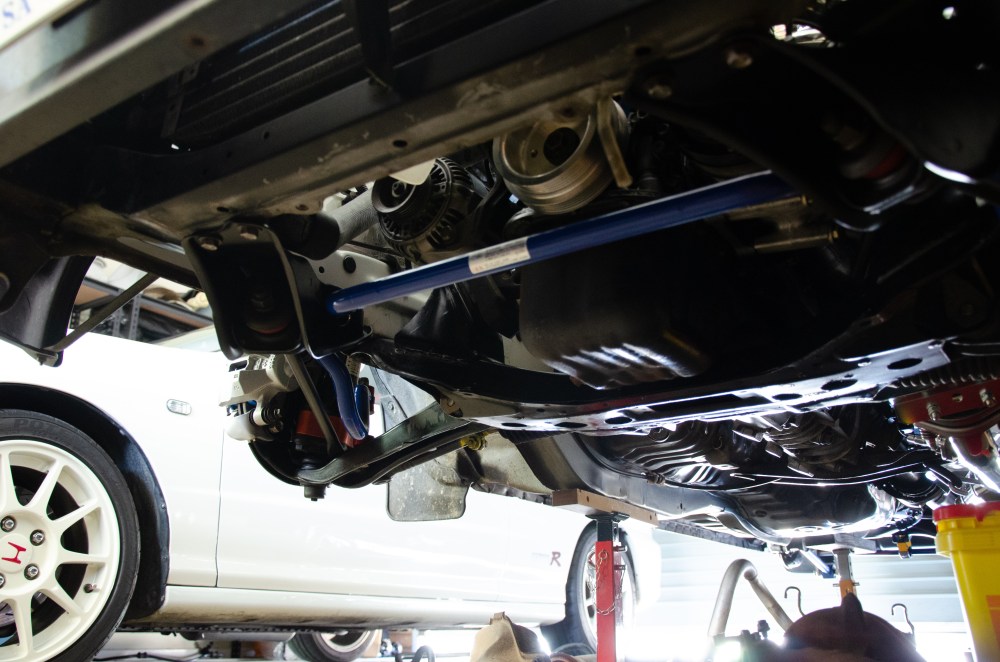
And finally, the tension bracket: