In a previous post, I prepared the rear differential for installation. It had everything intact – the new brake lines, traction brackets, and arms. Eventually, I managed to lift it into the body:

Promptly after, the lateral rod went in and was bolted into rough alignment. Everything is still just hand bolted as we need to ‘settle’ the suspension components before they are torqued back in 🙂
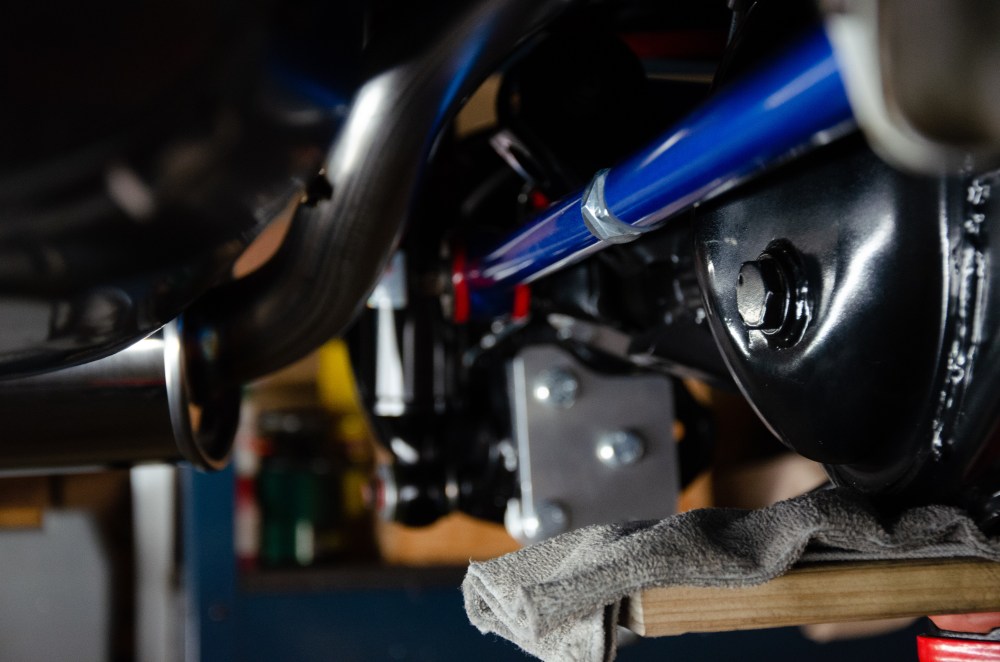
To help get the components line up, a floor jack was used. A mallet and rod/ screwdriver also helps aligning the bolts with the components:

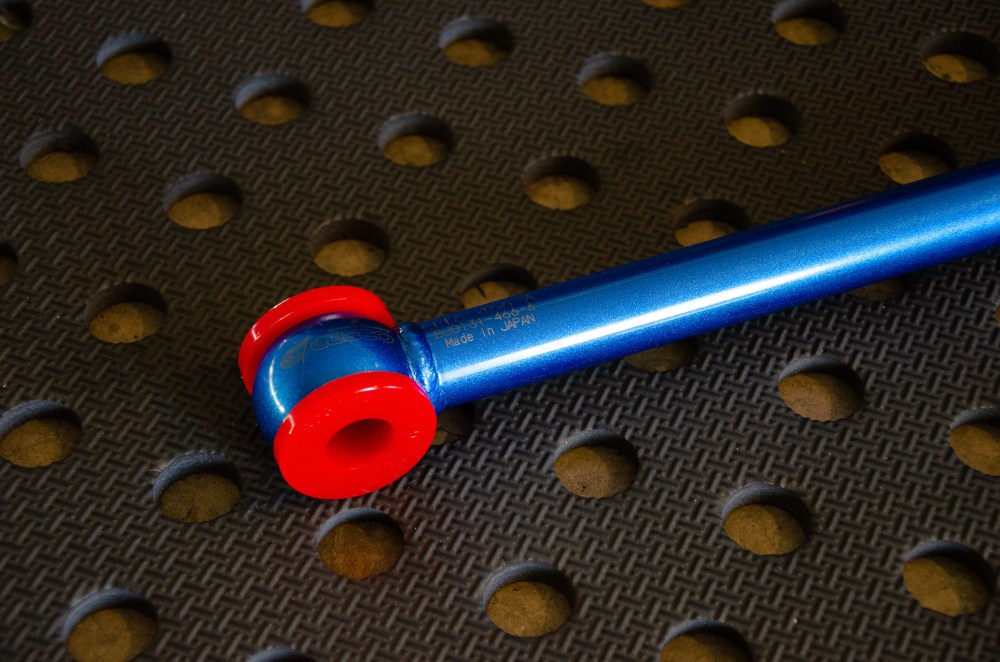
You may have to purchase another set of bushings like me – the OEM bushings are pressed in and have a spacer in between. My previous adjustable rod had its own unique bushings that didn’t fit this one 🙂
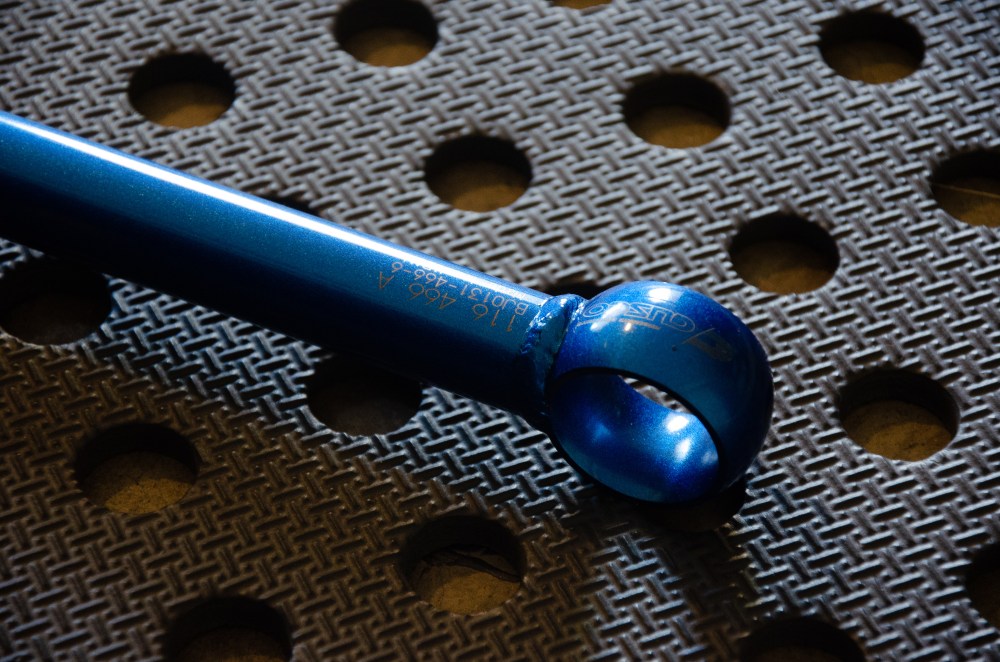
Nolathane works just fine in this case though 🙂
As I understand, the OEM lateral rod has a spacer nut – I’m still not sure if this setup requires it and I’m unable to source one down (may have to fabricate one of my own).
While hand-bolting everything in, I didn’t notice any slop – but I guess we’ll see after some tests on the road.
