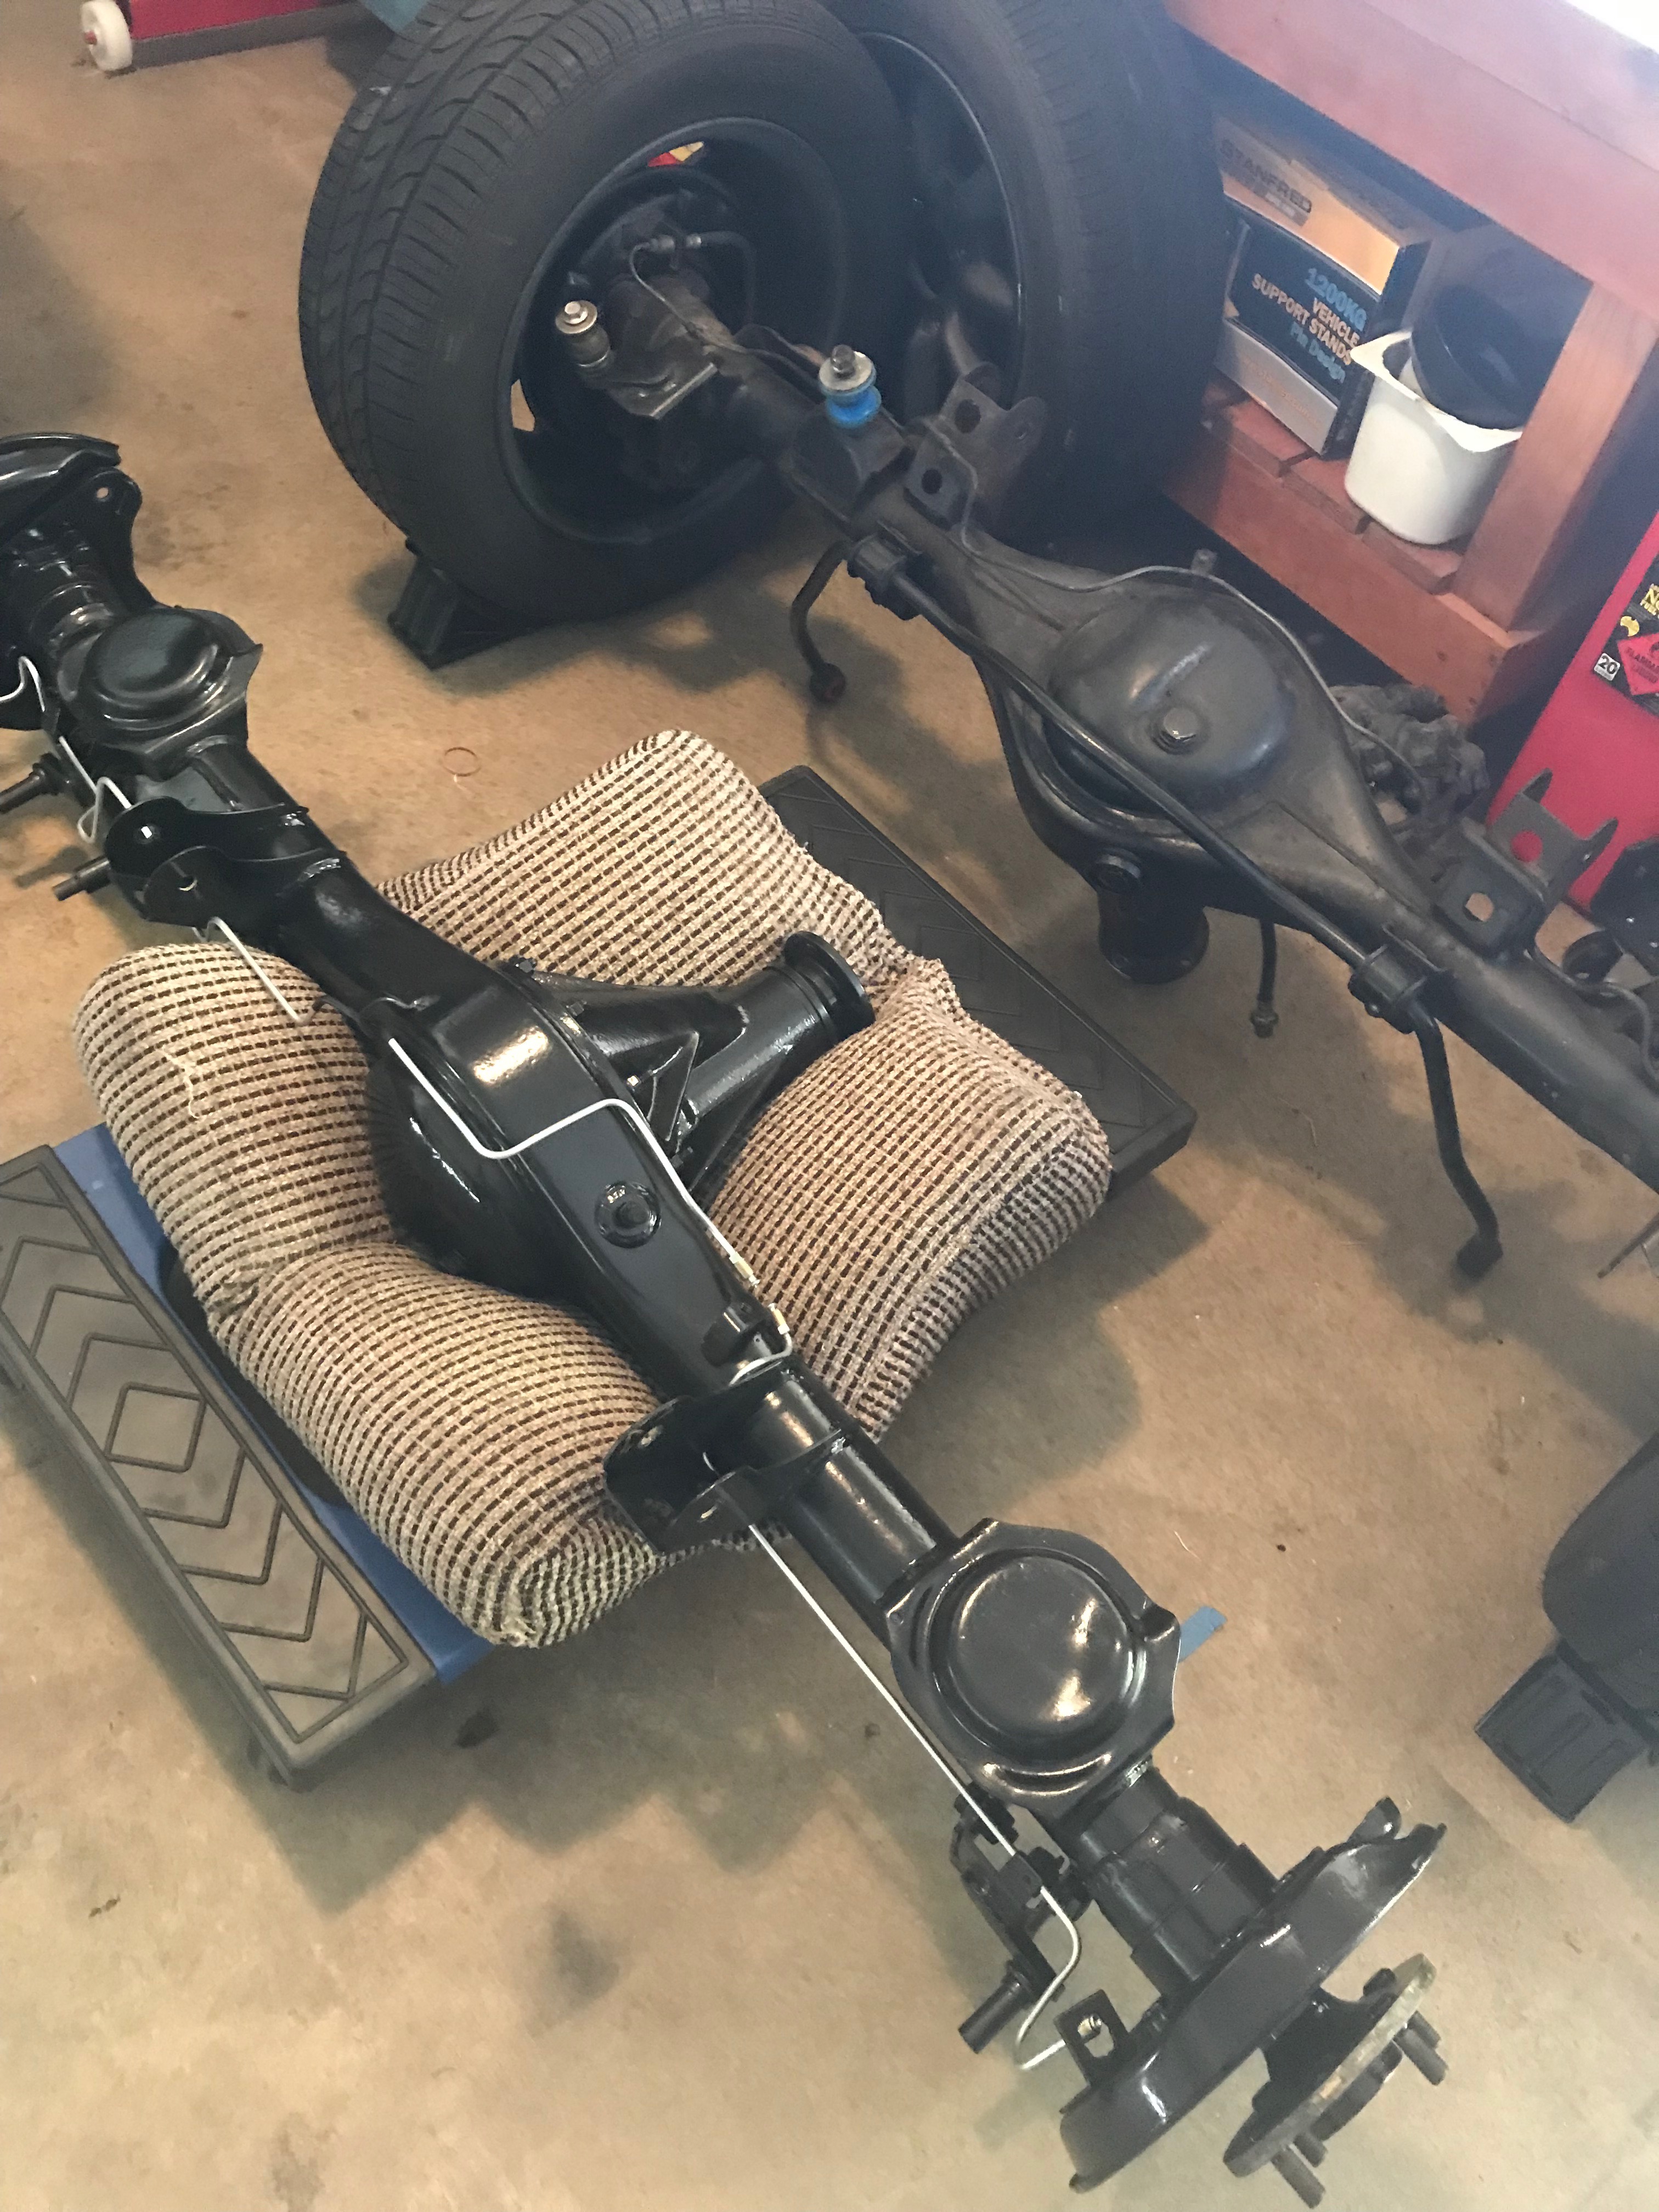
Rear-axle swap
My rear axle was in desperate need of an overhaul – it was leaking from the differential, the axle bearings were shot, it made clunky noises and had sticky brake calipers… overall it was in a very sad state…
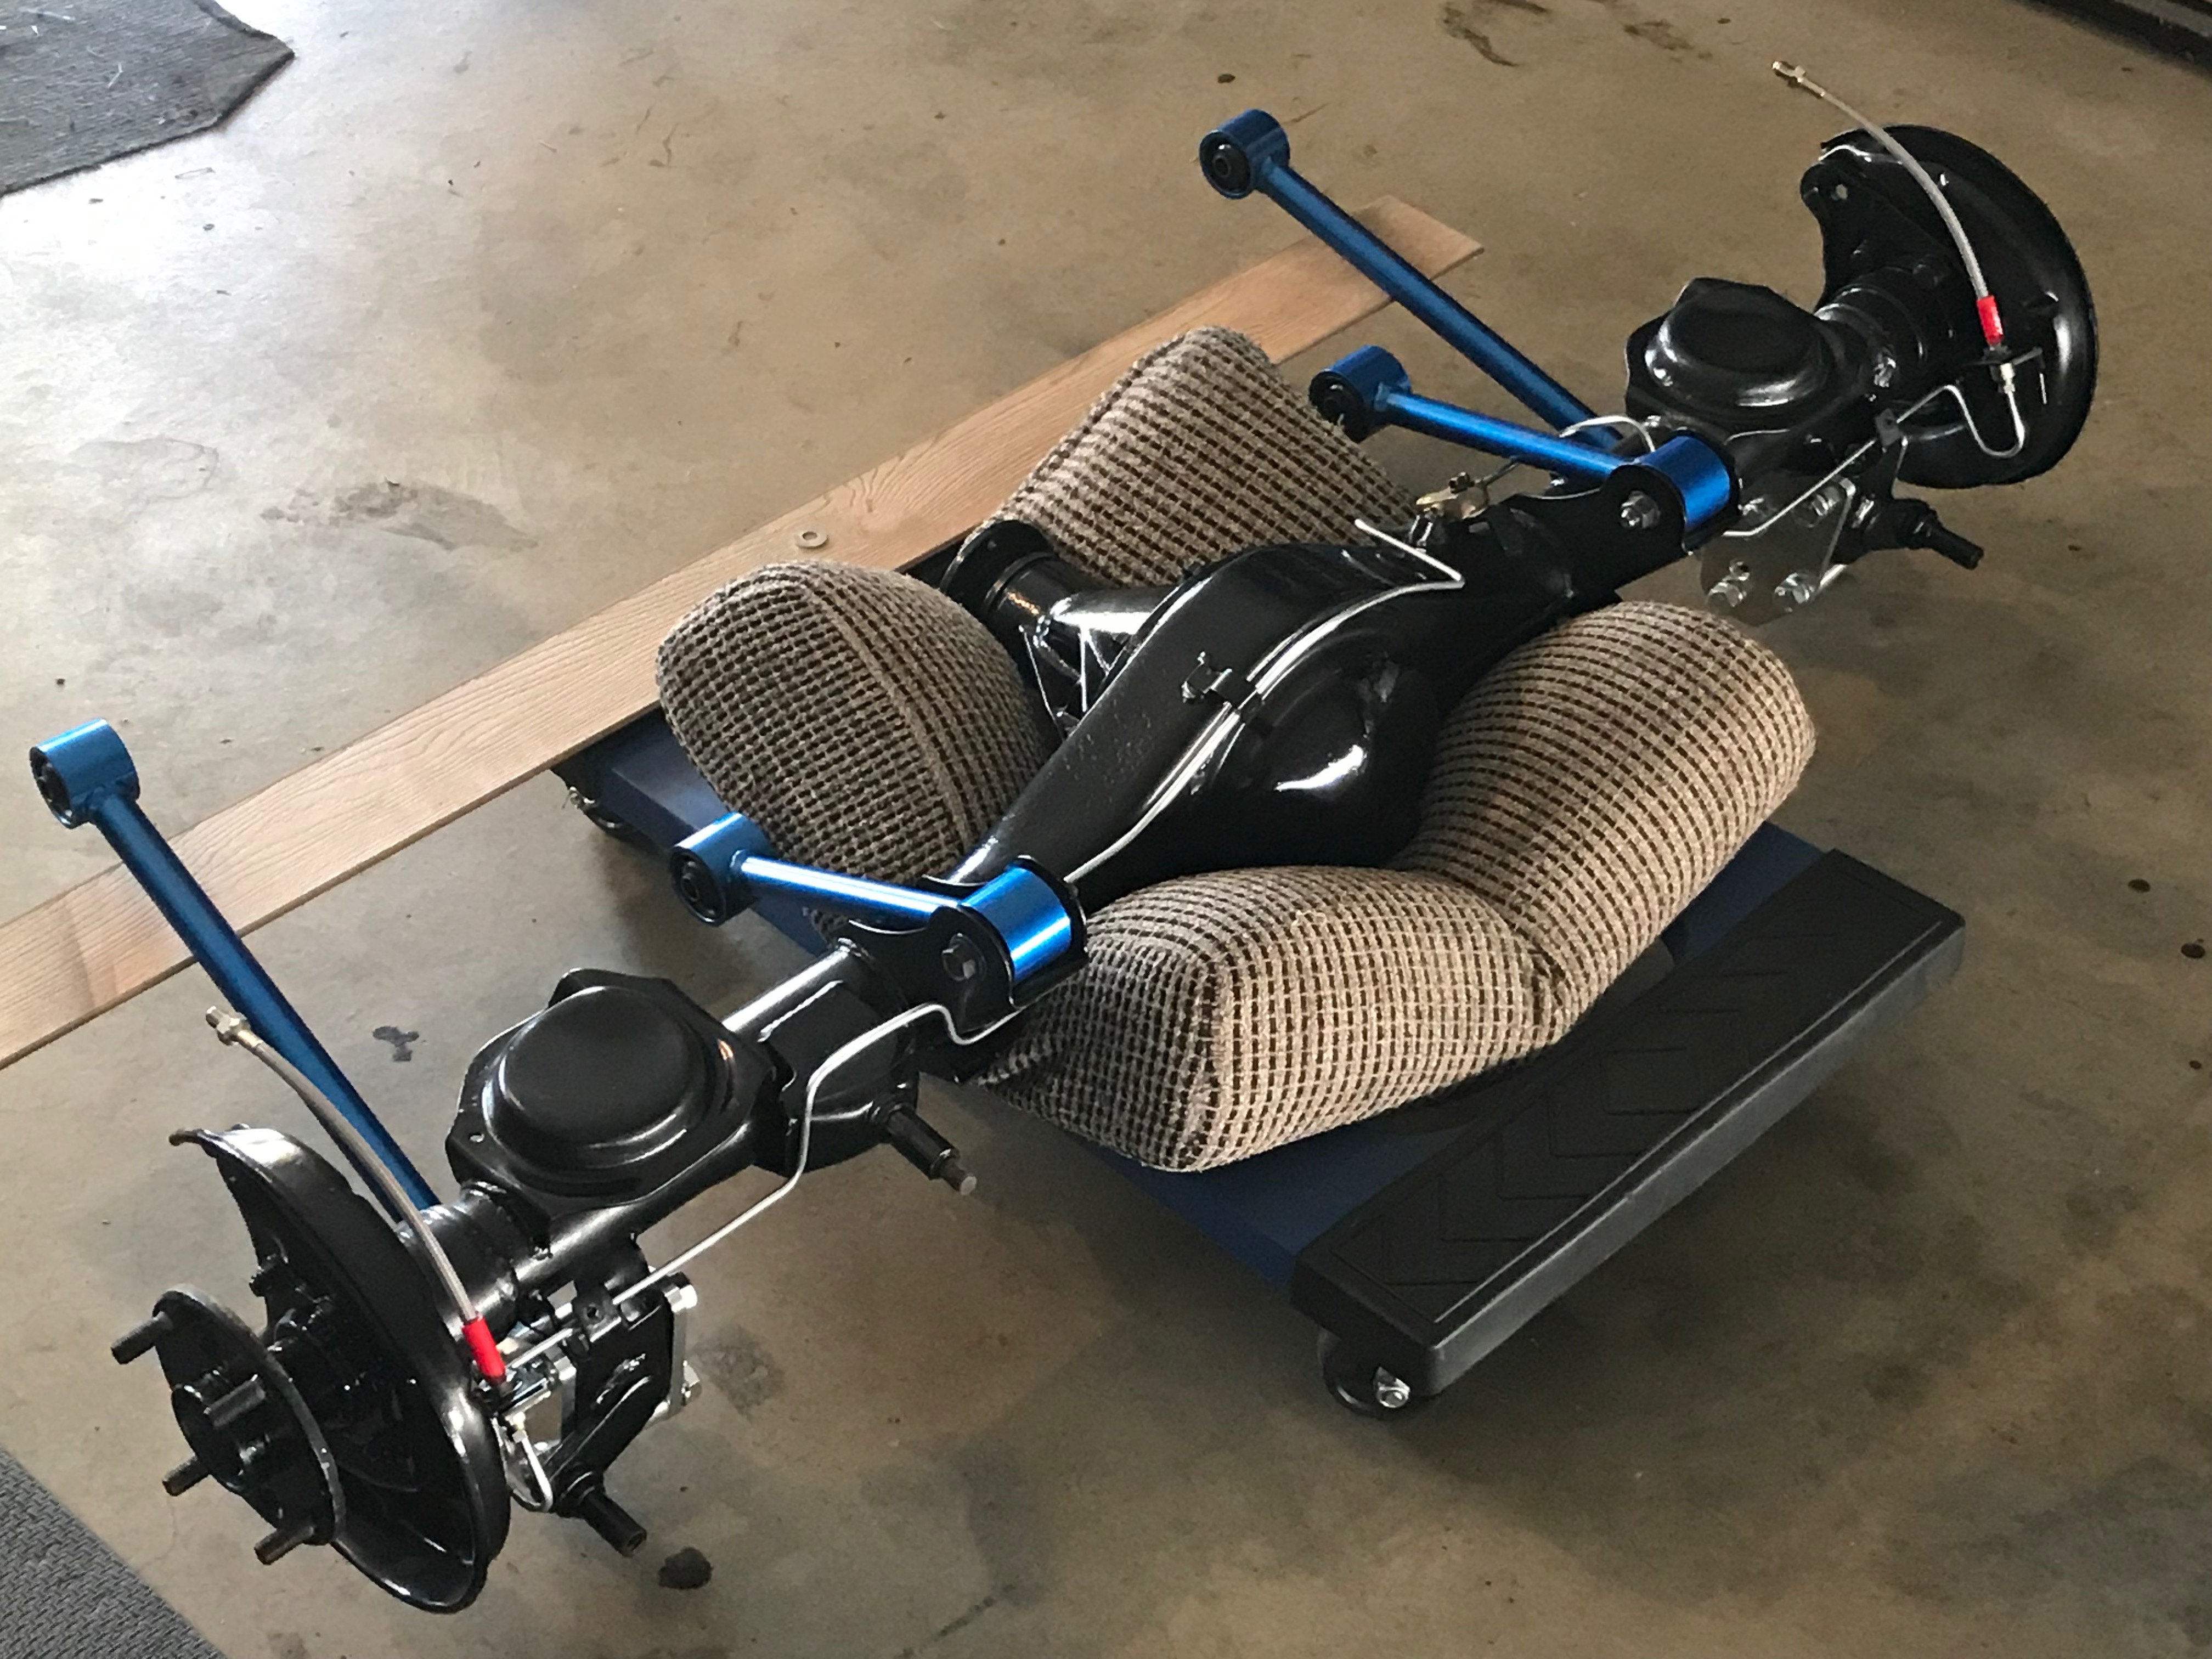
Luckily, I managed to acquire a complete axle with my competition chassis. Since I parked that project for now, I decided to bring it in and swap it over with my current one – while the other gets an overhaul.
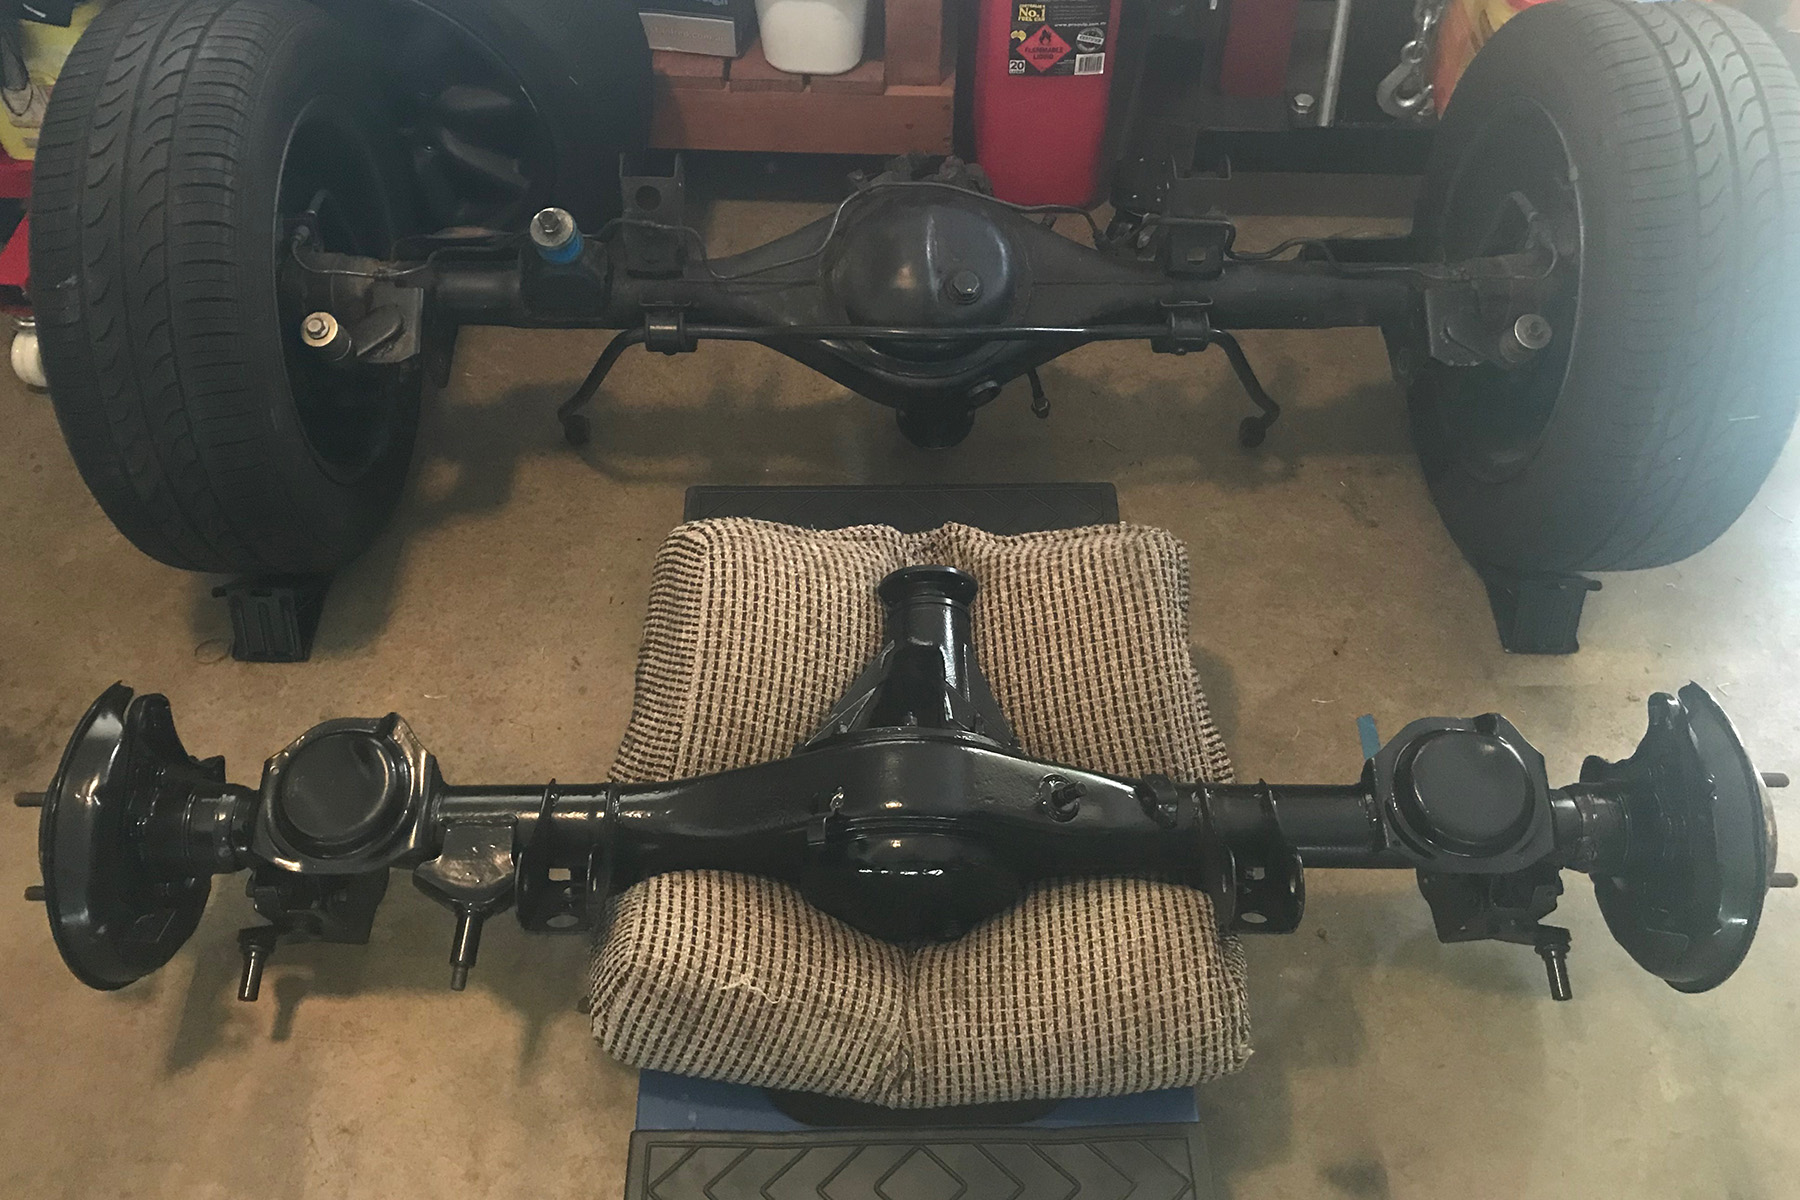
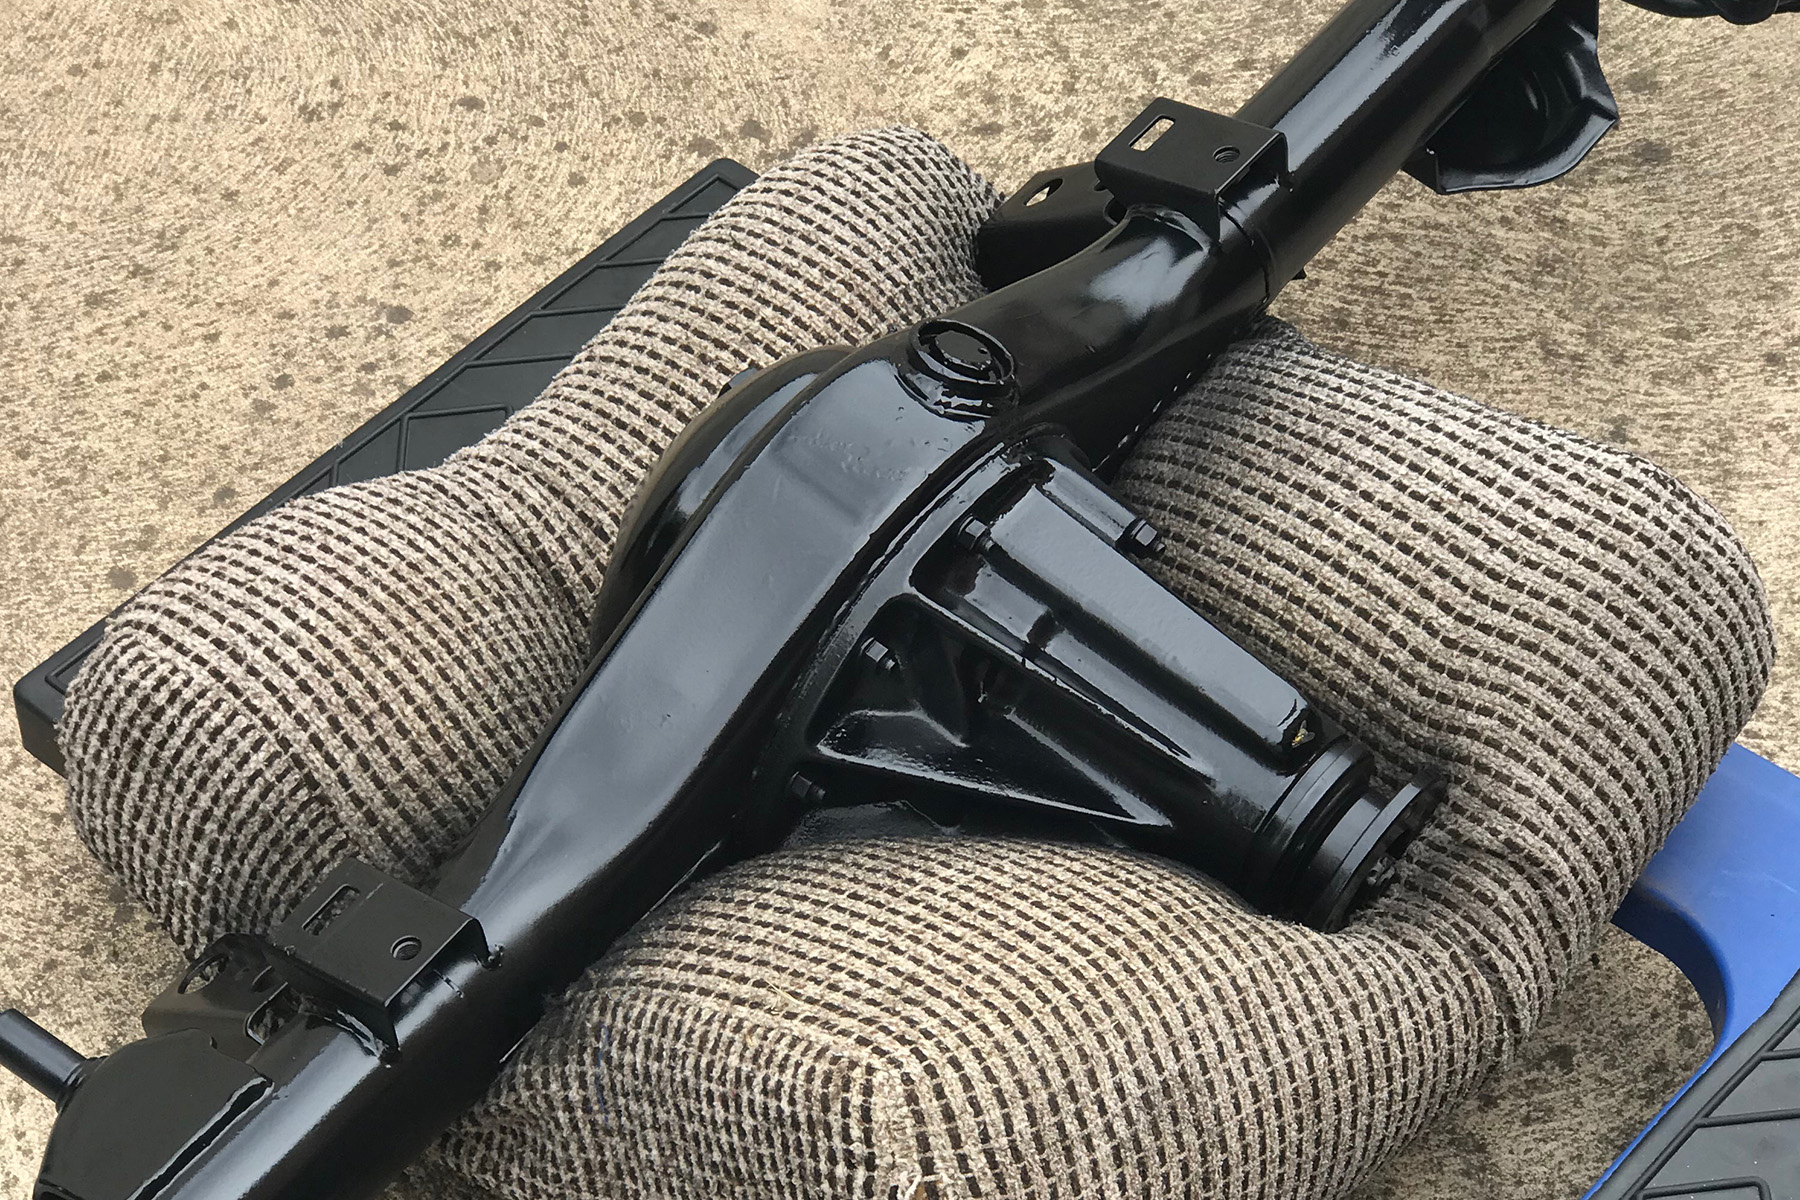
There were a few problems with the spare – so everything was taken apart, inspected and reconditioned. A new coat of paint was put on and I began to fabricate some new hard lines.
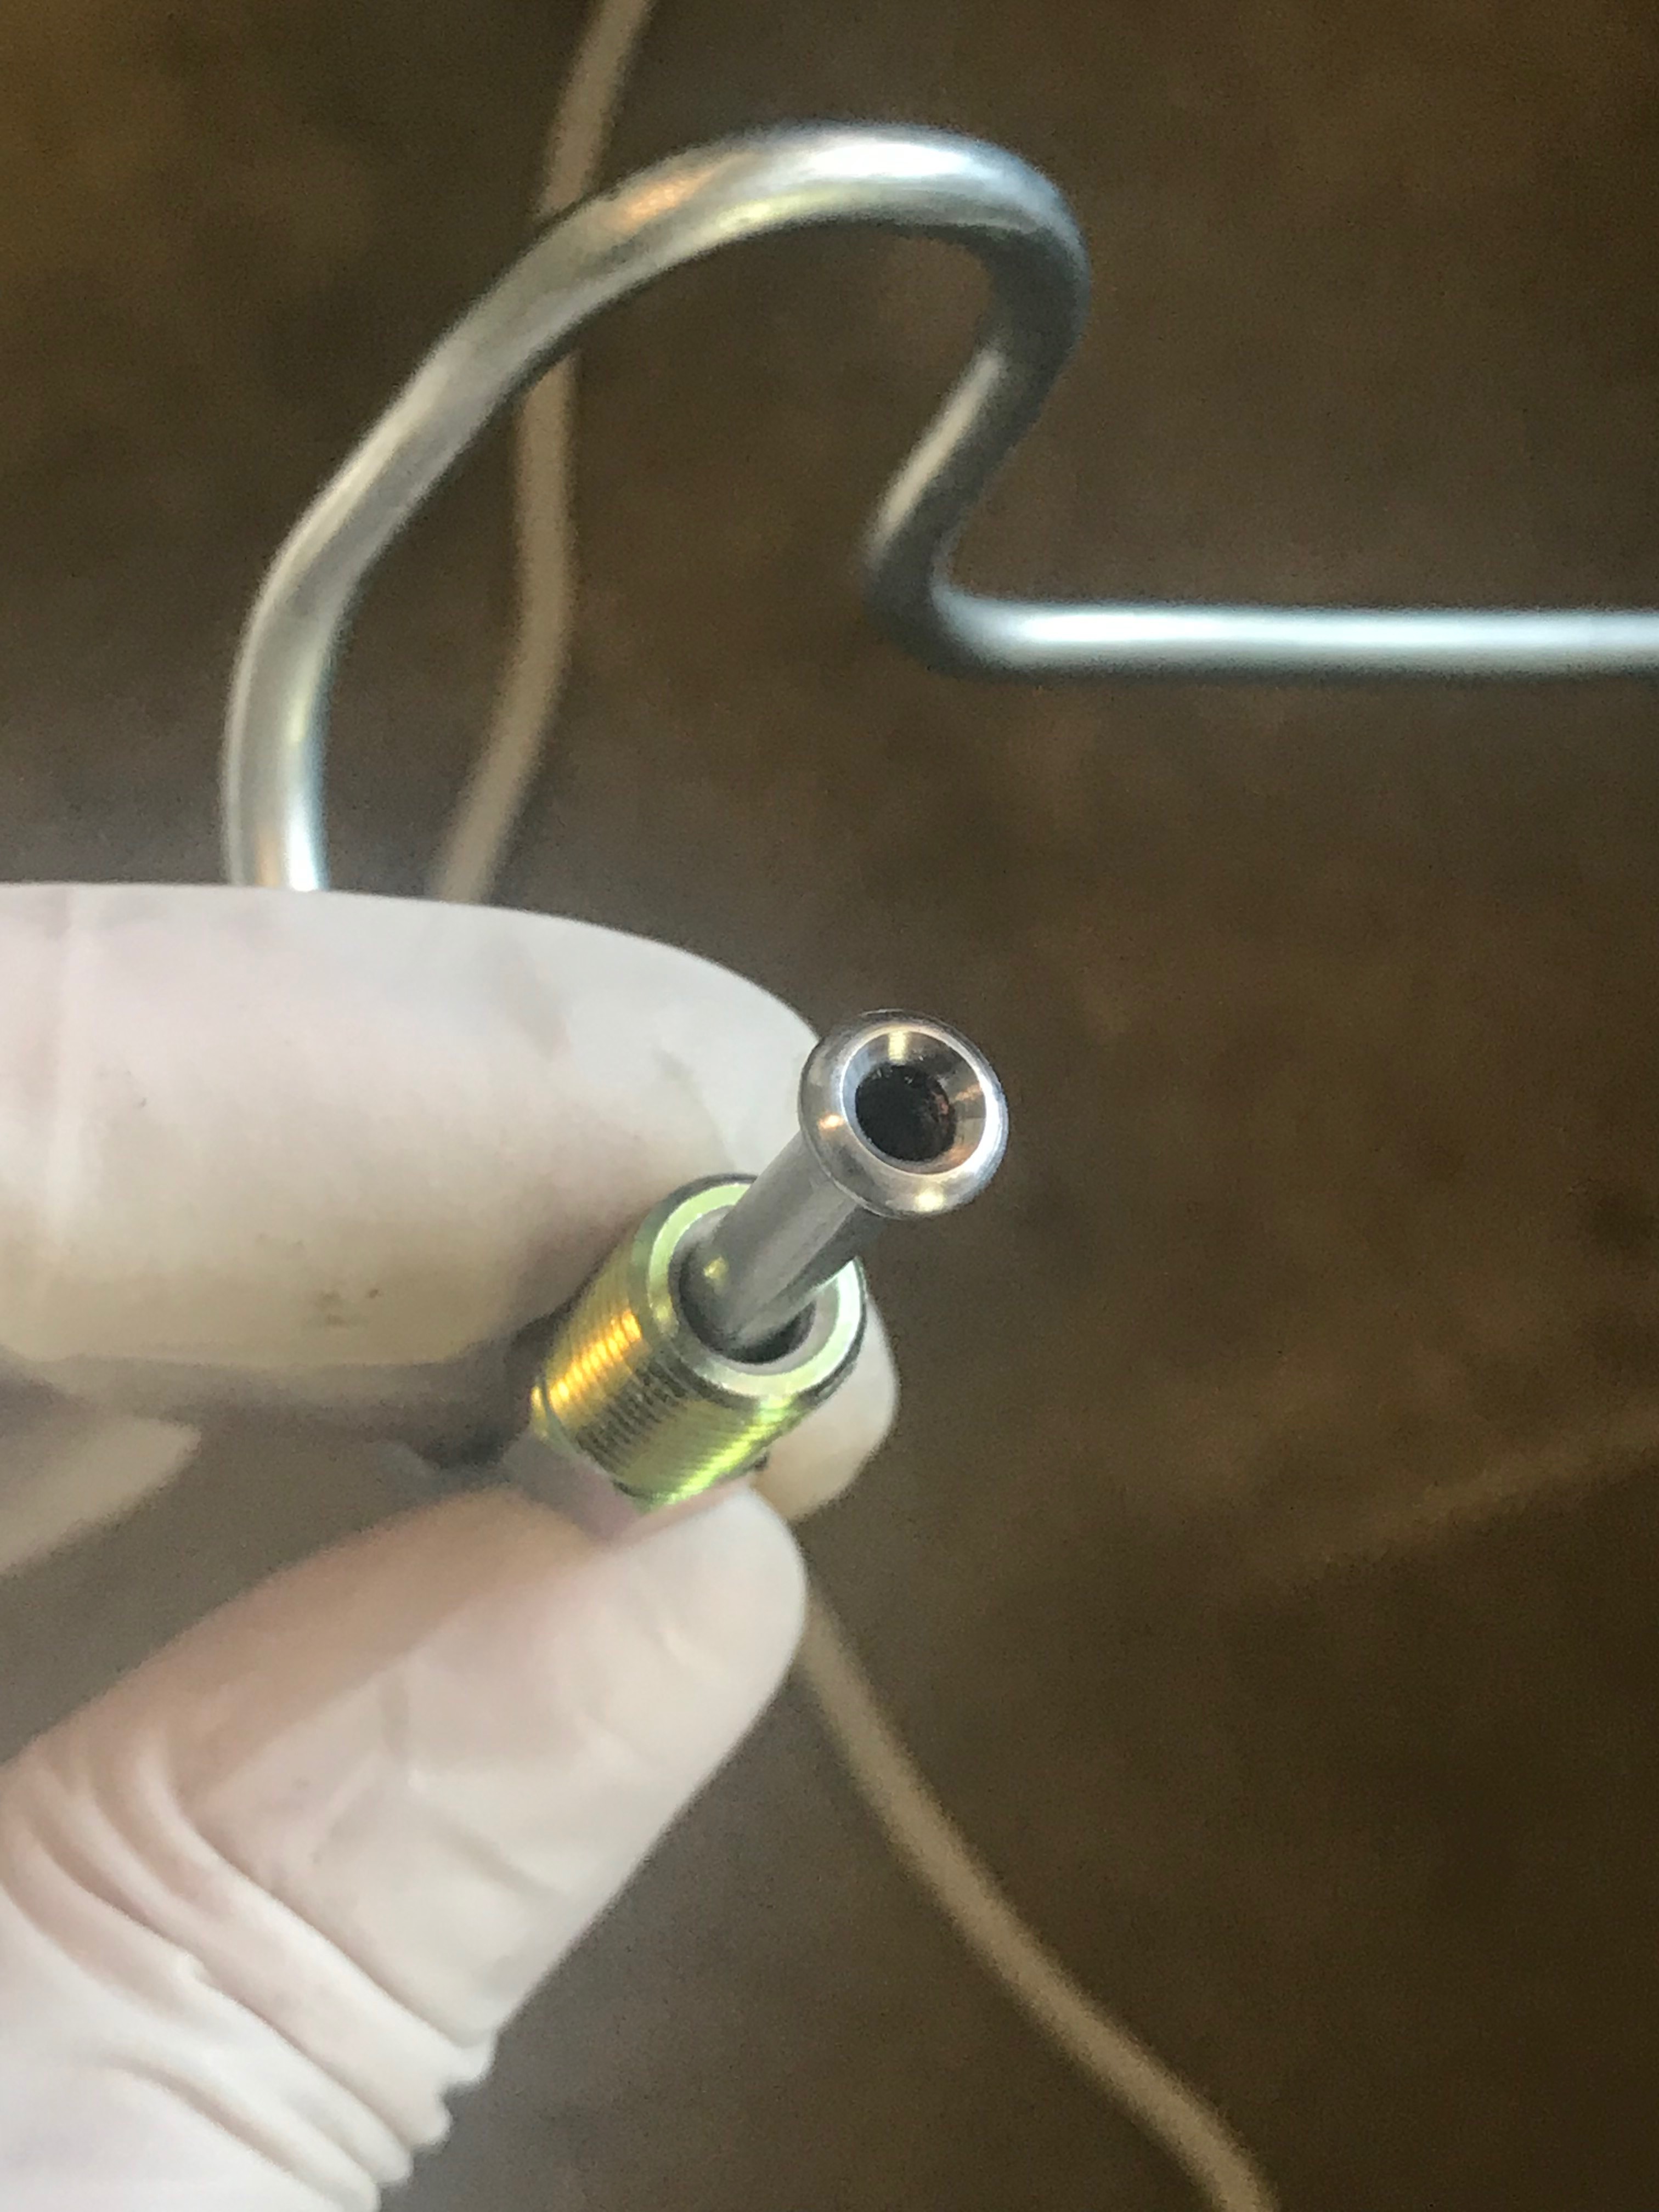
Brake fabrication (hard lines)
To make future maintenance easier… I decided to replace every fitting and routed each line so it was both visible and accessible for checks (but away from harm).
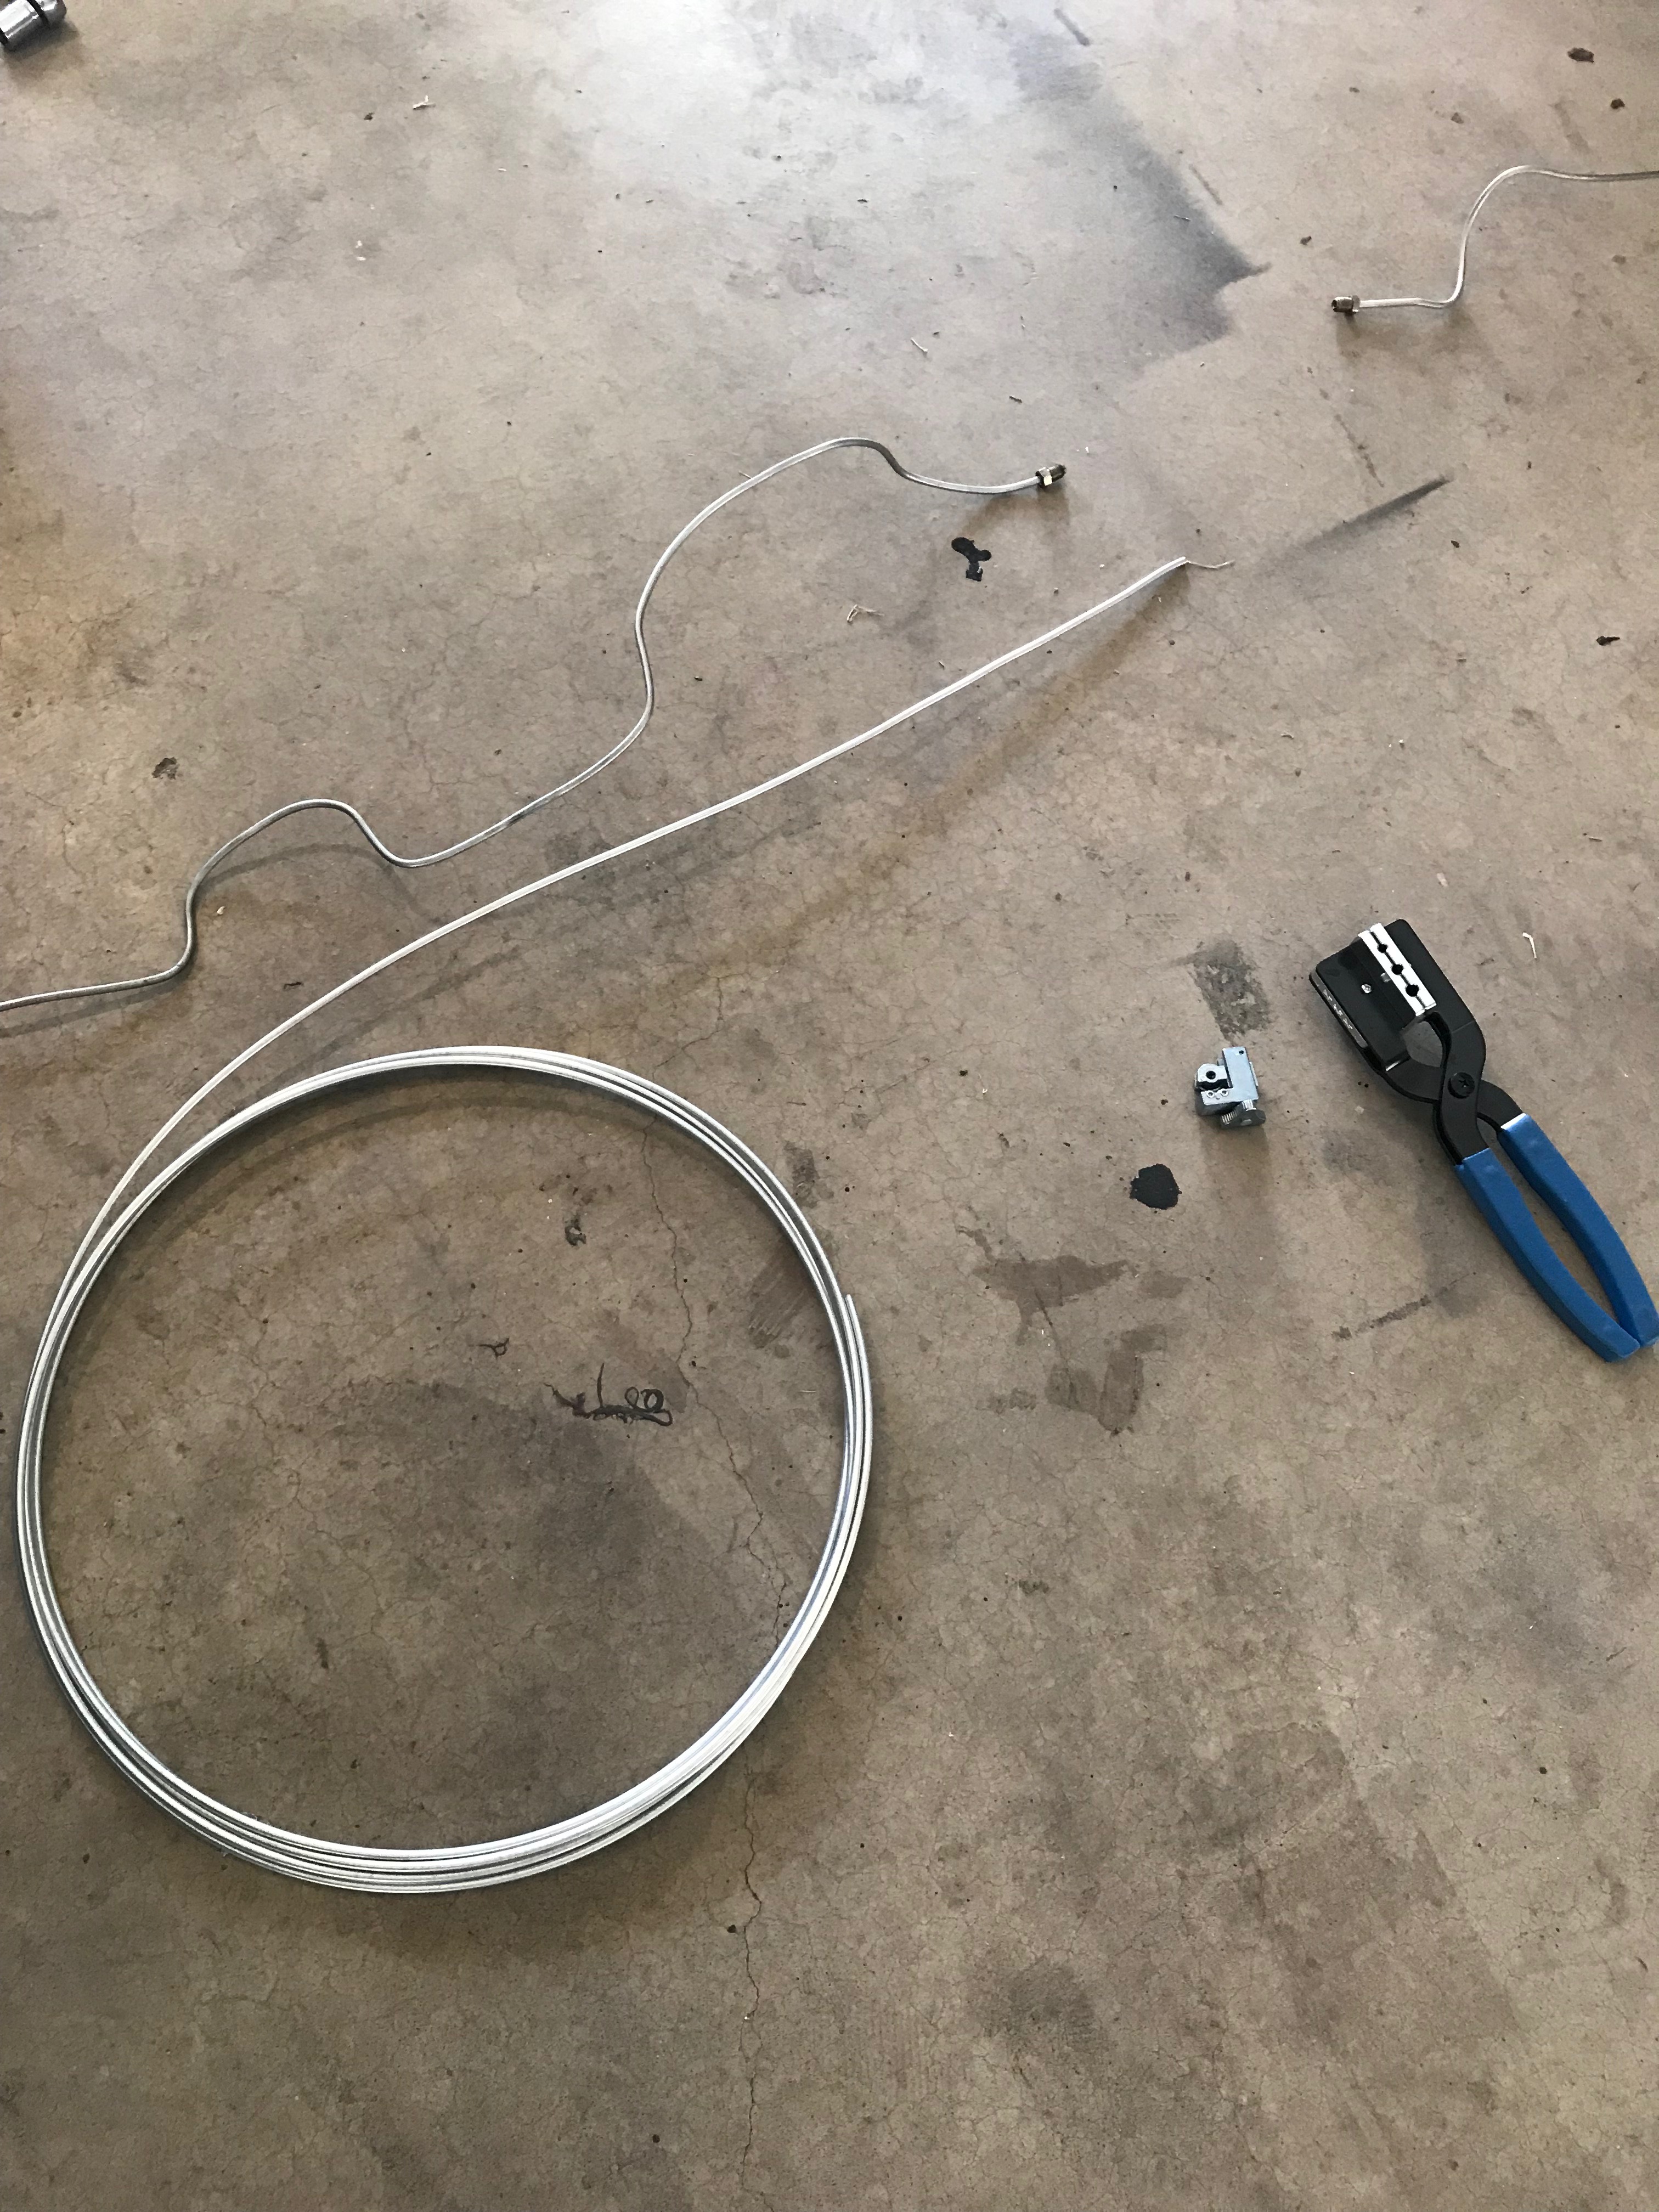
Several versions of the same brake lines were made – I kept finding pros and cons with each one and eventually settled on one template I was happy with… maybe after 10… 🙂
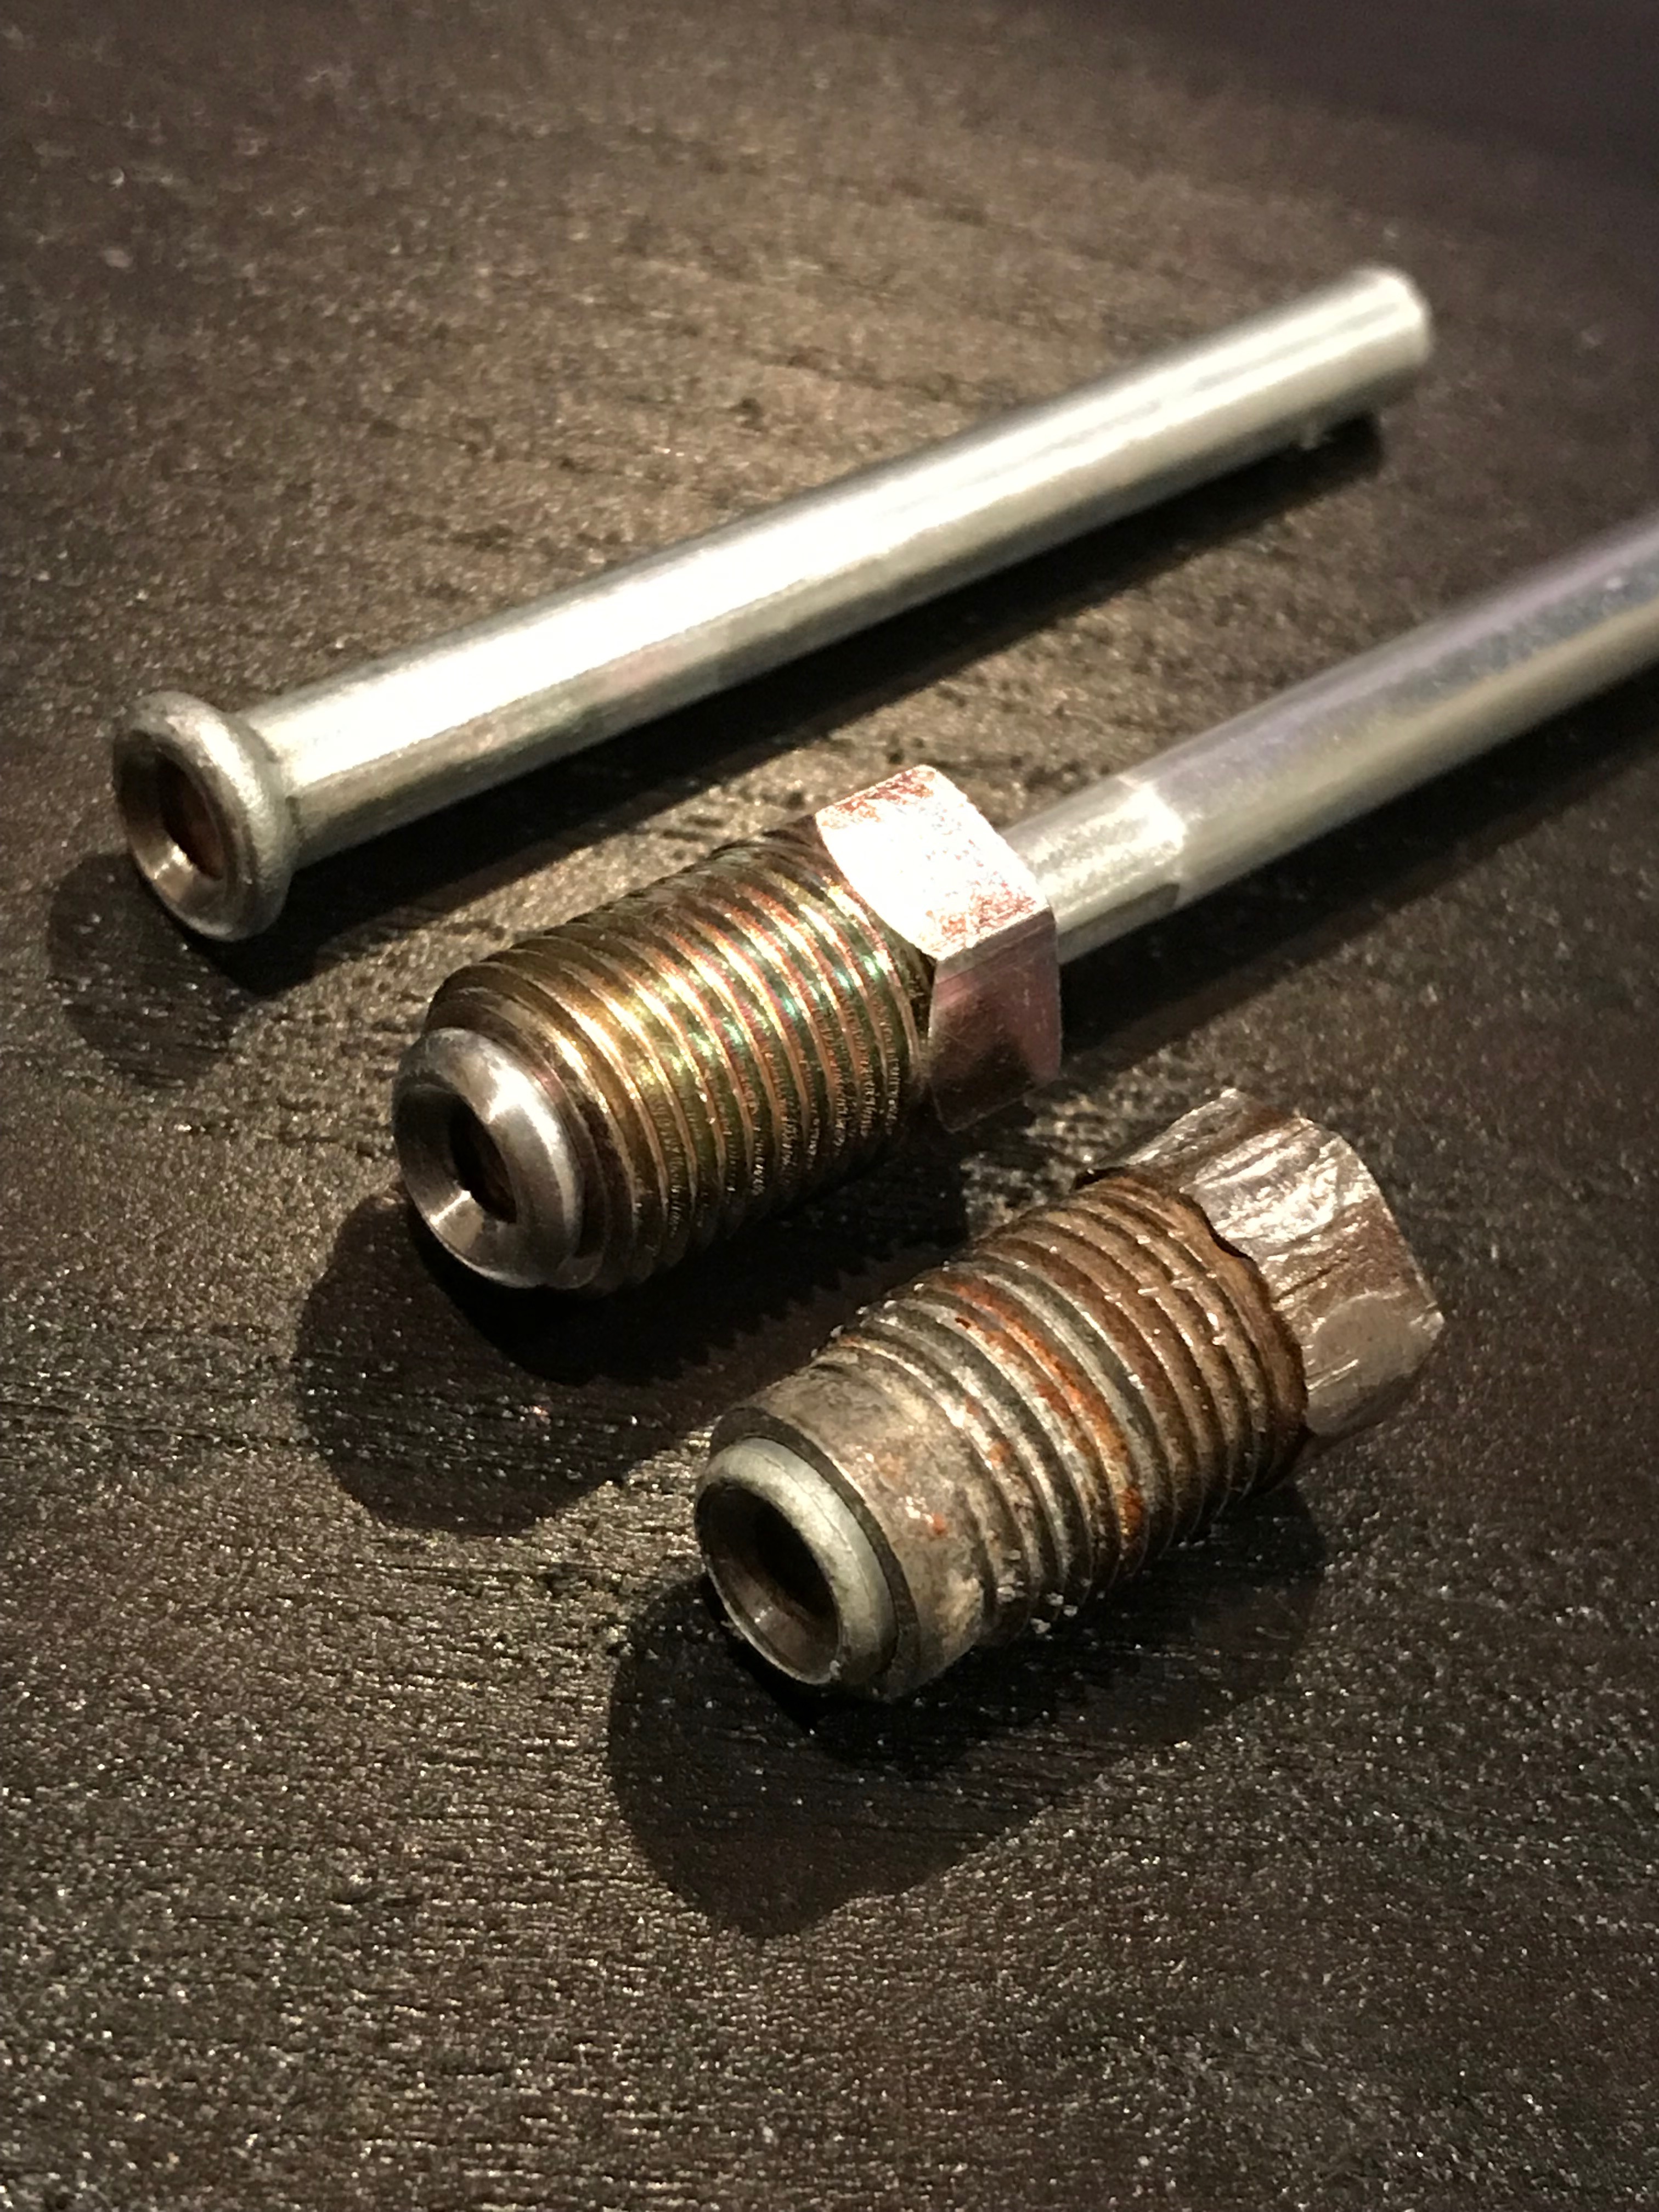
My flaring tools weren’t really the best – but they did the job. A fair bit of refinishing was required afterwards. In the end, all my flares eventually looked like this:
In comparison here’s a picture of them side-by-side with the old, weathered ones:
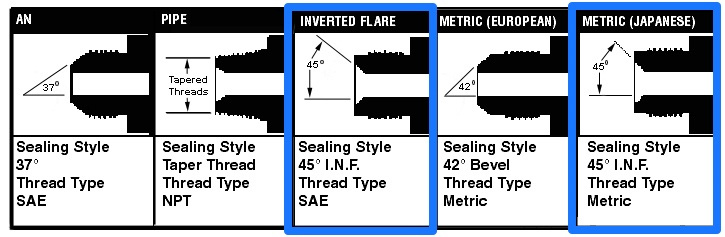
For all those wondering:
Flare specs for the AE86:
AE86 hard lines should be 3/16″ and the fittings are Toyota metric 10 x 1.0 (M10 x 1.0″ for 3/16″ lines) with double flare SAE / Japanese inverted flare.
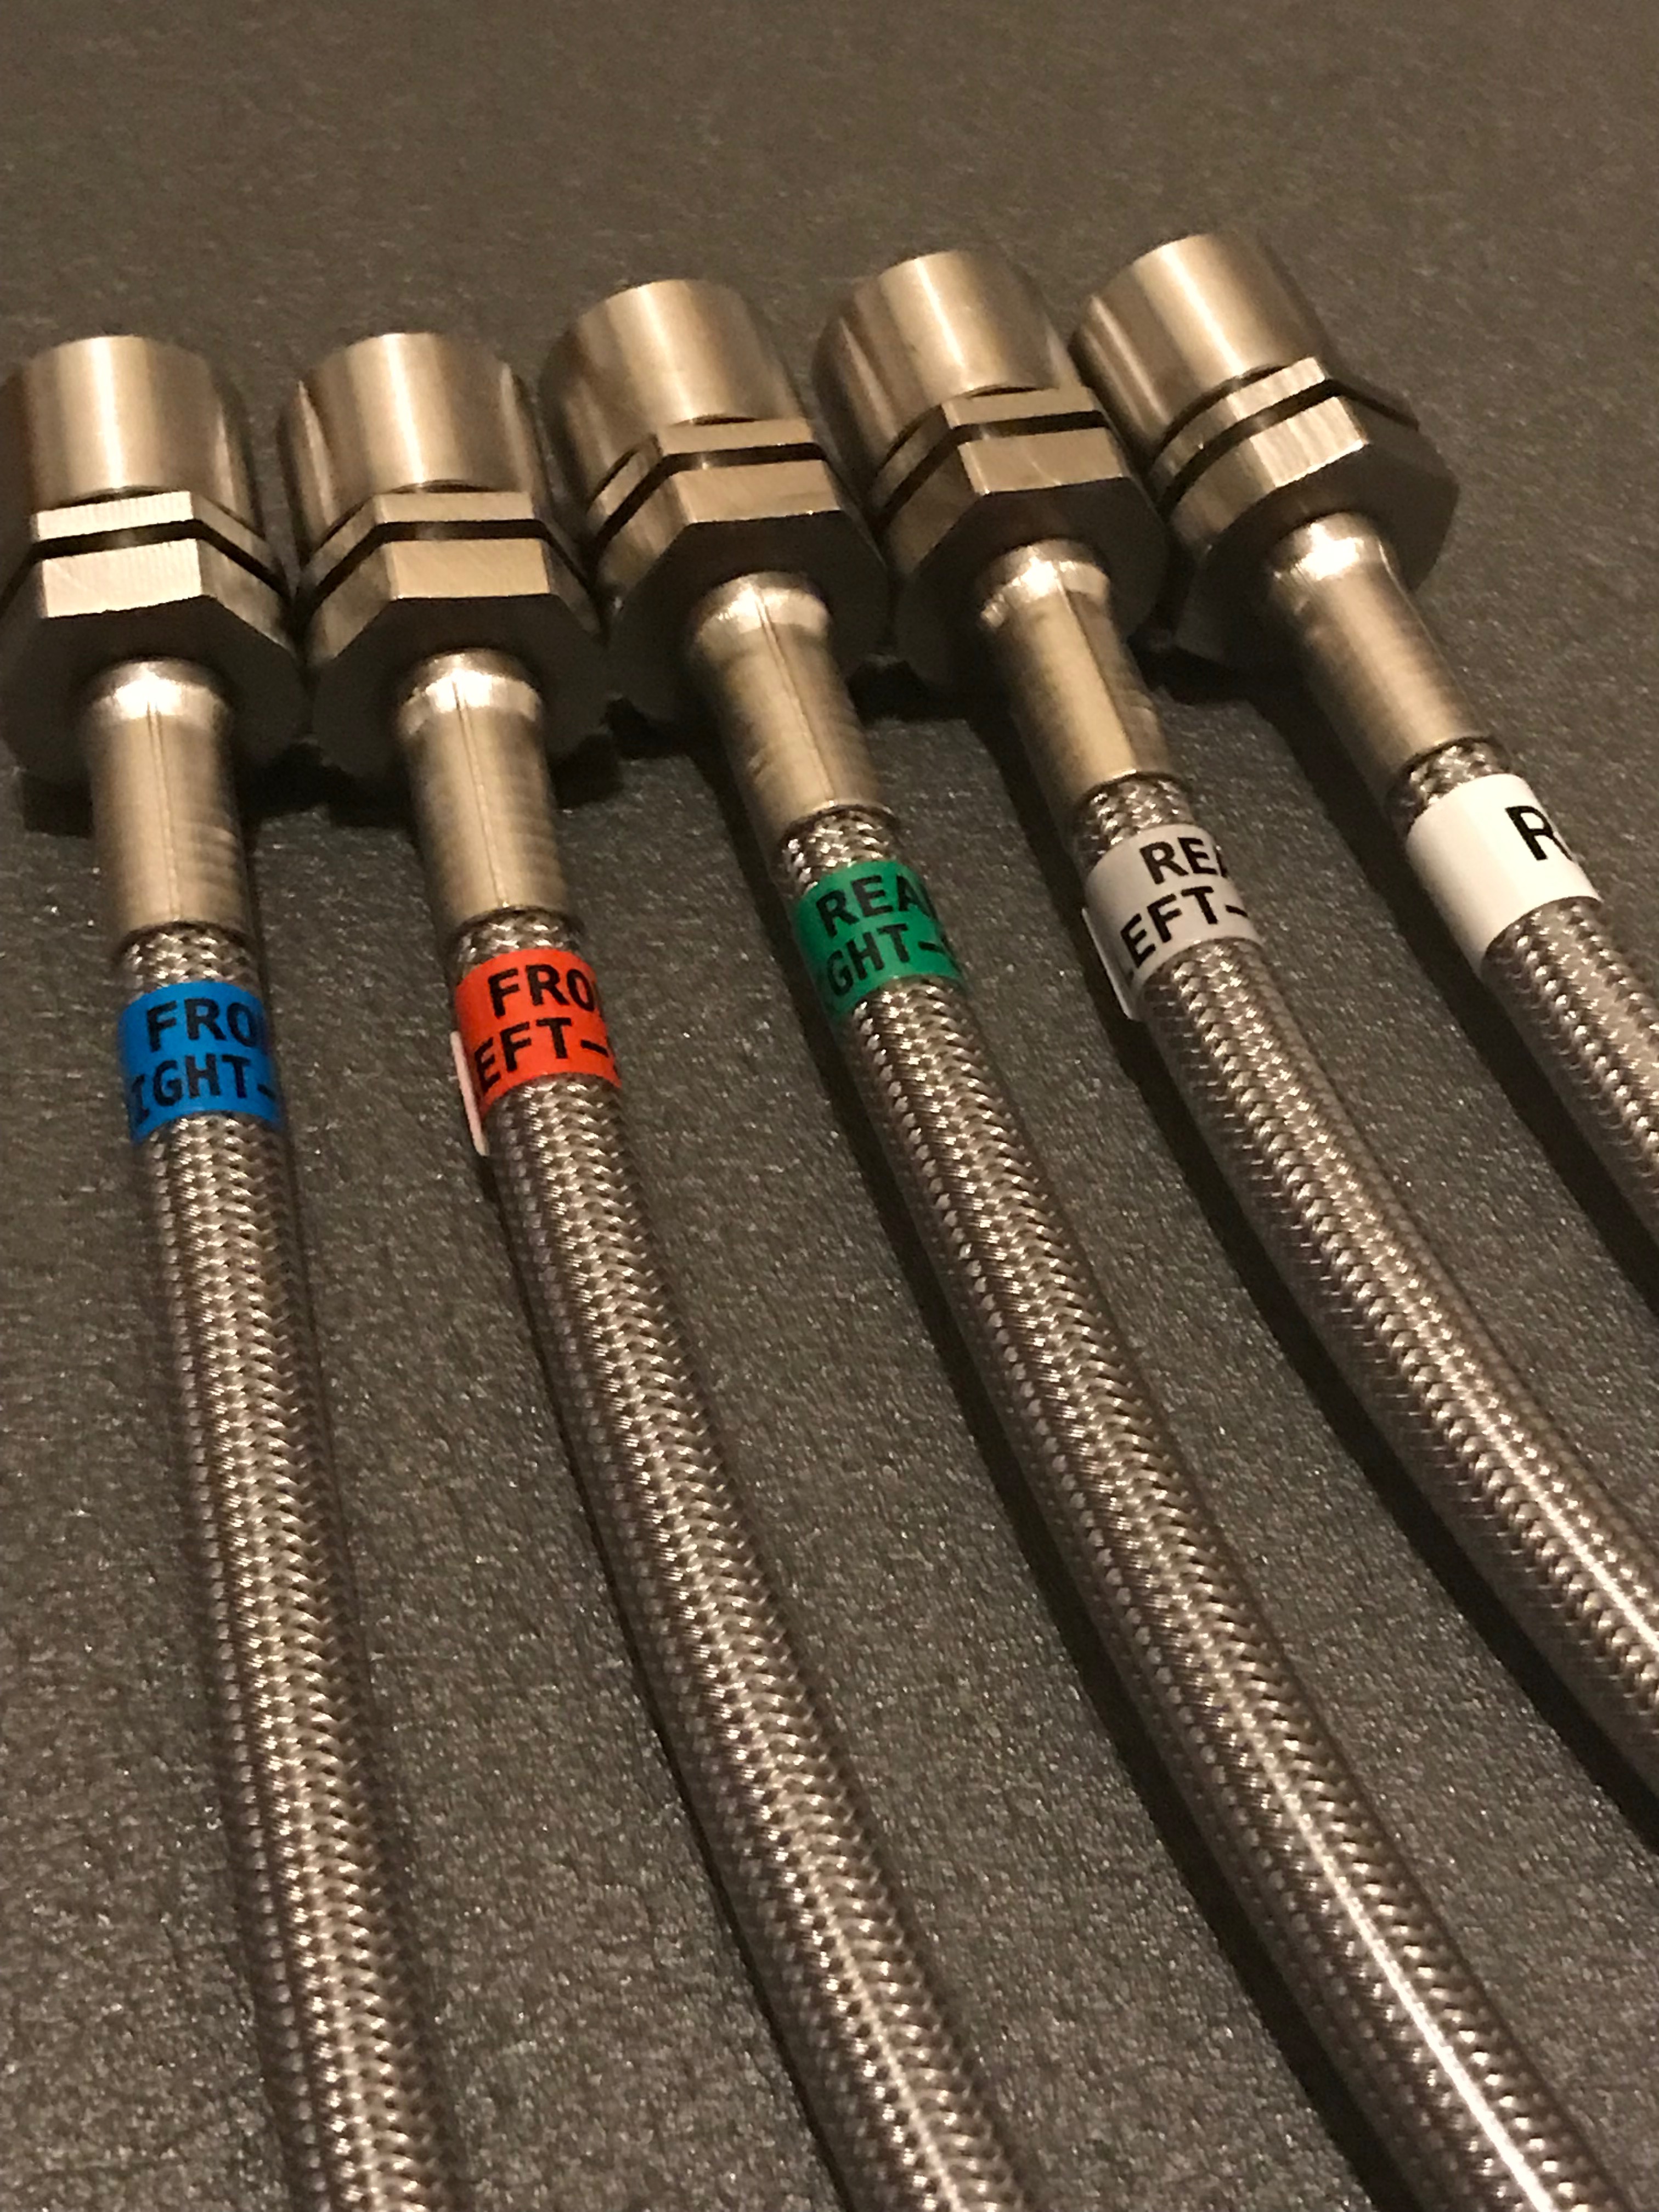
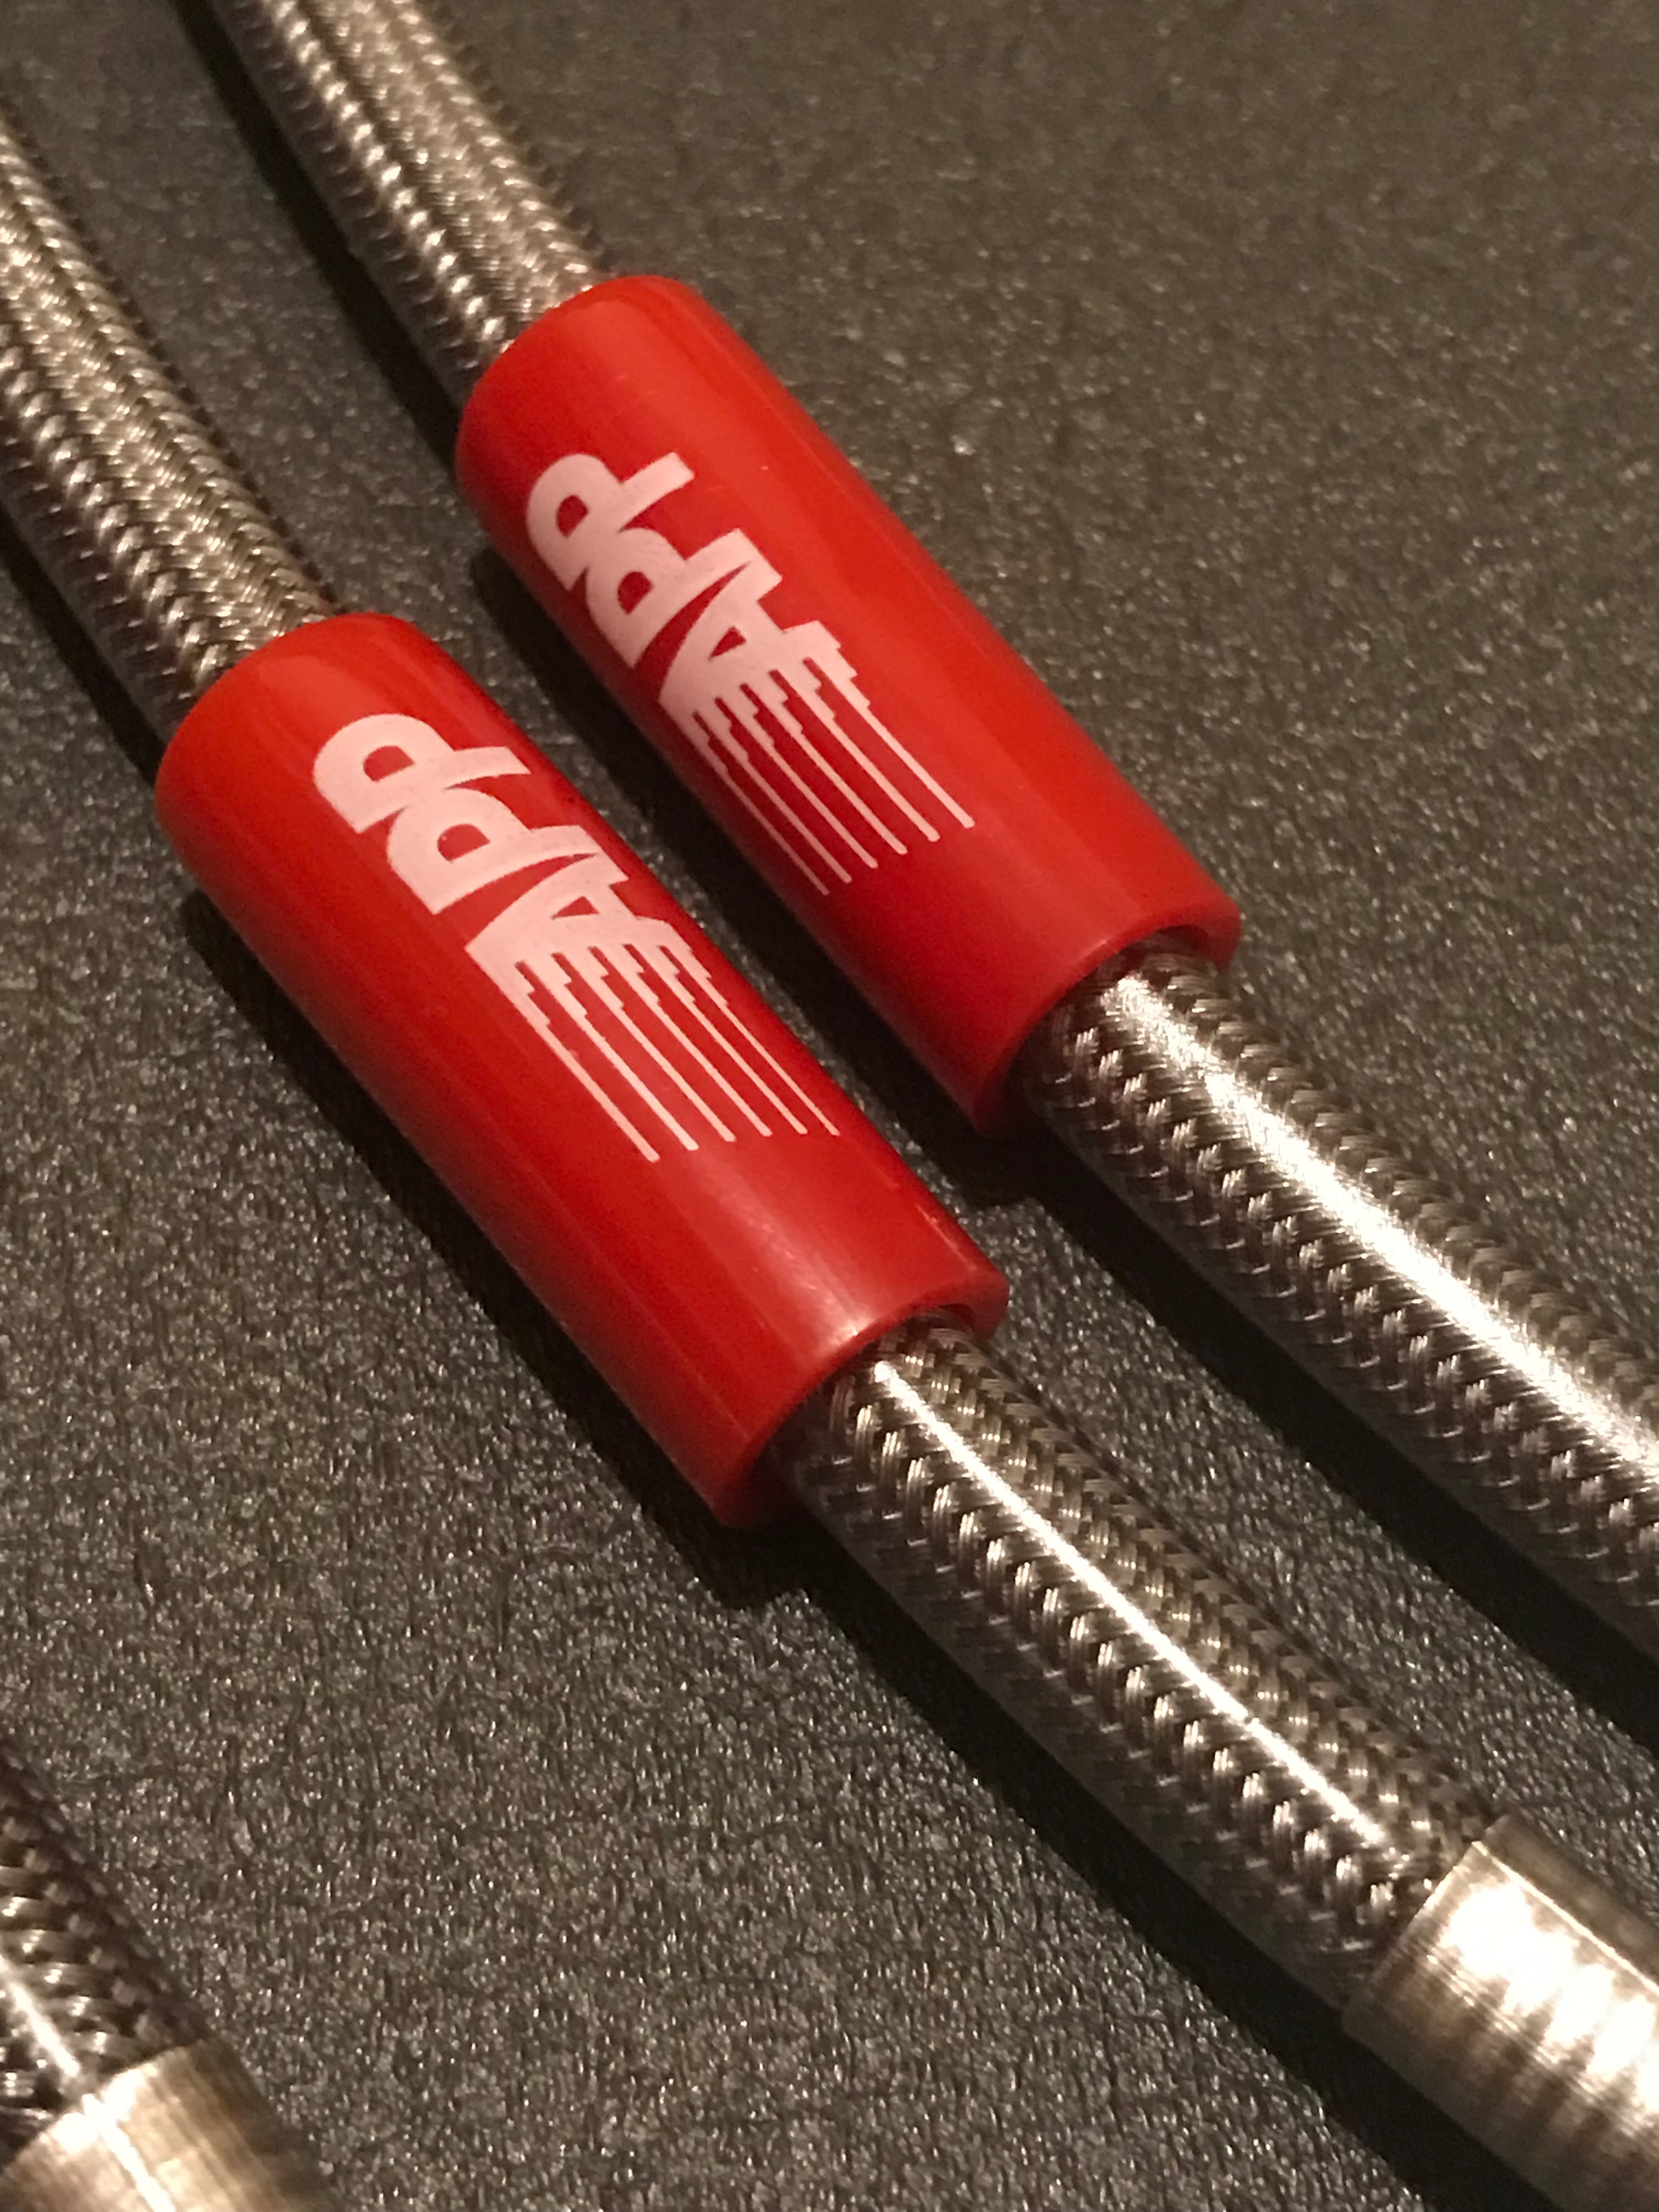
Stainless brake lines
APP stainless steel lines went in along with the new hard lines.
Traction brackets & Rear control arms
In preparation to mounting everything back in, I installed new traction brackets and temporarily installed control arms on them.
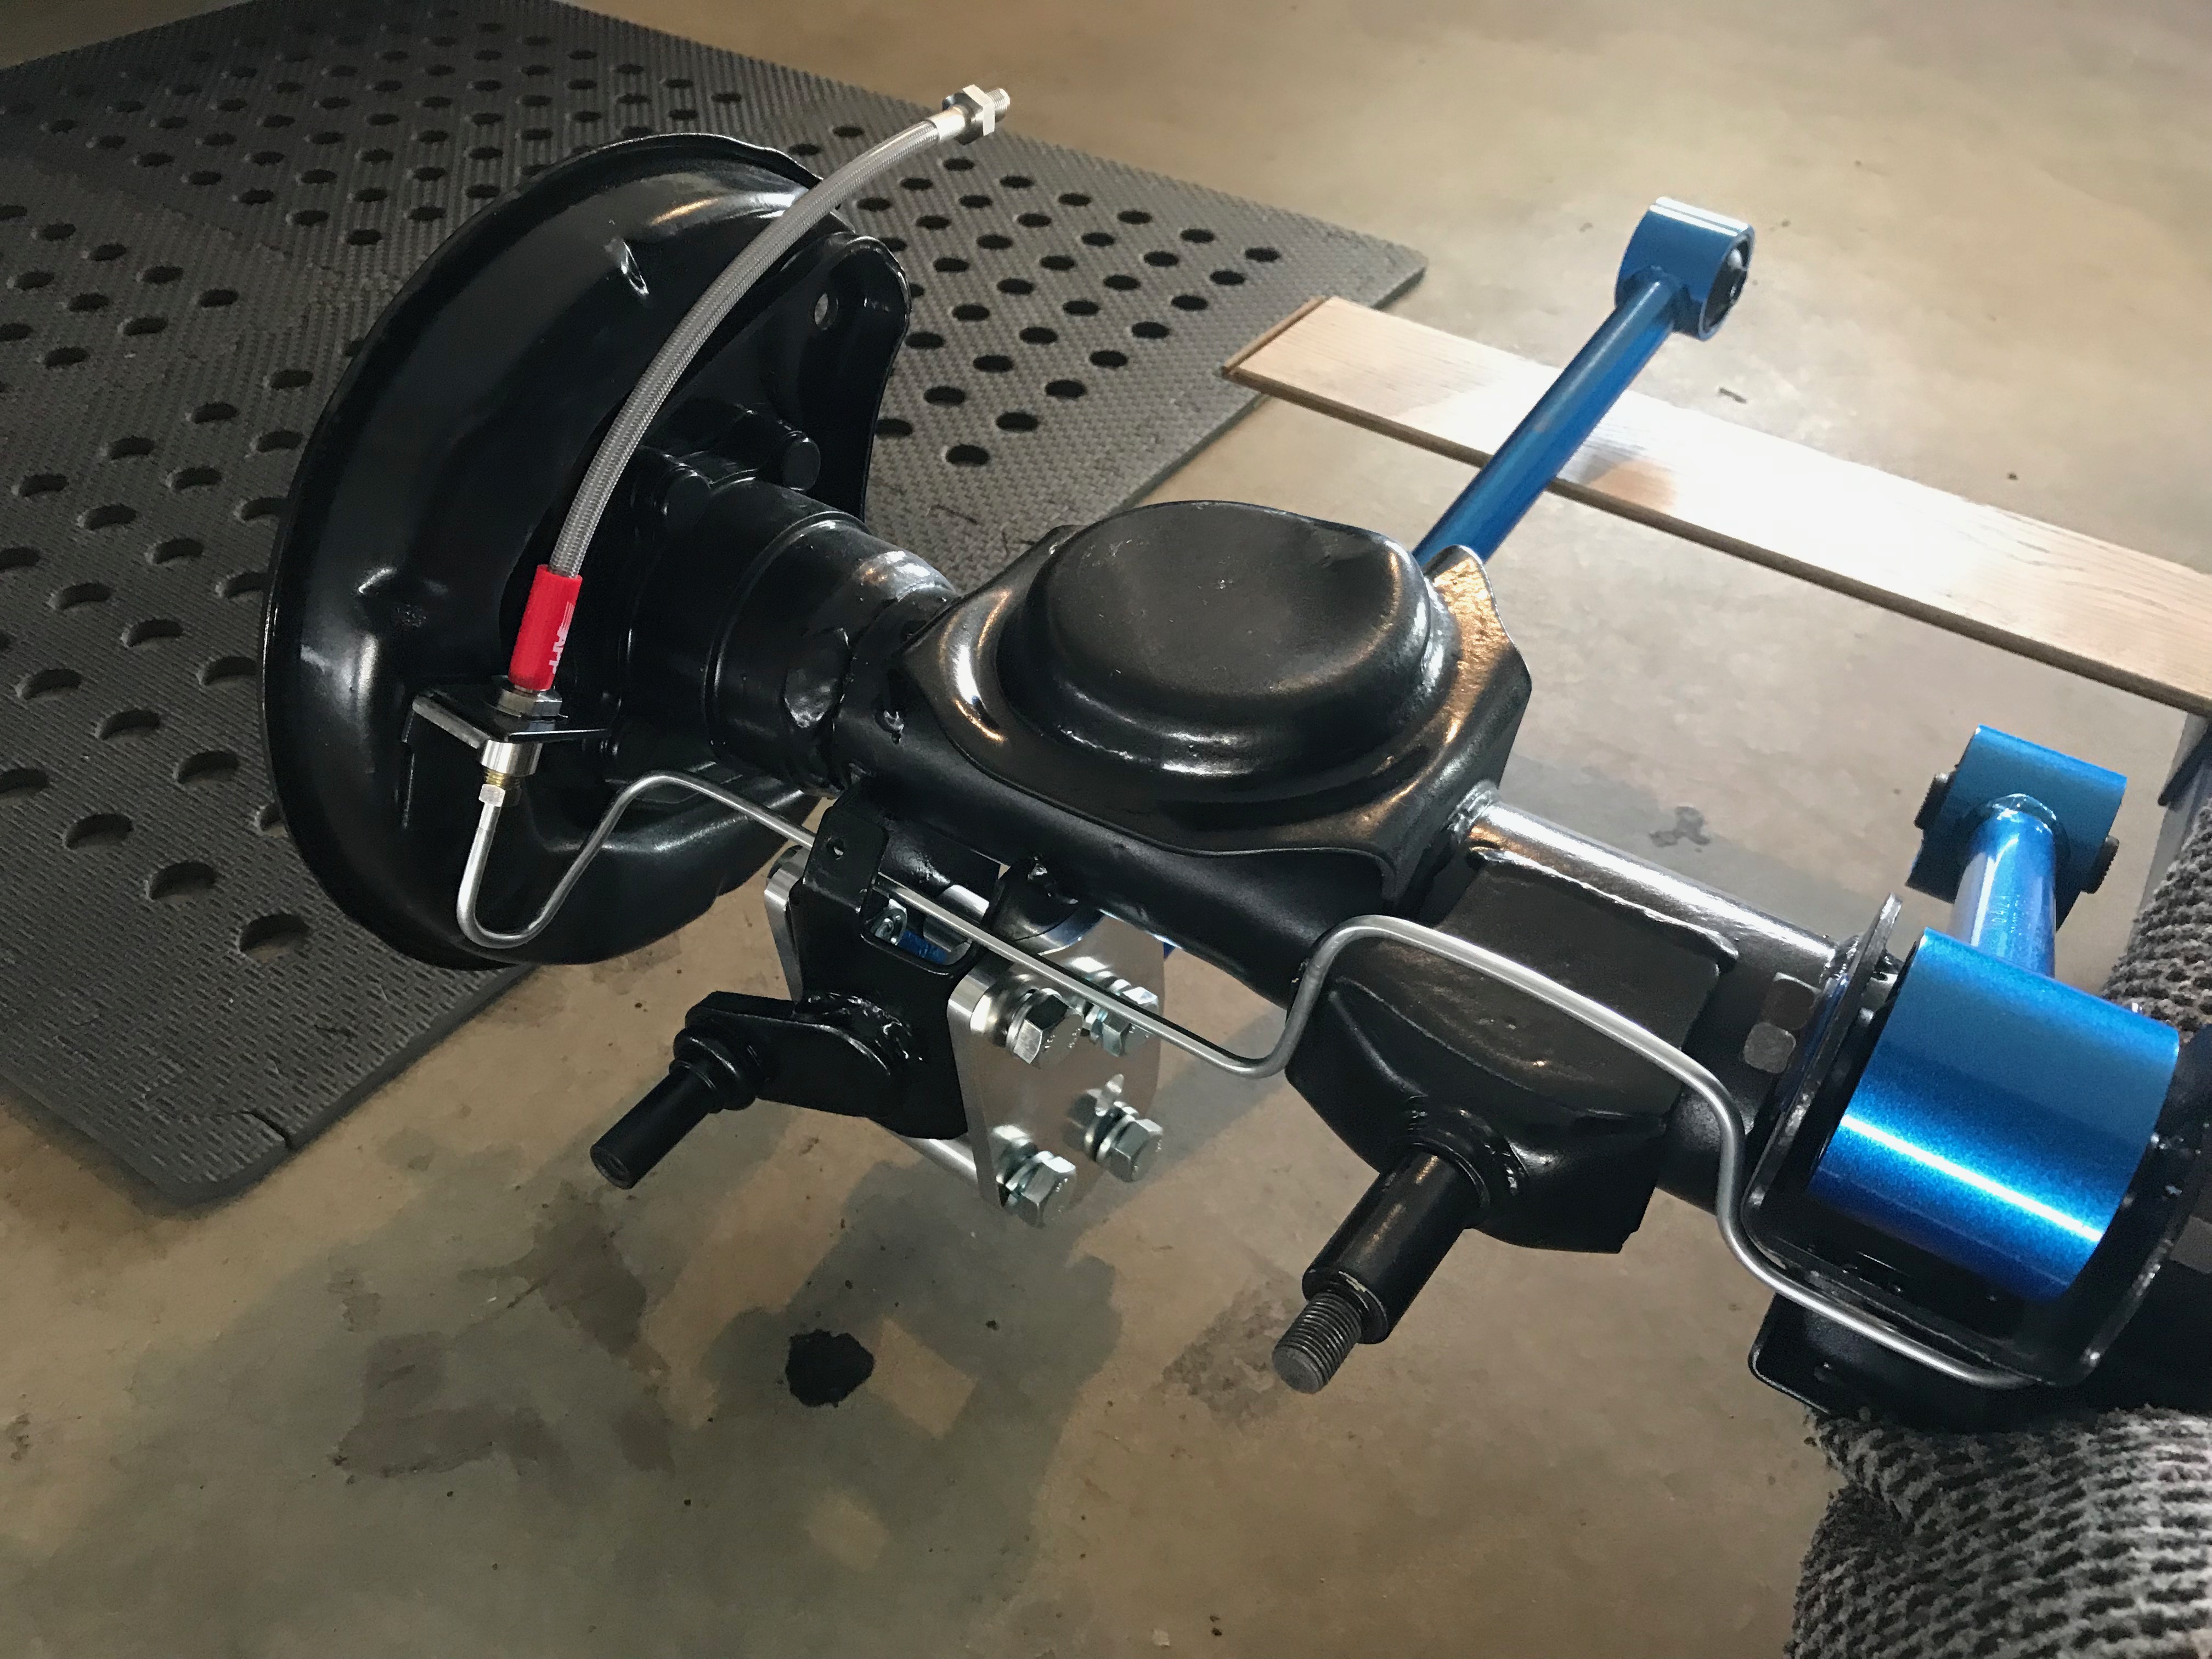
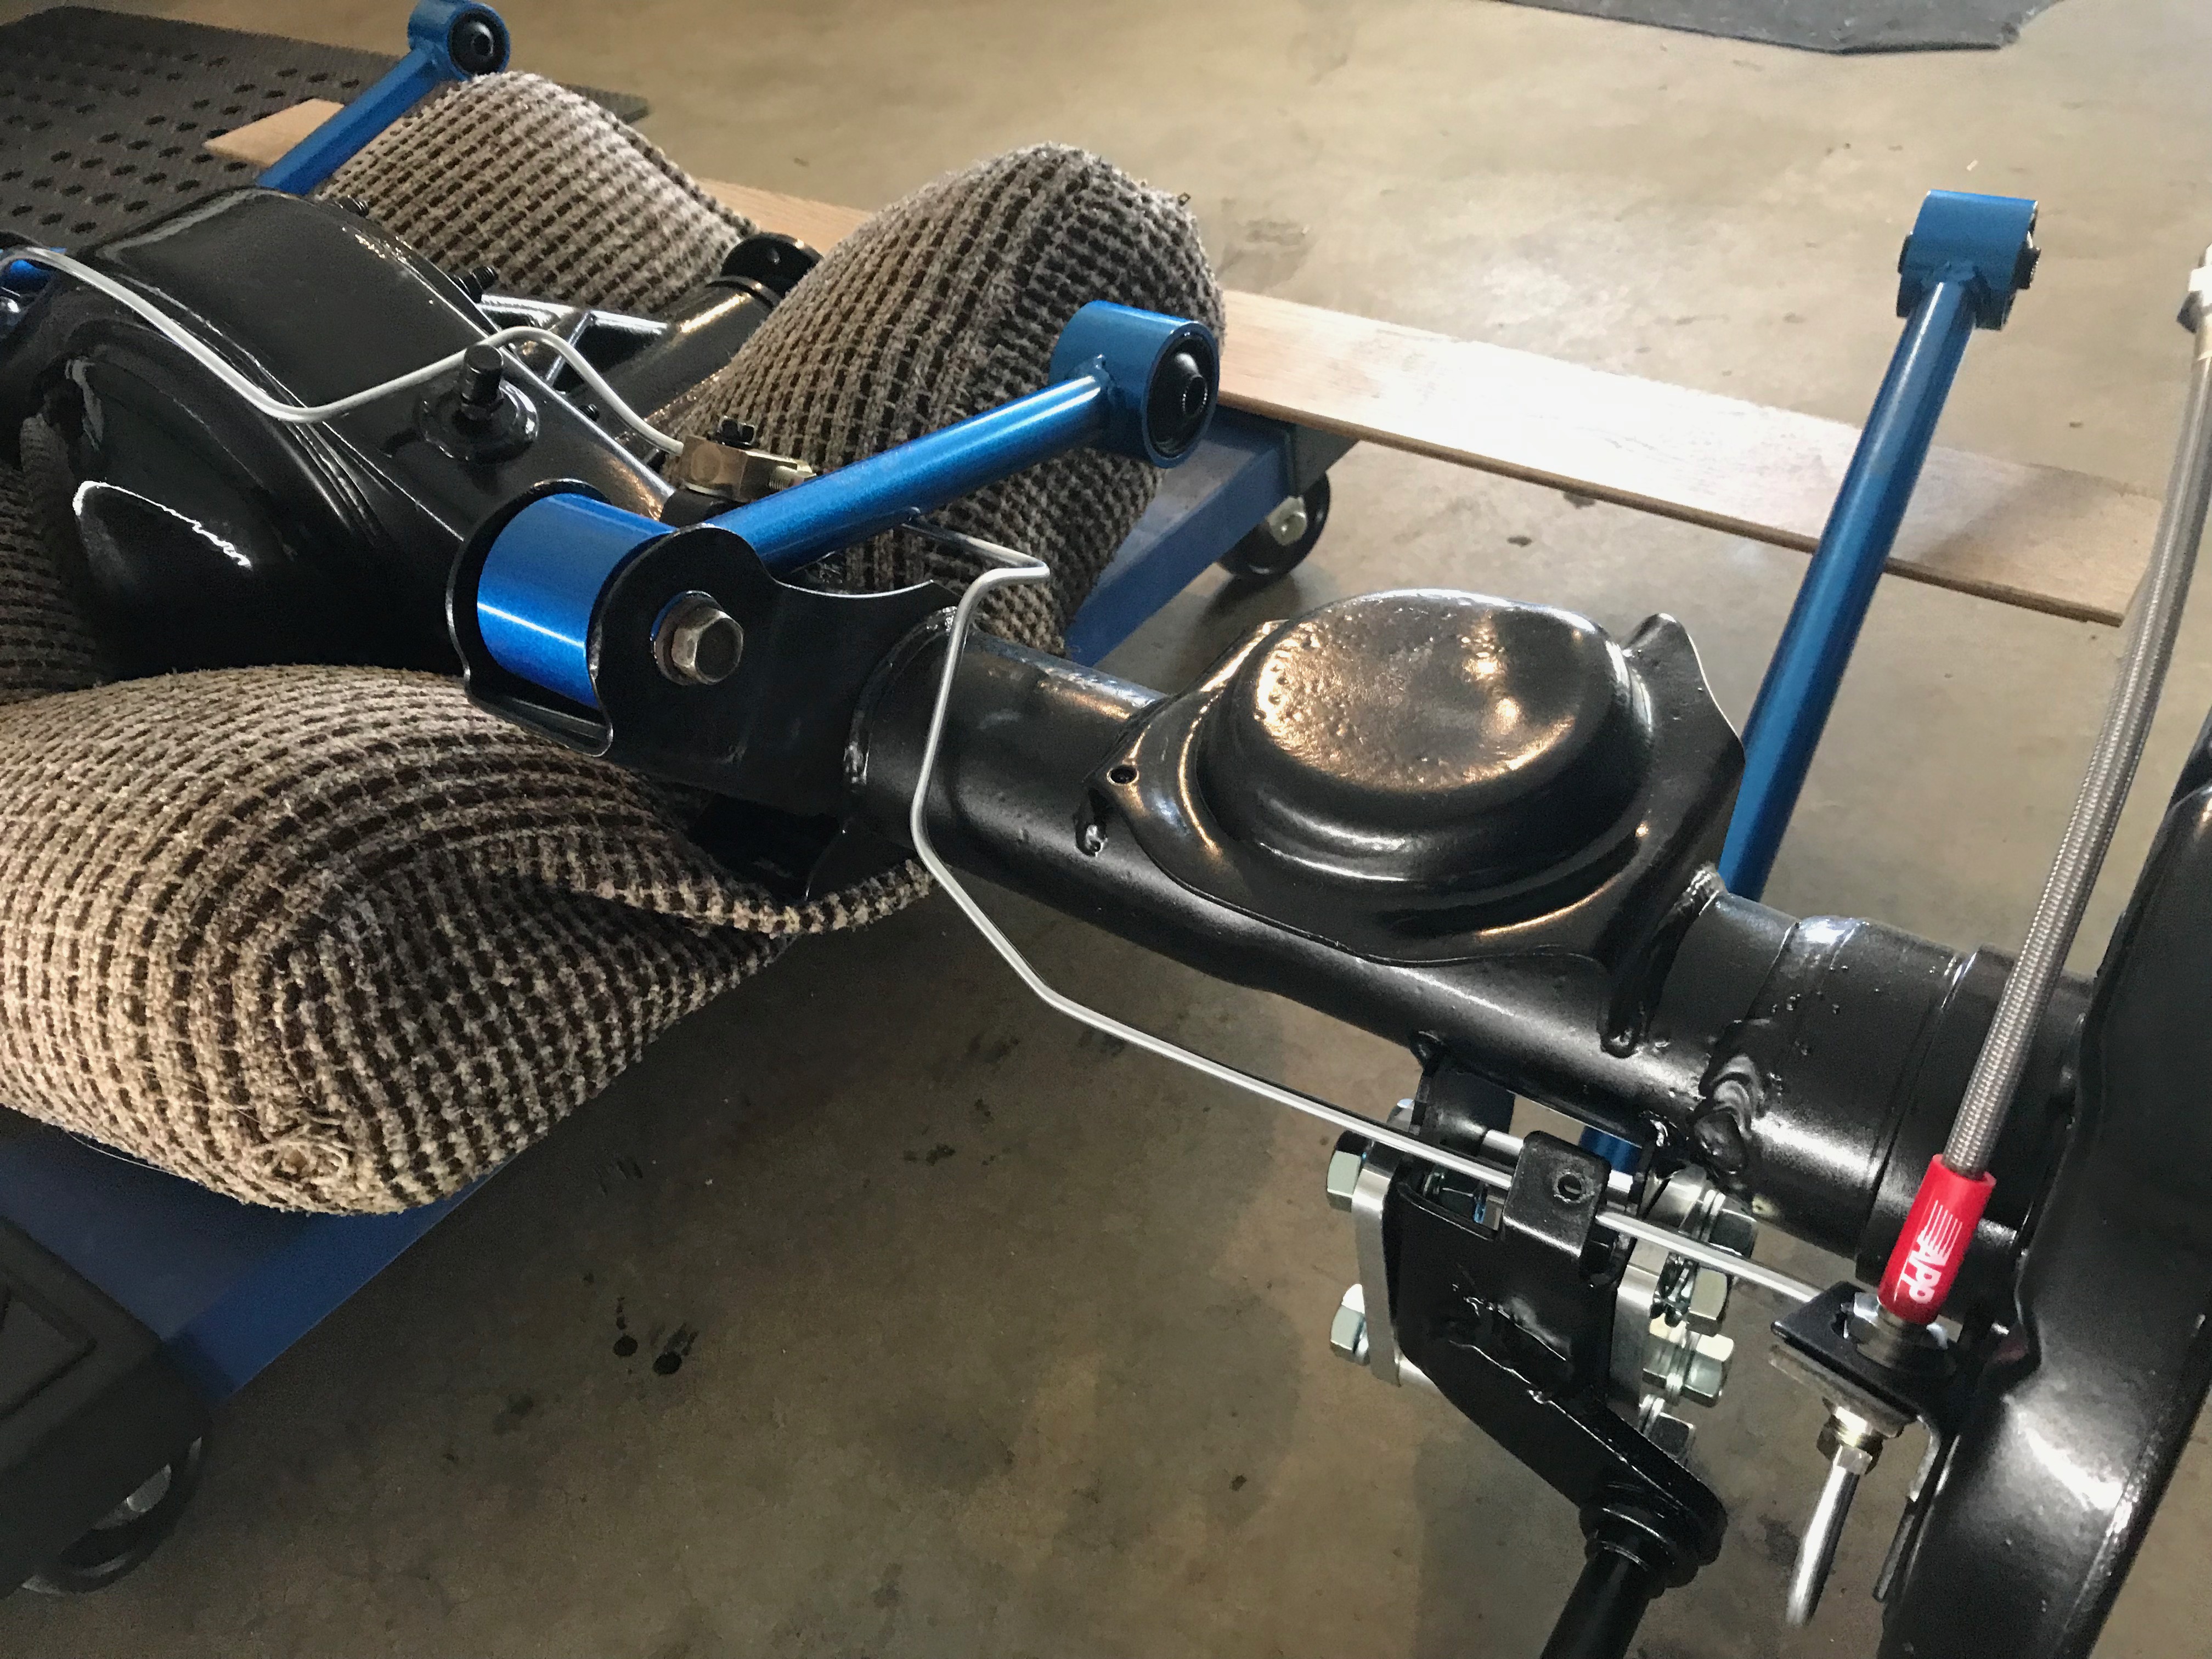
Eventually, we got ourselves here – the axle was ready to be put back in. At this point, I ordered some new washers, bolts and bushings to go into the lateral rod and dampers 🙂
The trolley made everything much easier – from putting things together to raising it into the body: