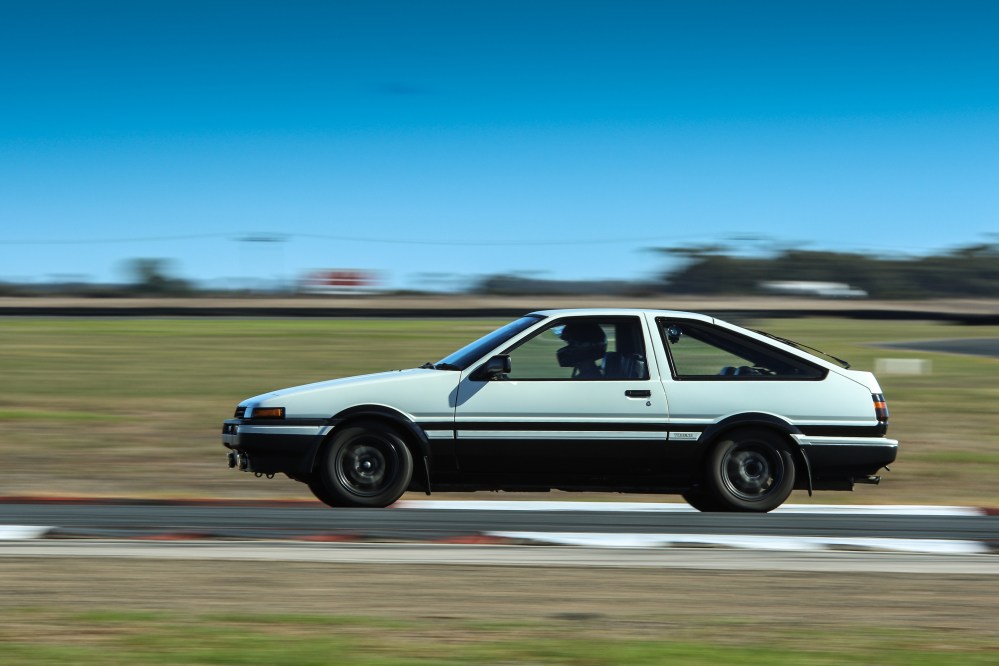
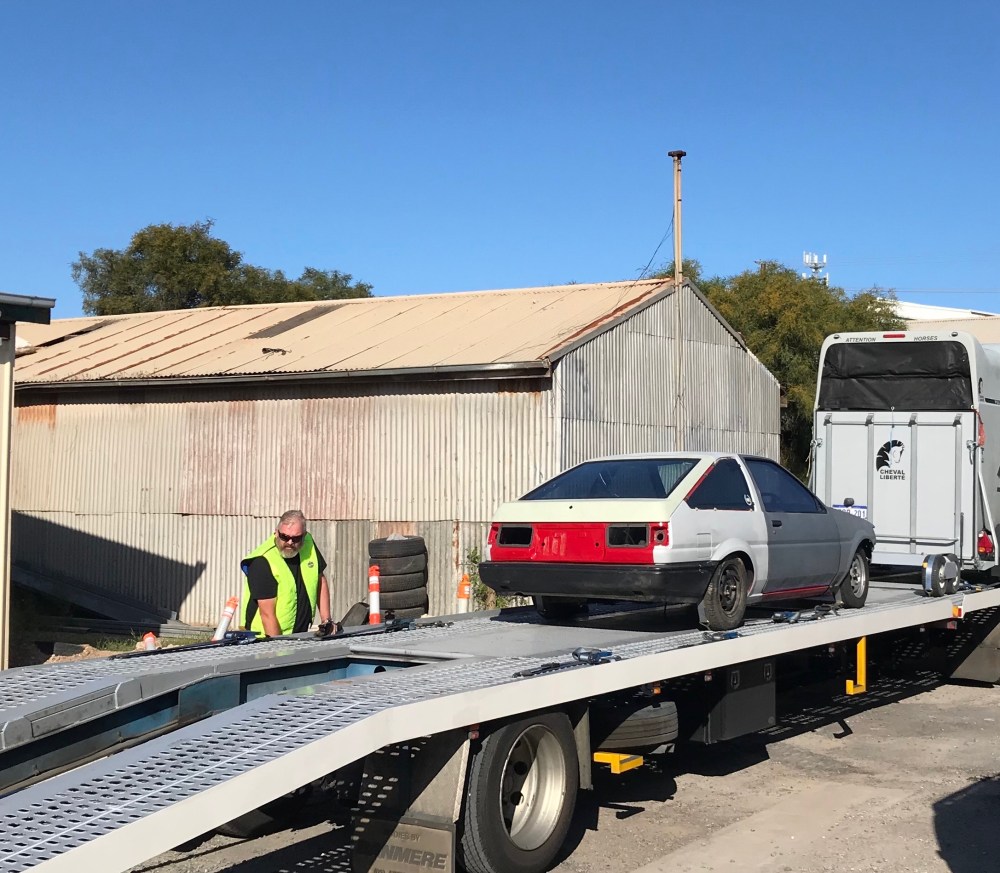
This is a photo of me when I finally got my panda back on the road. It was the slowest vehicle out there, but I was just happy that I had a new baseline to start an entire tuning menu from 🙂
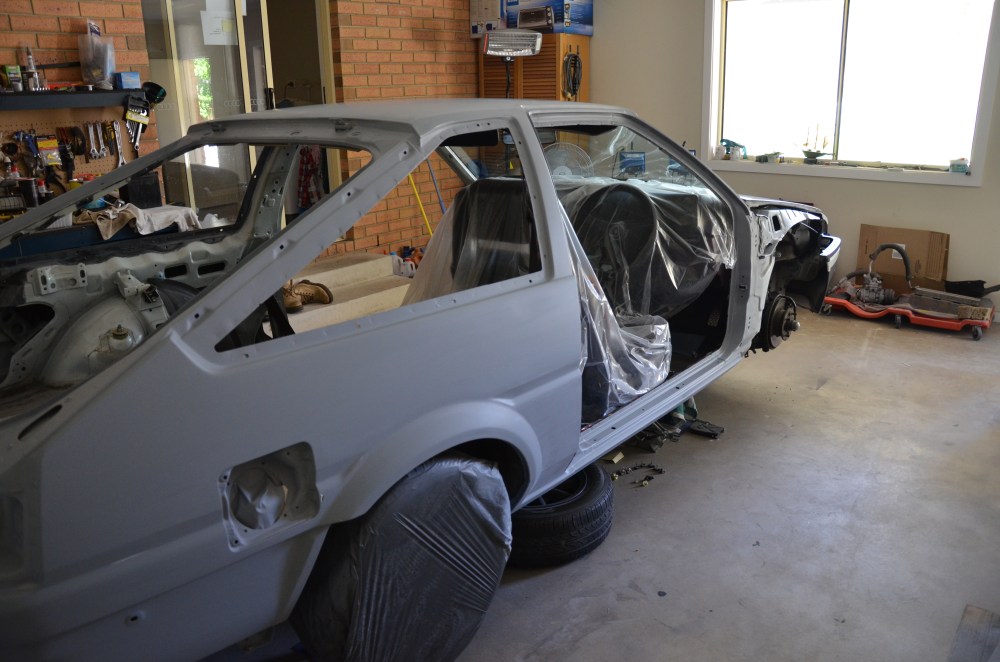
This was an early photo of my rebuild process – from here on out was a solo-act of rebuilding my beloved 🙂 … At this point, I had most of the gear back together… Don’t ask me why I decided to put the dash/ mechanics back in before the body was coated with primer (I think I was trying to save space):
Several months later, I got things up to this point – I didn’t know how I did it… in hindsight, I was full time with my career and only had weekends to work on my passions – At the time, I didn’t realise how much weekends were required to recover and that they were practically the only opportunity to re-balance life before the week starts again.
It’s great to see how far passion can drive an individual 🙂

Everything took time as I was the only person working on my car – this shot shows me getting the interior and trim back in after a full restoration of each individual piece:
There were several cold late nights with nothing but the radio on 🙂 – I really wanted to get things right the first time. This wasn’t realistic and pushed timelines out further than expected – but since I didn’t have ‘time-pressure’ for my personal projects (often taken for granted) – it took as long as it needed.
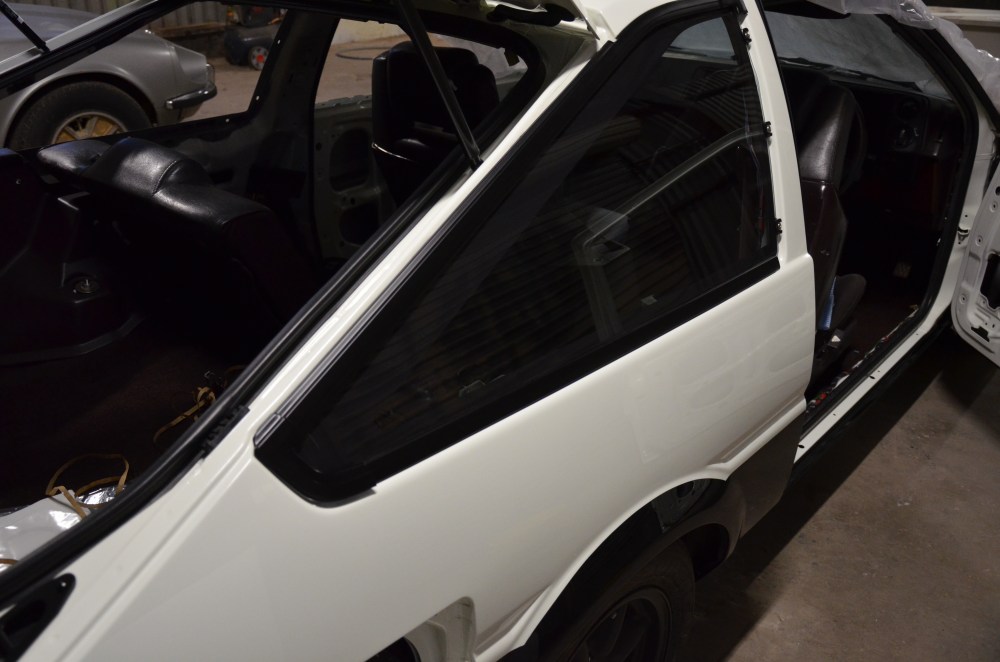
I can tell you right now, the hardest thing to rebuild are doors – 3DR vehicles have very long doors, so they are pretty awkward to manoeuvre in all aspects. Rust was removed, panels resurfaced flat, primer and paint sanded after each coat and before being polished.
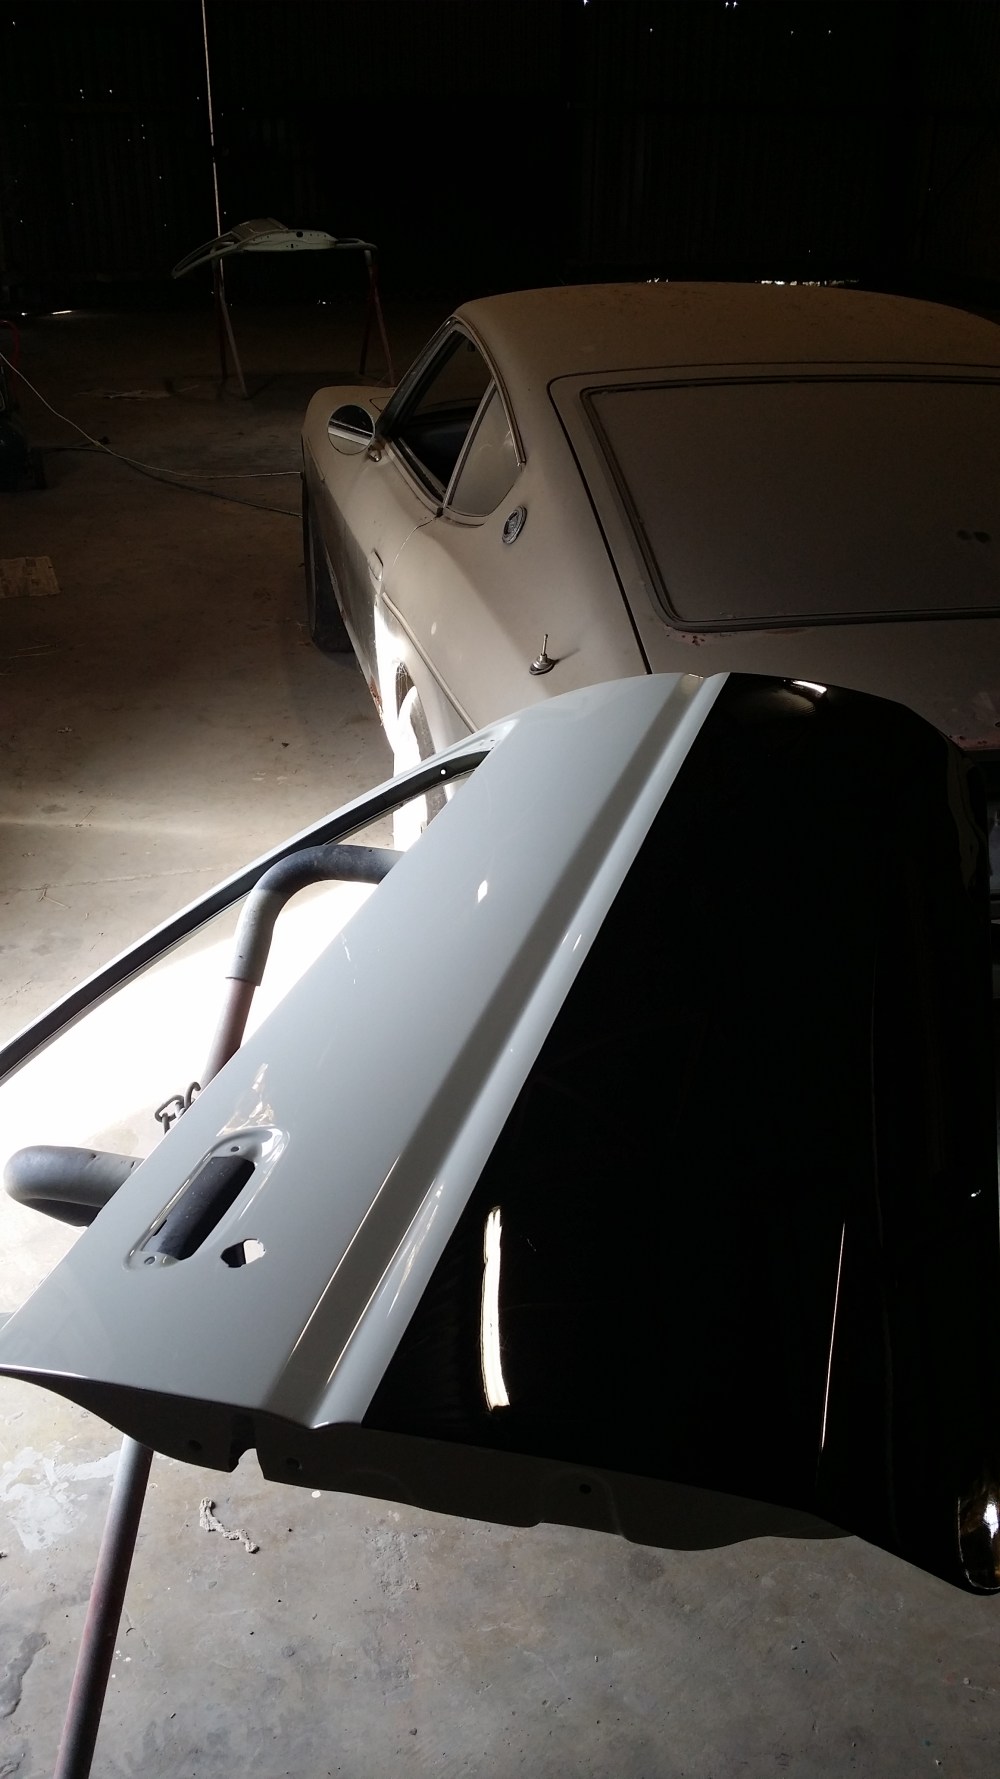
You then have to carefully move them back into the body with care and accuracy – or you’ll damage several hours of your own work. Trying to get the gaps in alignment is a fairly time-consuming process and should not be done unless you have your entire day booked out.
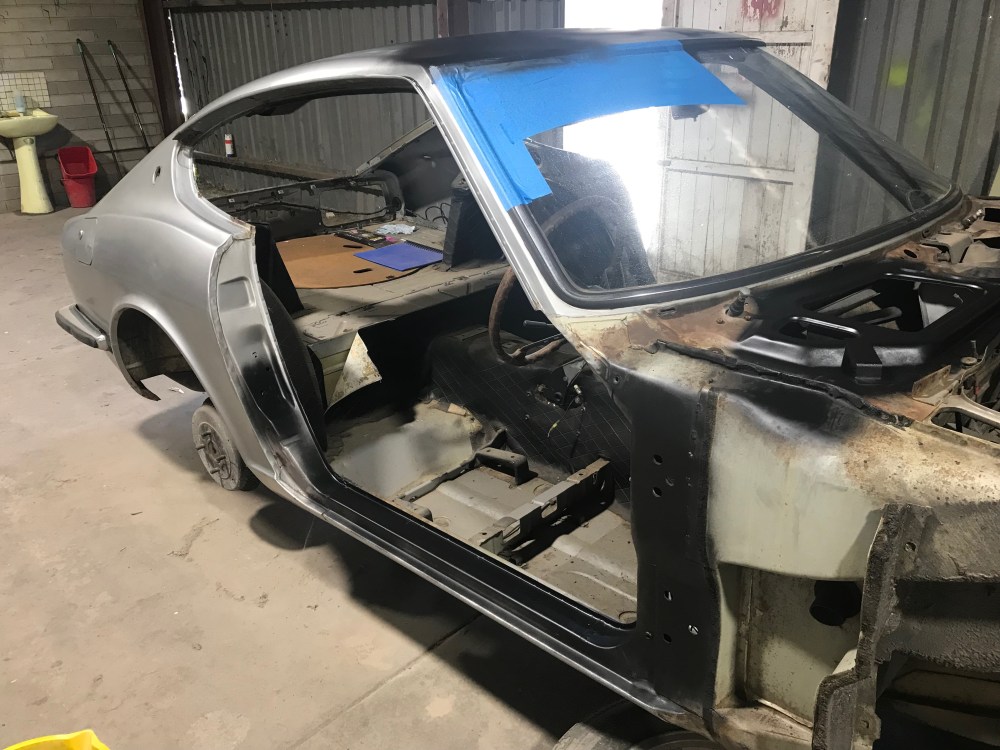
While doing this, I did my best to maintain Fairlady in the works:

Fairlady is in very good shape despite its age. In attempt to keep things that way, I try to work on her from time to time – mostly preventative maintenance:
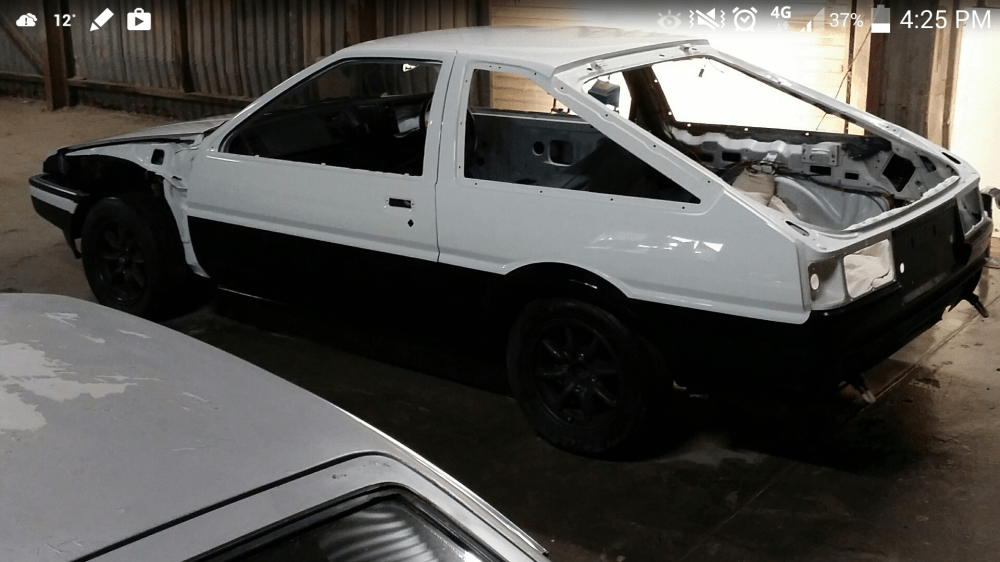
And… with ‘all’ of that going on, I went ahead and did this to myself:
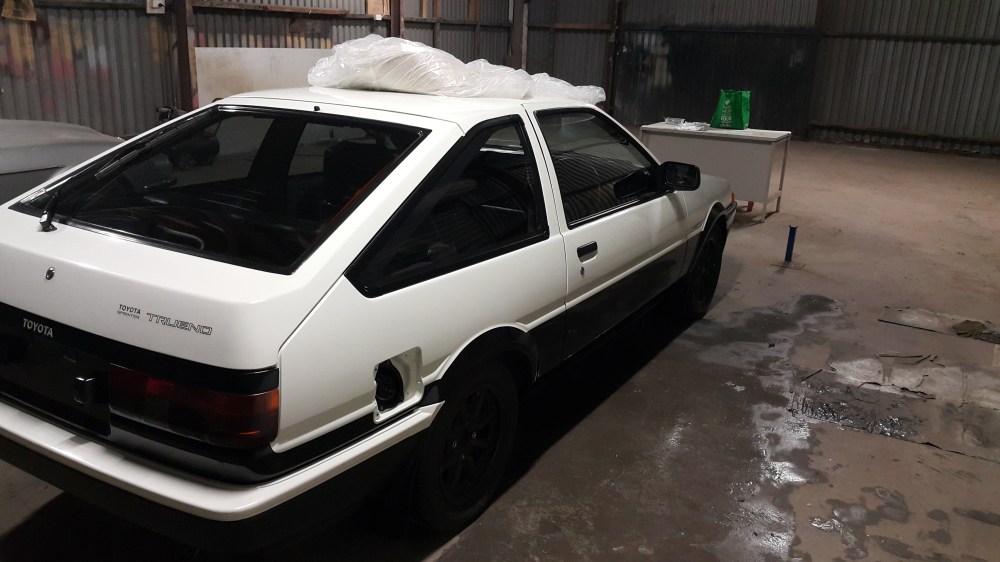
I acquired a new body which had work already done to it. It’s in poor shape and the work done to it was… satisfactory at best. Fairlady is in much much better shape in comparison – but… it’s workable:
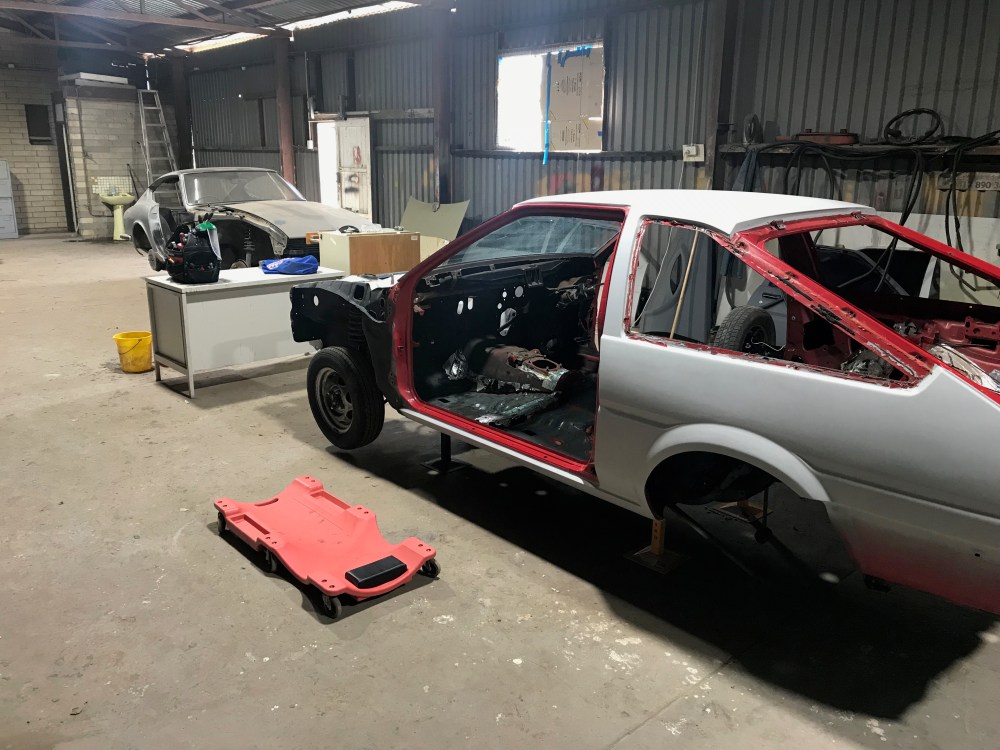
It all looks alright from the photos, but rust started showing up from underneath the primer and new welds. The fix-up work isn’t pretty close up.

